The 2022 Guide to Game Boy Camera Photography
The retro camera is a playground for the imagination and it’s now, thanks to certain devices and techniques, the perfect time to jump in.
Photography has sure come a long way since 1998, but the Game Boy Camera remains a unique piece of tech that’s still worth revisiting twenty-four years later.
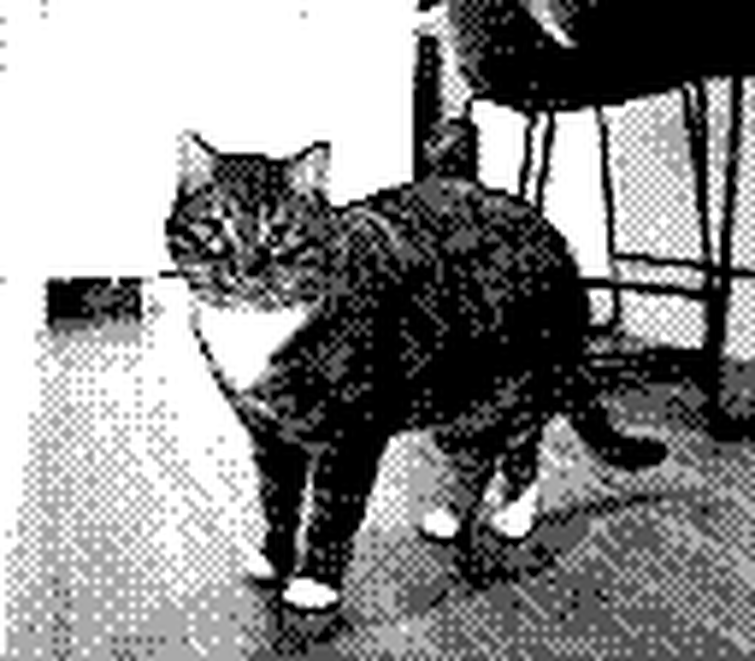
While the 128 x 112 images are laughably low resolution compared to the standards of today, images taken on a Game Boy Camera are imbued with a quirky charm you can’t find anywhere else. It’s why there’s a growing, passionate community of Game Boy Camera photographers that are keeping the camera relevant as an artistic form of expression so many years later.
Thanks to recent gadgets and modifications that have breathed new life into the ’90s camera, it’s never been a better time to jump into the hobby.
What You Need to Get Started
You’re going to need a Game Boy Camera—obviously. I picked mine up for around $60 at a local games store on a whim. Try checking eBay if your local game store is out of stock.
These cameras are exceptionally resilient, considering how old they are, but you should watch out for excessive wear to make sure you’re not buying a dud. If you’re picky about color, you can pick one up in either blue, green, red, yellow, or the Japanese-exclusive clear purple.
According to the video game price tracking website Price Charting, a special The Legend of Zelda: Ocarina of Time limited edition of the Game Boy Camera will run you $776—this version includes unique stamps for images.
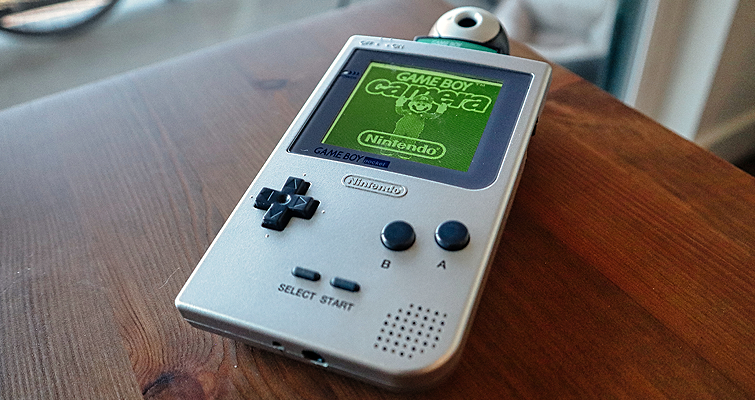
The other component you’ll need is a Game Boy. Any Game Boy will work, such as the original brick-sized Game Boy, Game Boy Pocket, Game Boy Color, and Game Boy Light (good luck finding one).
The camera is also compatible with the Game Boy Advance and Advance SP, albeit with some caveats. Both display the camera in its original 10:9 aspect ratio, which appears shrunken down on the Game Boy Advance’s 3:2 display.
It’s also worth noting that the Game Boy Advance SP has an underside cartridge slot that makes the camera come out from the bottom, causing images that look upside down—so I’d get something else.

The Game Boy Camera Printer is an unnecessary yet fun accessory that will let you print images on what’s essentially receipt paper. It’s common to find the printer bundled with the camera on eBay. The printer alone can range between $40 to $60.
Game Boy Camera Tips and Tricks
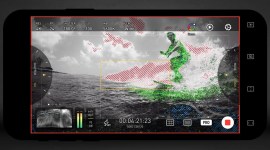
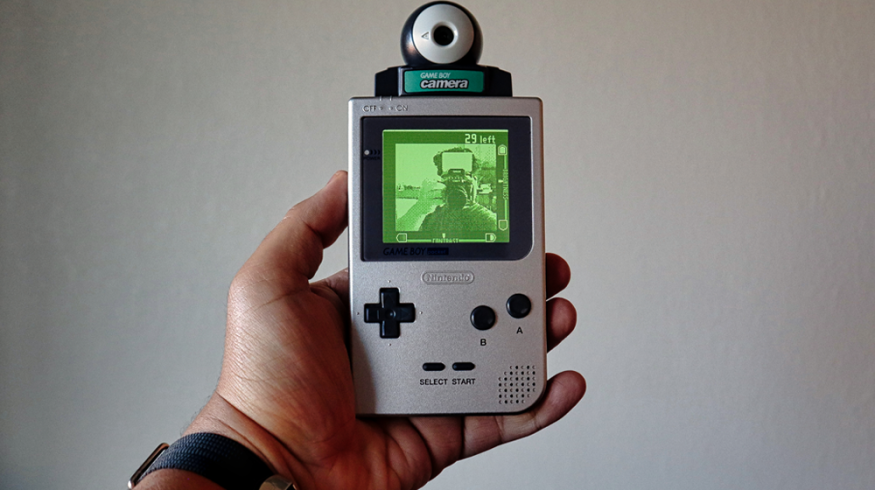
The Game Boy Camera is half gadget, half video game, and ahead of its time, sporting a rotatable lens for taking selfies. However, it’s the software that makes the Game Boy Camera stand out even today. Please leave it to the makers of the Pokémon games, Game Freak, to come up with likely the strangest camera ever produced.
The user interface and experience are unlike anything you’ve ever witnessed on any other digital camera. Instead of taking photos immediately, you’re dropped into a quirky menu where you can choose to shoot pictures, use trick lenses, view your album, or even play games.
It can be a bit overwhelming your first time, but I encourage you to poke around. And, if you want an in-depth tutorial, Pug Hoof Gaming’s video breaks it down below:
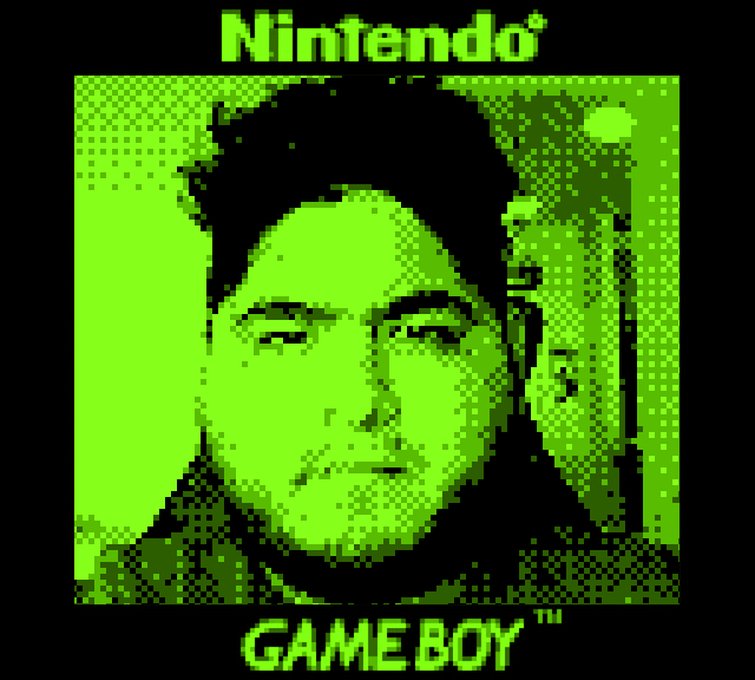
Creating Color Images
The Game Boy Camera isn’t known for its high-quality or color images, but that’s part of the charm. And, while you can’t do anything about the low-quality images, you can do something about color.
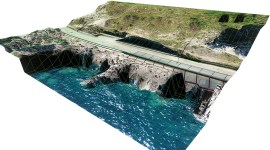
It’s a rather complicated process, but one curious Game Boy Camera photographer, Björn, broke down his process for shooting color images. You can check out the whole process here, but it boils down to shooting the same image three times using a red, green, or blue filter for each shot. From there, it’s a matter of combining the images via software and applying color.
It’s not practical, nor is the process intuitive, but there’s something about seeing a Game Boy Camera image in a color that makes it worth it.
The Easiest Way to Export Images
Until last year, the most challenging part of this hobby was exporting images. You either had to hack together a sketchy exporting device or buy an expensive one, both of which aren’t wonderful options.
But, thanks to the debut of the Epilogue Operator, exporting images is no longer complicated. The Epilogue Operator is a tiny gadget housed in clear plastic to play your Game Boy, Game Boy Color, and Game Boy Advance games on your PC or Mac. Accessing your retro game collection is as easy as plugging in the device and downloading the software.
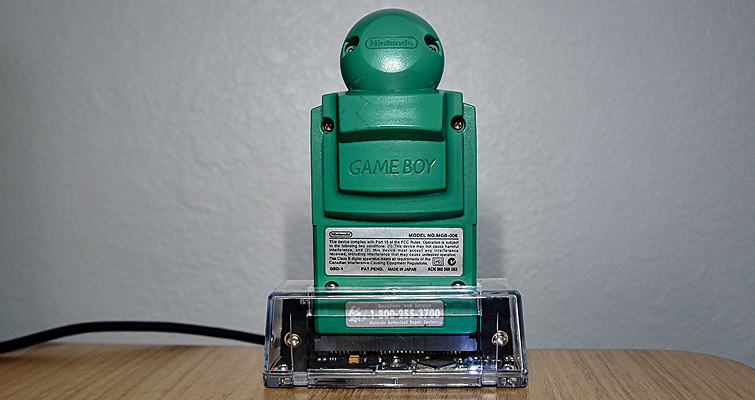
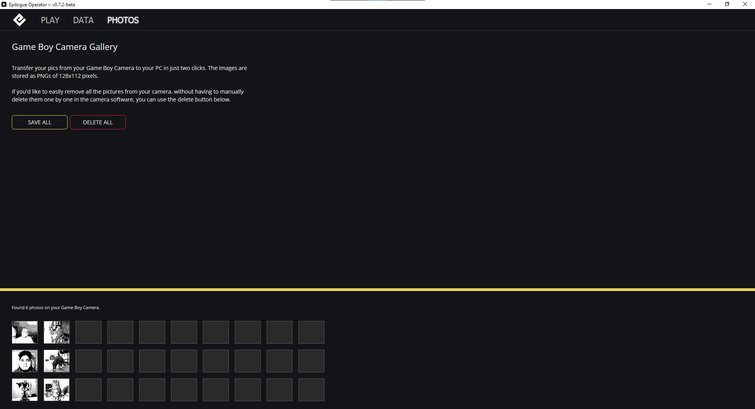
It’s also compatible with the Game Boy Camera. All you have to do is insert the Game Boy Camera into the Epilogue Operator to export your images via the Photos tab of the software. It doesn’t get easier than that, and it only costs $50.
However, the small, three-person team can’t keep up with demand, so you’ll have to wait a few months. If you order right now, delivery is estimated for June of this year. It’s worth the wait.
Using this method of exporting images does come with a downside. Your images won’t appear with any frames, stamps, or other visual effects. If you want your images with the “Nintendo Game Boy” frame, you can find an image online, cut out the frame, and save it as a template, which I did for my Twitter profile. As for the stamps and other effects, you’ll have to find a different exporting method.

There’s one other device you can use to export images: the Analogue Pocket. This modern, handheld gaming console uses FPGAs to play Game Boy games natively, better than software emulation.
The Analog Pocket is a must-have with a crisp, backlit screen, built-in battery, and extensive software support. It’s too bad you can’t get one until 2023 when new orders are expected to ship. Also, it was $220.
Modding Your Game Boy
Love for Game Boy consoles has spawned an entire industry of mods that can bring the ’90s consoles into the contemporary era. Knowing the Analogue Pocket exists while not purchasing one is tough to live with.
On the flip side, you can take that money and make your own modern Game Boy. If you’re planning on using a Game Boy Camera, there are two mods best-suited for the Game Boy.
Modding the Game Boy with a backlit display is a top priority. I’m not going to sugarcoat it, you’ll need to solder. It’s not a lot of soldering, but you will need to get a soldering iron and learn to solder if you don’t know already. I realized when modding my first Game Boy—it’s not that hard.
Displays types vary across the various Game Boys, as do the costs for each display, but you’ll want to get something decently bright and adjustable. Last year, I snagged a $35 Game Boy Pocket and fitted it with this $60 IPS LCD, with adjustable color filters and brightness. The bright screen makes it possible to shoot on the Game Boy Camera during the day.
To keep the Game Boy Pocket with a backlit display powered on during a shoot, you’ll want to either carry backup batteries or opt for a rechargeable battery pack. This one from RetroSix uses wireless charging to extend the battery life.
I like to pair my modded Game Boy Pocket with the Game Boy Camera because it’s small and light. You can also mod any other Game Boy, so you have options. My Game Boy Advance is modded with a backlit display and rechargeable battery pack, and it works just as well.
If you want to continue down this avenue, YouTubers like The Retro Future or Macho Nacho Productions have excellent tutorials worth checking out.
Modding Your Game Boy Camera
The Game Boy Camera is fun, but some have figured out ways to improve it. One Game Boy Camera photographer strapped a smartphone lens onto his Game Boy Camera for an F1 race (link to gallery).
Another attached a telescope to their Game Boy Camera to snap some pics of the moon.
This photographer made a Canon EF lens adapter for the Game Boy Camera.
In YouTuber ConorSev’s video, he improves the Canon EF lens adapter design to fix the lens’s focus. Despite the absolute ridiculousness of the massive lens on the tiny camera, it works surprisingly well.
If you’re interested in this mod, the creator links the adapter’s design file, though you’ll need access to a 3D printer to make one.
Modding your Game Boy Camera isn’t practical, considering the limited capability of the tiny sensor, but it’s a fun way to spend your time. Just take a look at this Game Boy Camera webcam.
Fake It ‘Til You Make It
If you can’t find or afford to pick up a Game Boy and Game Boy Camera at the moment, you can do the next best thing—fake it. You can either use photo editing software to recreate the pixelated look or head to this website, which uses your webcam to take fake Game Boy Camera photos.
Here are a few more fun projects to fill your time: