
Bullet Journaling 101: 4 Steps to Build Your BuJo
Ah, a new year! A time for new energy, new resolutions, new habits… and then a total crash to reality that usually includes a broken alarm clock, a sleeve of Oreos and a bottle of wine. While my resolutions generally crash and burn by MLK Day, (which is why I choose the whole Word of the Year approach instead), there’s one healthy habit I picked up years ago that has survived my Cookie Monsteresque willpower and stood the test of time: bullet journaling.
A bullet journal journal is part calendar, part creative diary. It’s a place for you to organize not only your schedules and to-dos, but also your thoughts and goals. Basically, it’s every scheduling, organization and tracking app on your phone all wrapped up in a tidy, handwritten package. And today, I’m going to show you how to start a bullet journal of your own.
I know what you may be thinking: why not just use the calendar and organizing apps on my phone? First, a bullet journal is way less distracting than all those apps. Think of how often you get a notification on your phone. How many times do you just swipe it away without really absorbing any of the information? Answer: way more than you think. And how often do you go to check your calendar and end up scrolling through the ‘gram? Answer: every.damn.time. Point is, there’s a whole lot that can distract you on your phone. Not so in the bullet journal.
Second, you remember things way better when you write them down rather than type them. There’s a whole lot of science behind this, but what it boils down to is that the physical act of handwriting activates areas of your brain that aren’t triggered by typing. The result? You remember the one appointment you write in your planner and space half of the Zoom meetings sitting in your Google Calendar.
Lastly, the act of creating your bullet journal can be a practice in mindful meditation. Look, I am not an expert in meditation. My Headspace membership did nothing but stress me out. But when I am handwriting and thinking and sorting my ideas, it is like being in the zone times ten. I am focused on what I’m doing in the moment, and feel lighter and sharper when I’m finished. Adding artwork can also add to that meditative quality… as long as you aren’t stressing about making it Instagram-ready.
Are you sold? Good! Let’s get into it.
Step 1: Gather Your Supplies
If you were to type “bullet journal supplies” into the Pinterest search bar right now, a million brightly colored pens and stickers and stencils would pop up. Those are fun and everything… but you really only need two things to create a bullet journal: a dot grid notebook and a bleed-proof pen. That’s it.
Step 2: Decide How You'll Use It
A bullet journal can be a calendar, to-do list, goal-tracker and diary all in one — but it doesn't have to be all those things. Before you put pen to paper, take a moment to decide how this bullet journal can best serve you, without getting too overwhelming. As a mom and a small business owner, the purpose of my bullet journal is to stay ahead of my ever growing to-do list. I use mine to keep track of all household appointments and to-dos, as well as meetings, stats and ideas for my business. Maybe you want to use your bullet journal to help you achieve a goal, such as living a healthier life. In that instance, you could use your bullet journal to schedule activities that get you moving, plan healthy meals and track your weekly step goals.
Step 3: Set Up the Bones
As many uses as there are for the bullet journal, there are ten times as many ways to set it up. You'll find some really complicated set-ups out there, but this is what I recommend you start with.
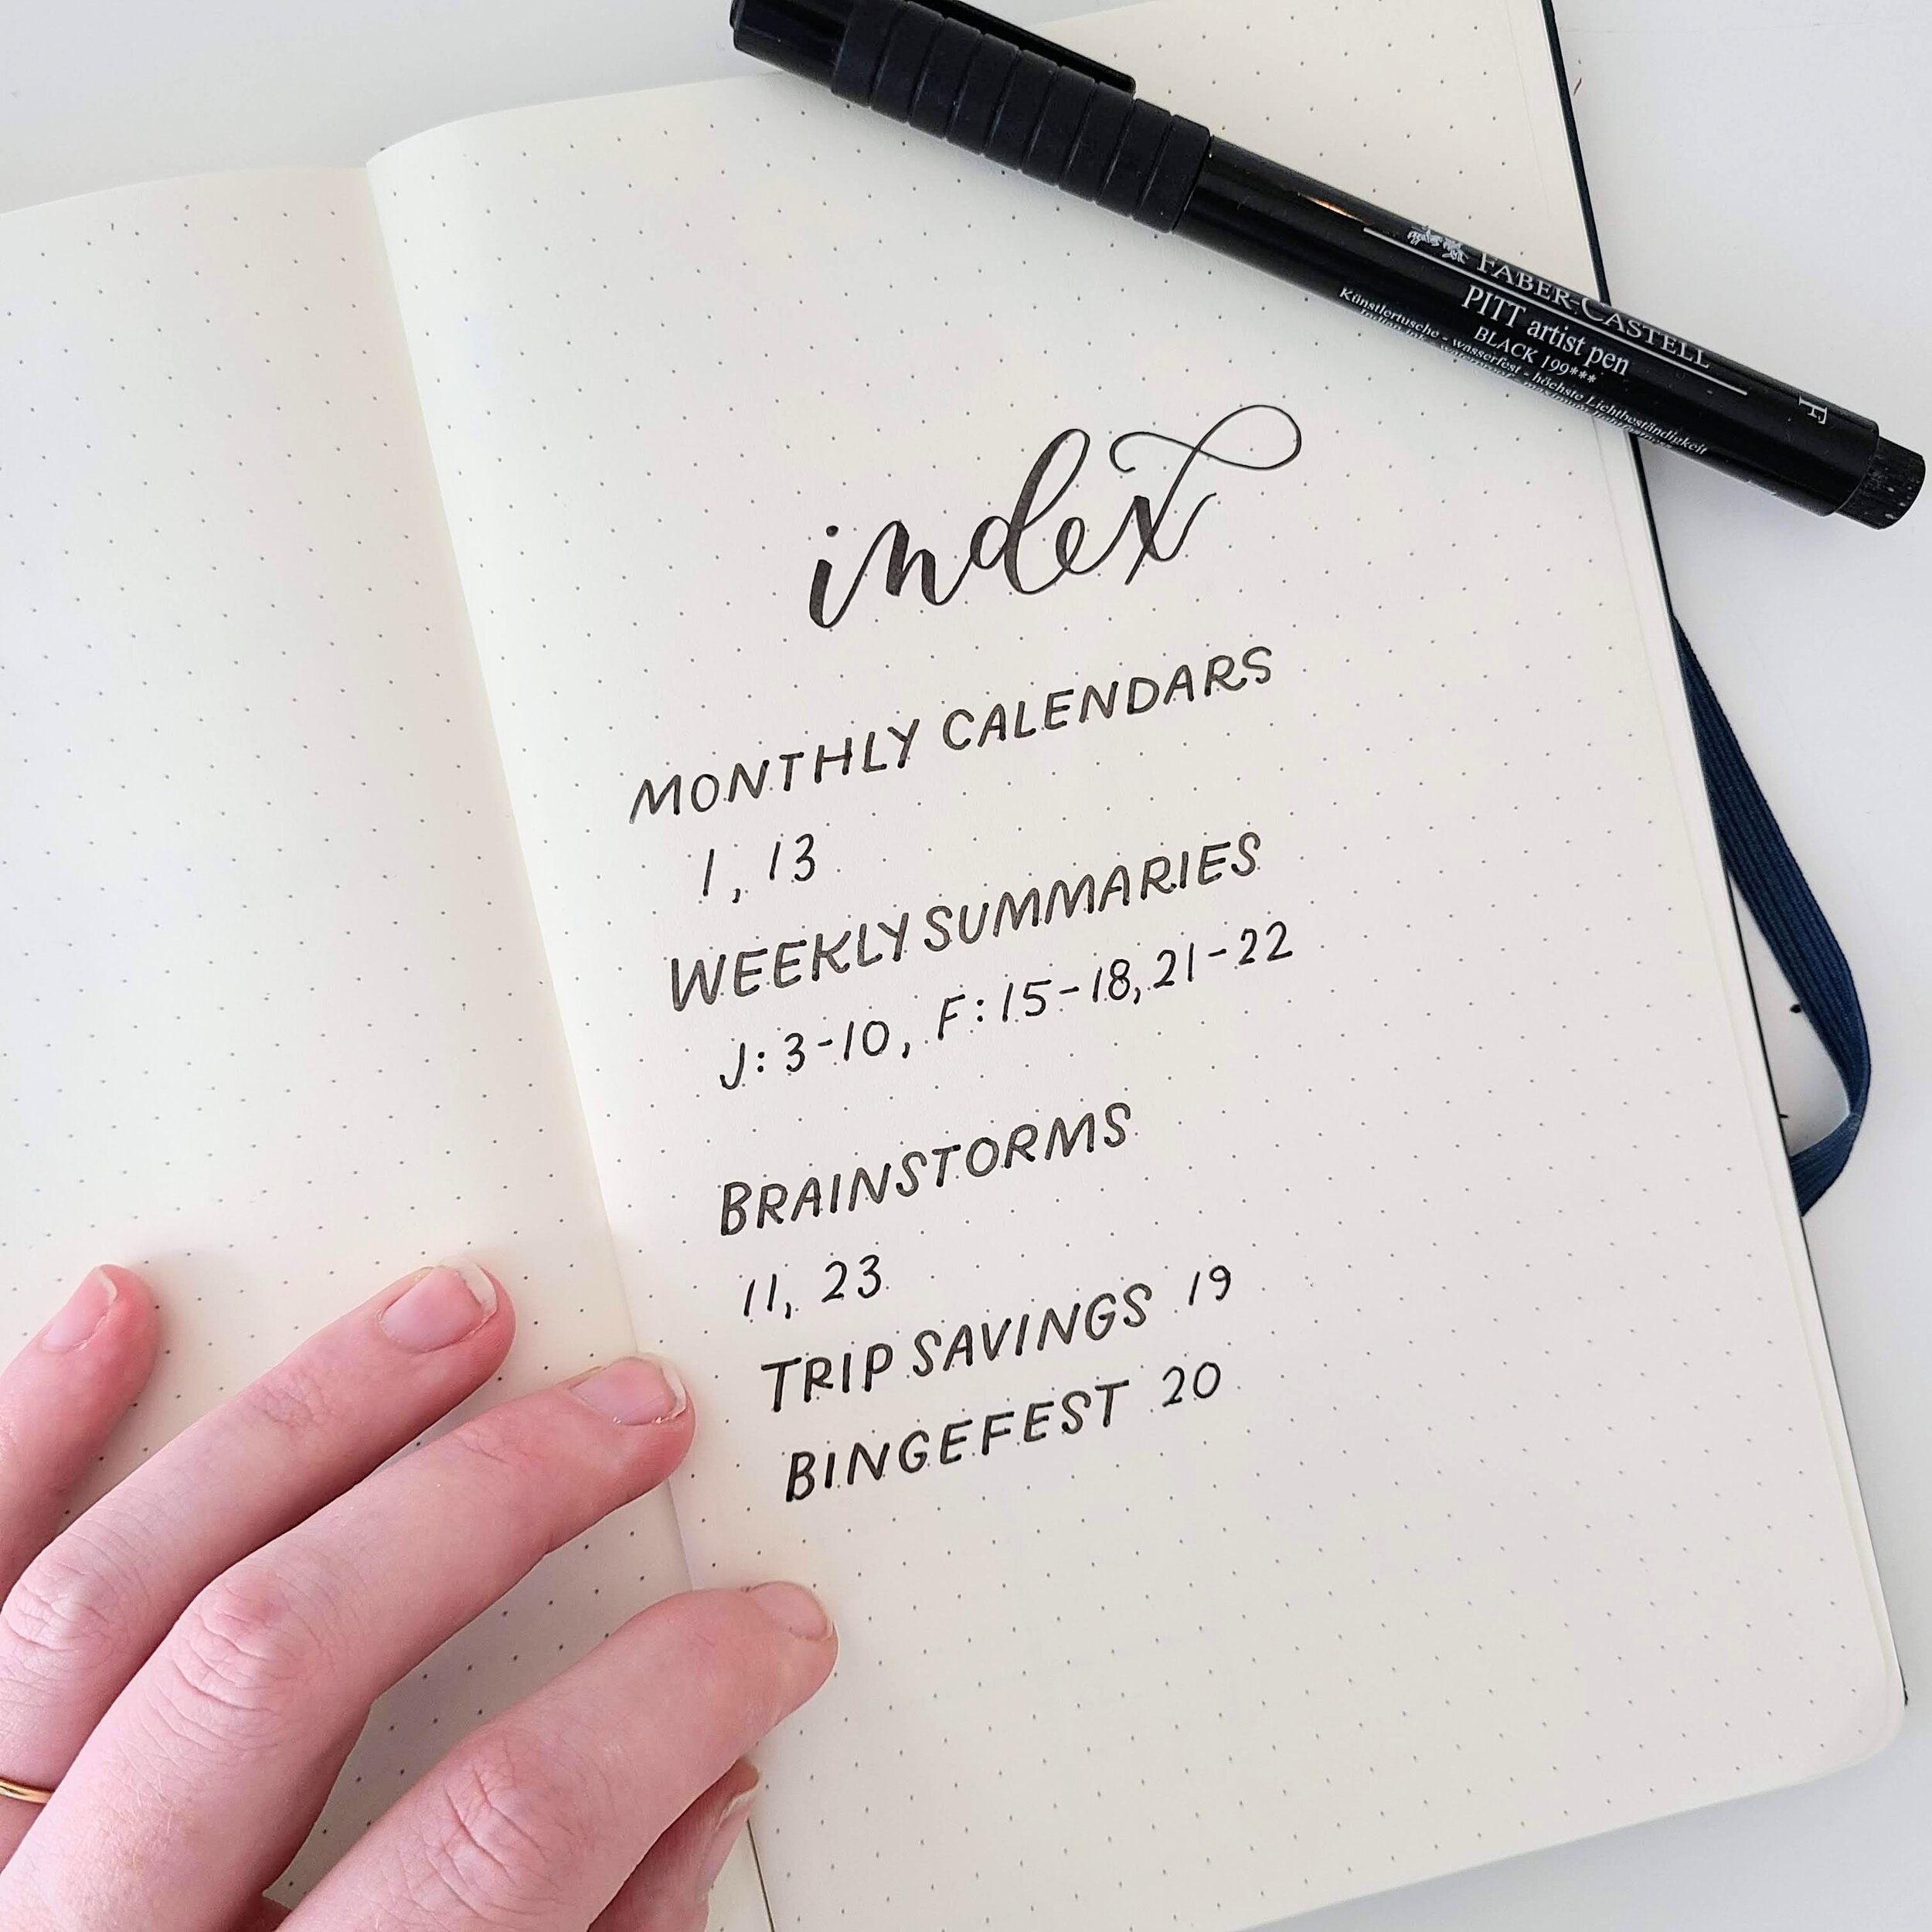
An index. The first page of your bullet journal should be the index. Make a list of the items you'll be tracking with your bullet journal. For example, my index page includes lines for Monthly Calendars, Weekly Summaries, Monthly Business Stats, Trip Savings and Creative Brainstorms. Every time I create a new page in my journal, I add the page number to the appropriate line in my index. Remember, the great thing about a bullet journal is there is little planning required beforehand — it's created in real time, and you can add and remove sections as you please. Don’t stress if you only have one or two to begin with.
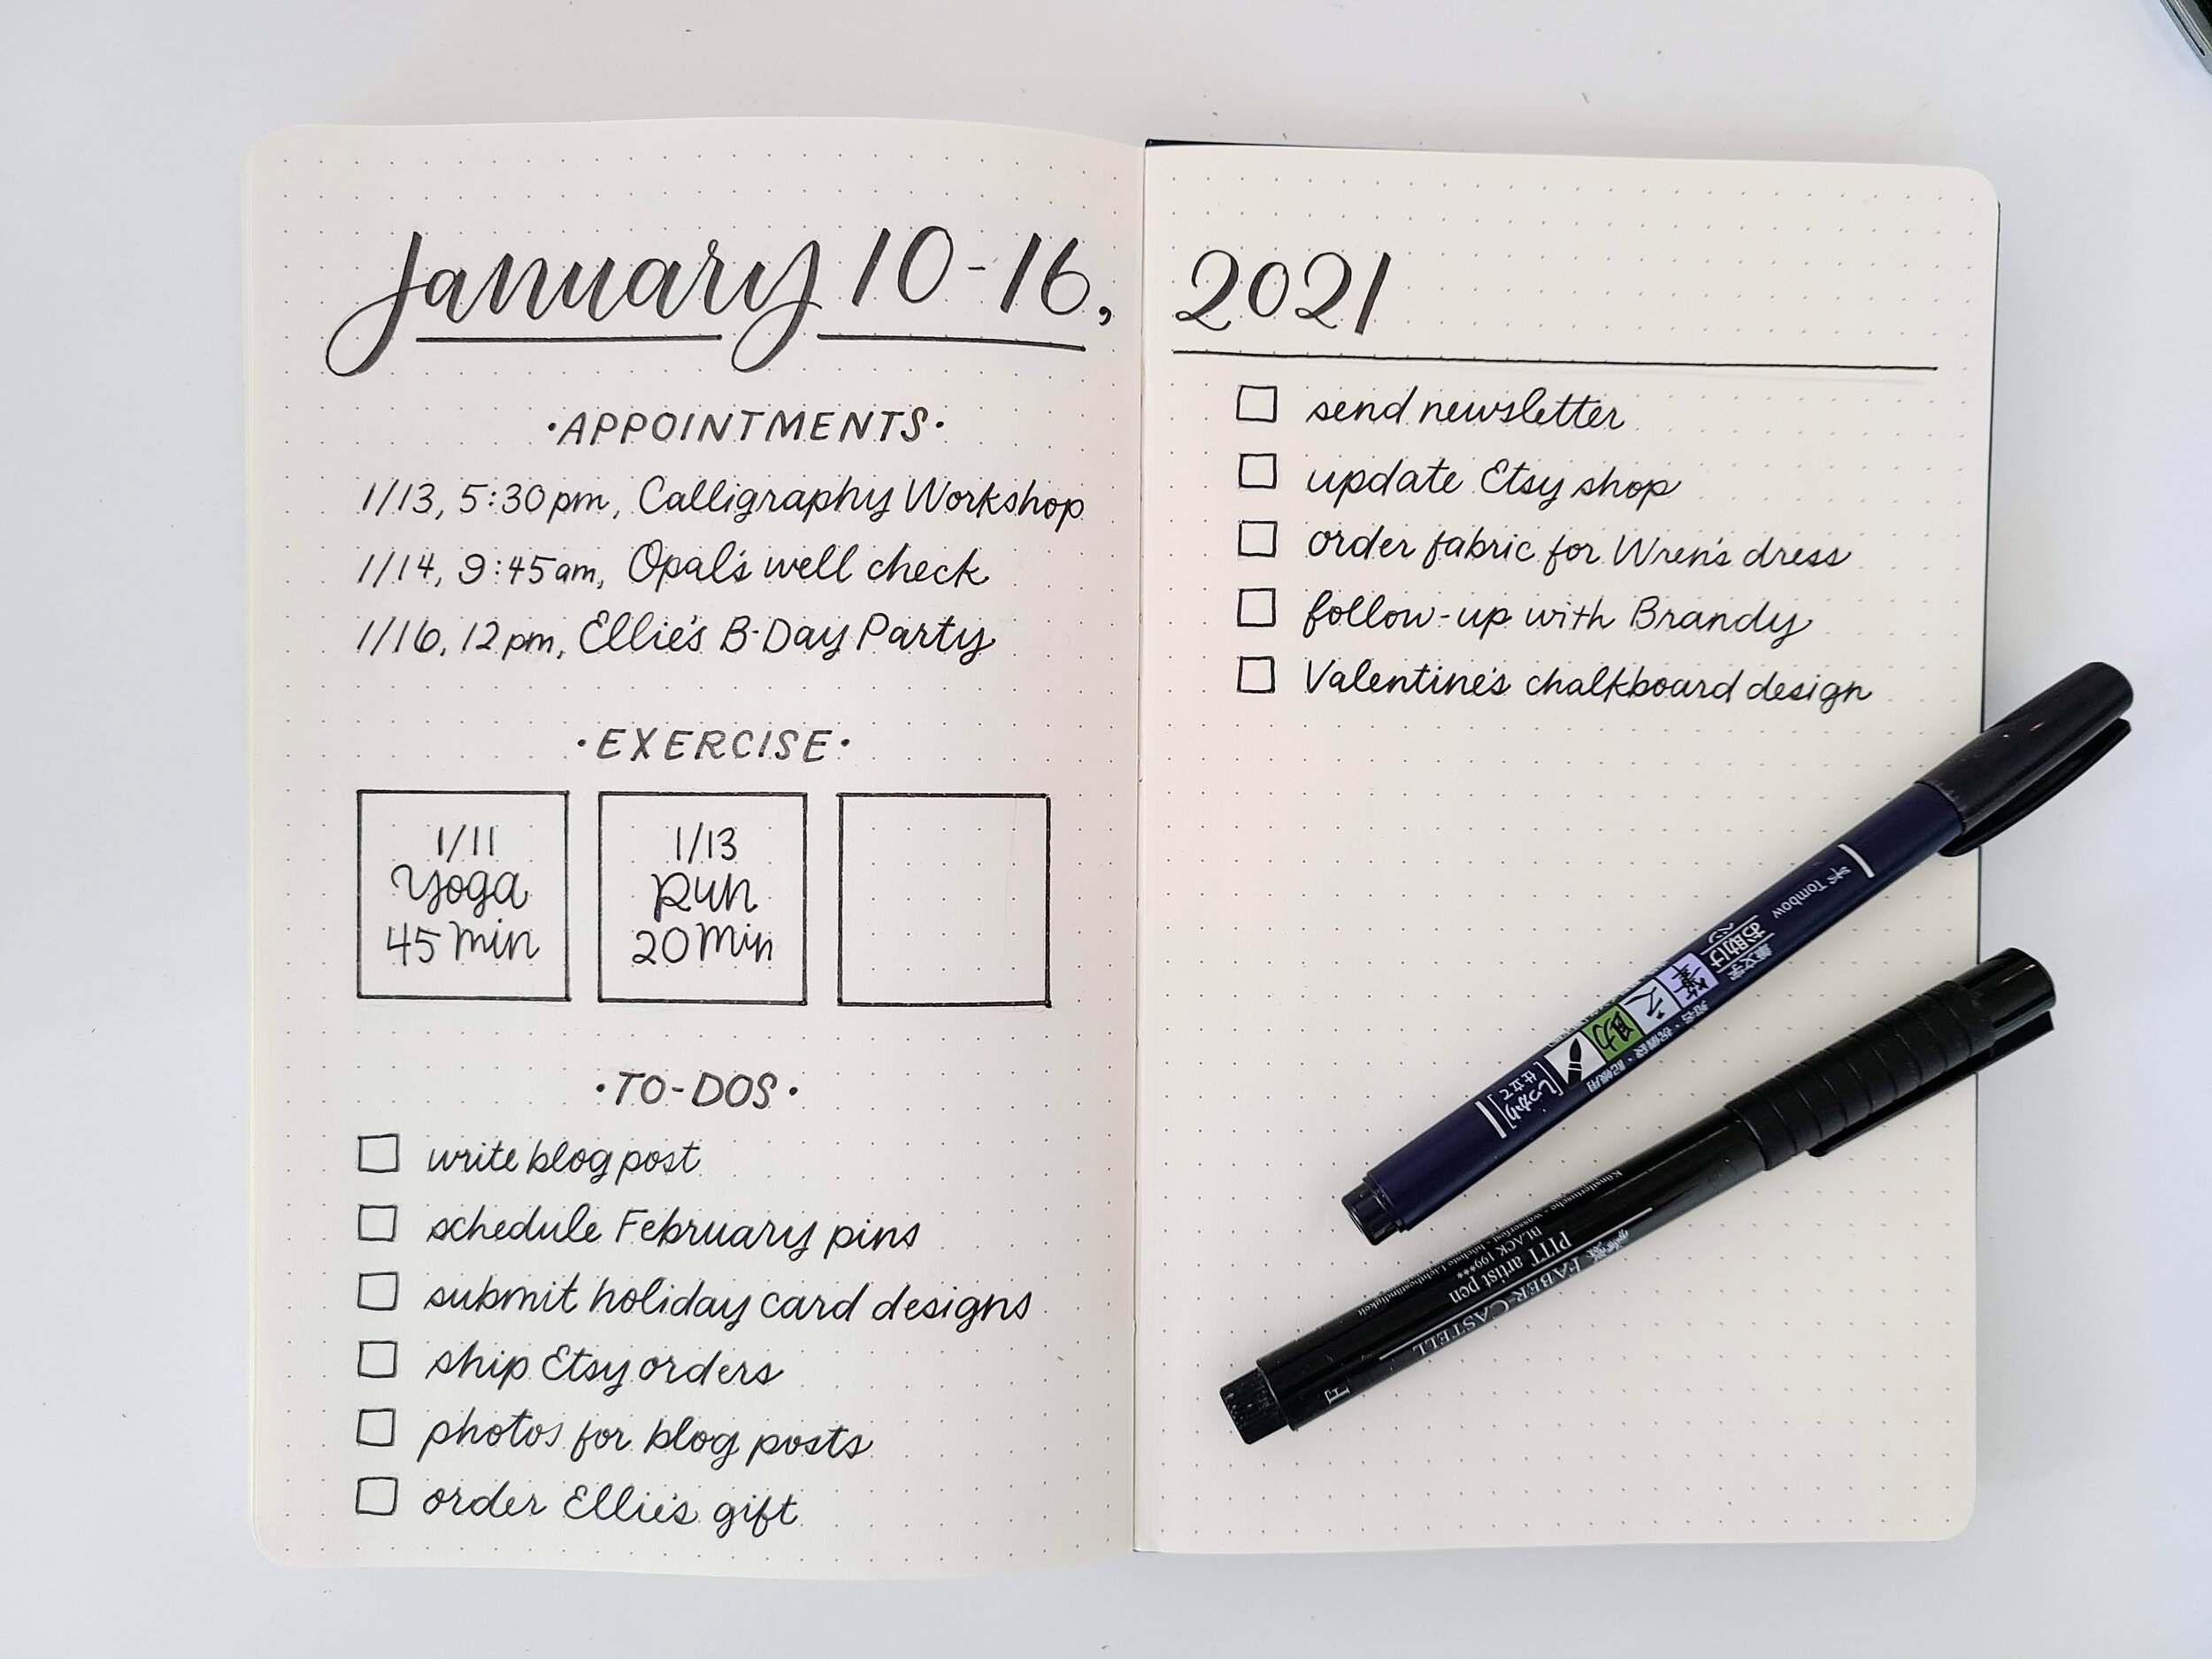
A weekly (or daily or monthly) summary. No matter how you are using your bullet journal, it is created chronologically. Because of this, I highly recommend you create a summary at the beginning of every week (or day or month, depending on how often you plan to use it) of everything you want to accomplish or track throughout the upcoming week. In fact, if you have nothing else in your bullet journal, have this. This could include a calendar of appointments, a series of to-dos, activity goals or whatever serves your purpose. At the start of the next week (or day or month), you can reference your summary to see what appointments were moved, what items still need to be completed and what goals were accomplished. Pro tip: instead of having a summary of work items and a separate summary of personal items, include them all on the same list using different colored inks. This will give you a better idea of what you need to accomplish, but allow you to see what’s work-related and what’s personal at a glance.
A tracking system for to-dos and goals. I think we can all agree that there are few things in this life more satisfying than crossing an item off a to-do list. But what about those items you didn't get to? Those that are in progress? Come up with a series of symbols or marks that indicate the status of your to-do items. I put a square next to every item on my to-do list. When I finish the task, I fill in the square. If it's in progress, I put a slash through it. If it needs to be moved to the next week, I put an arrow in it. And if it no longer needs to be done, I simply cross it out (see image 3 for examples). This helps me keep track of where I am at in terms of accomplishing my goals. If you'd like, you can make a key for these markers and include in your index page.
OPTIONAL: Goal tracker pages. This last bit is totally optional, but it’s a great way to add another level of personalization to your bullet journal. Maybe your goal is to read a new book every month, run 500 miles in a year, or save up for a big post-COVID trip or something equally cool. These tracker pages give you an opportunity to visualize the journey to your goal and celebrate little milestones along the way. These are also great opportunities to get creative! Instead of just writing down how much you saved each month for your trip to Paris, trace the outline of the Eiffel Tower into your journal and fill it in as you go. Don’t worry - there are lots of goal tracker spread tutorials coming your way!
Step 4: Get Started
As soon as you have your index created, dive right in with a summary of your first week! Chances are, the look of your pages will change dramatically as you go -- and that's a good thing. The more you build up your bullet journal, the more you'll learn about what does and does not work for you.
And that is it -- truly. Yes, you can get real fancy with it. And in future posts, I’ll show you how to add some creative flair. But for now, this is all you need. A few tips before I go..
Done is better than perfect. You may have the urge to wait to get started until you have hashed out the perfect layout and plan for your pages. But the truth is, you're never going to know what works for you until you start. Remember, this bullet journal is all about serving YOU. If the pressure to create the perfect page keeps you from getting started, then take a step back and remind yourself what it's for.
Don’t worry about creating sections -- that’s what the index is for. When you start bullet journaling, you may have the urge to create separate sections in your journal to house all your different content. Resist that urge! To create sections means you’re going with a set plan. And to get the most out of your bullet journal, you need to have flexibility so you can adapt as you go. That’s why we create our content in chronological order instead of batching it into sections. When you need to go back, you can find what you need by using the page numbers in the index. Trust me, this is much more effective in the long run.
Stay off Pinterest... in the beginning. If you type "bullet journal" into Pinterest, you will be instantly overwhelmed with the amount of beautiful pages, unique tracking systems and creative lists people are using. My recommendation is to try it on your own for at least a month or two before you jump into this world. At that point, you'll have a better understanding of how the bullet journal works, and those lovely images will serve to inspire instead of overwhelm.
Questions? Comments? Want to see more? Let me know in the comments below!