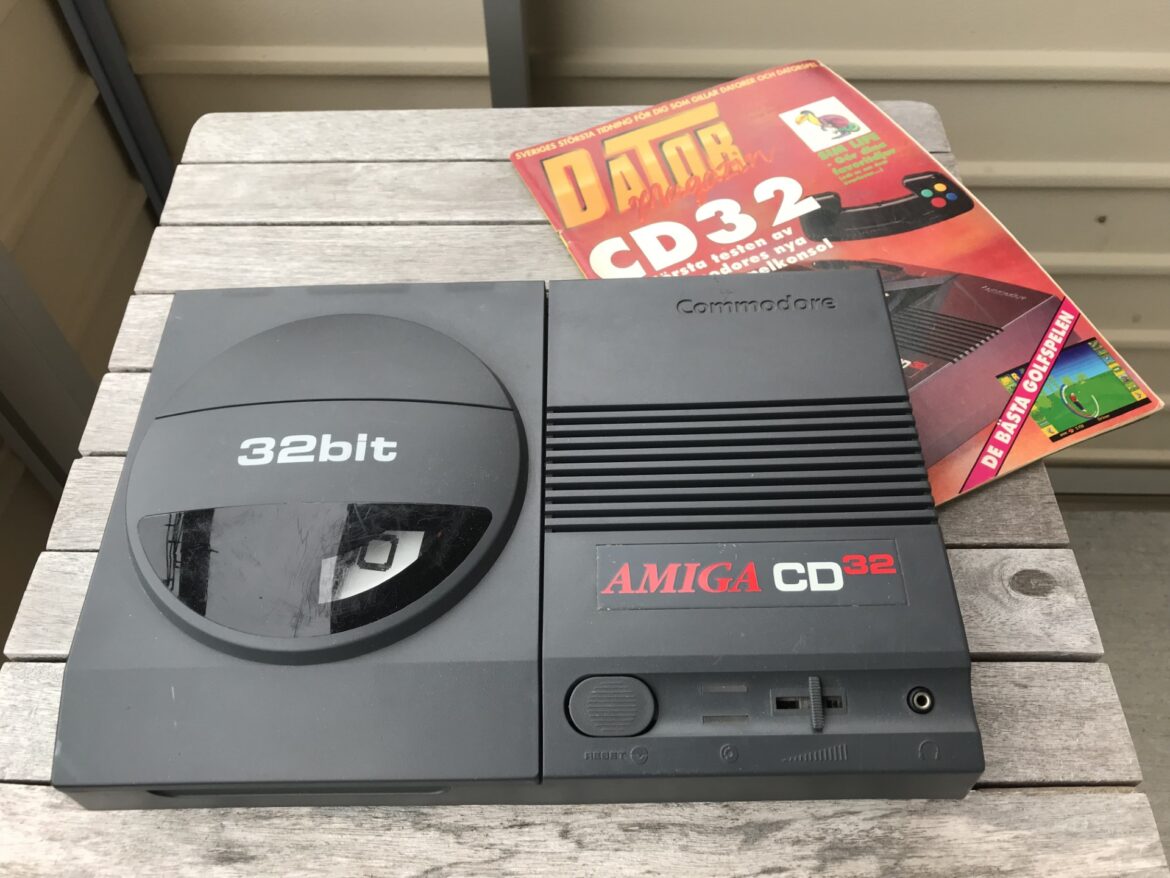
I recently bought an AMIGA CD32 from Swedish eBay. This console has been on my wanted list for quite some time. I never owned it as a child, but I have a very clear memory of playing the game “Microcosm” at a demo room in a store in the mid 1990s.
The AMIGA CD32, released in 1993, was Commodore’s last stand to avoid bankruptcy, and an attempt to compete on the console market. Eventuellay, the console flopped and could not compete with competitors such as Sony Playstation. Nevertheless, I always thought the CD32 was an exciting machine, built on similar hardware as the AMIGA 1200, and with interesting expansion capabilities.
The console I bought had three problems:
- Discs won’t spin.
- Buttons on gamepad were stuck.
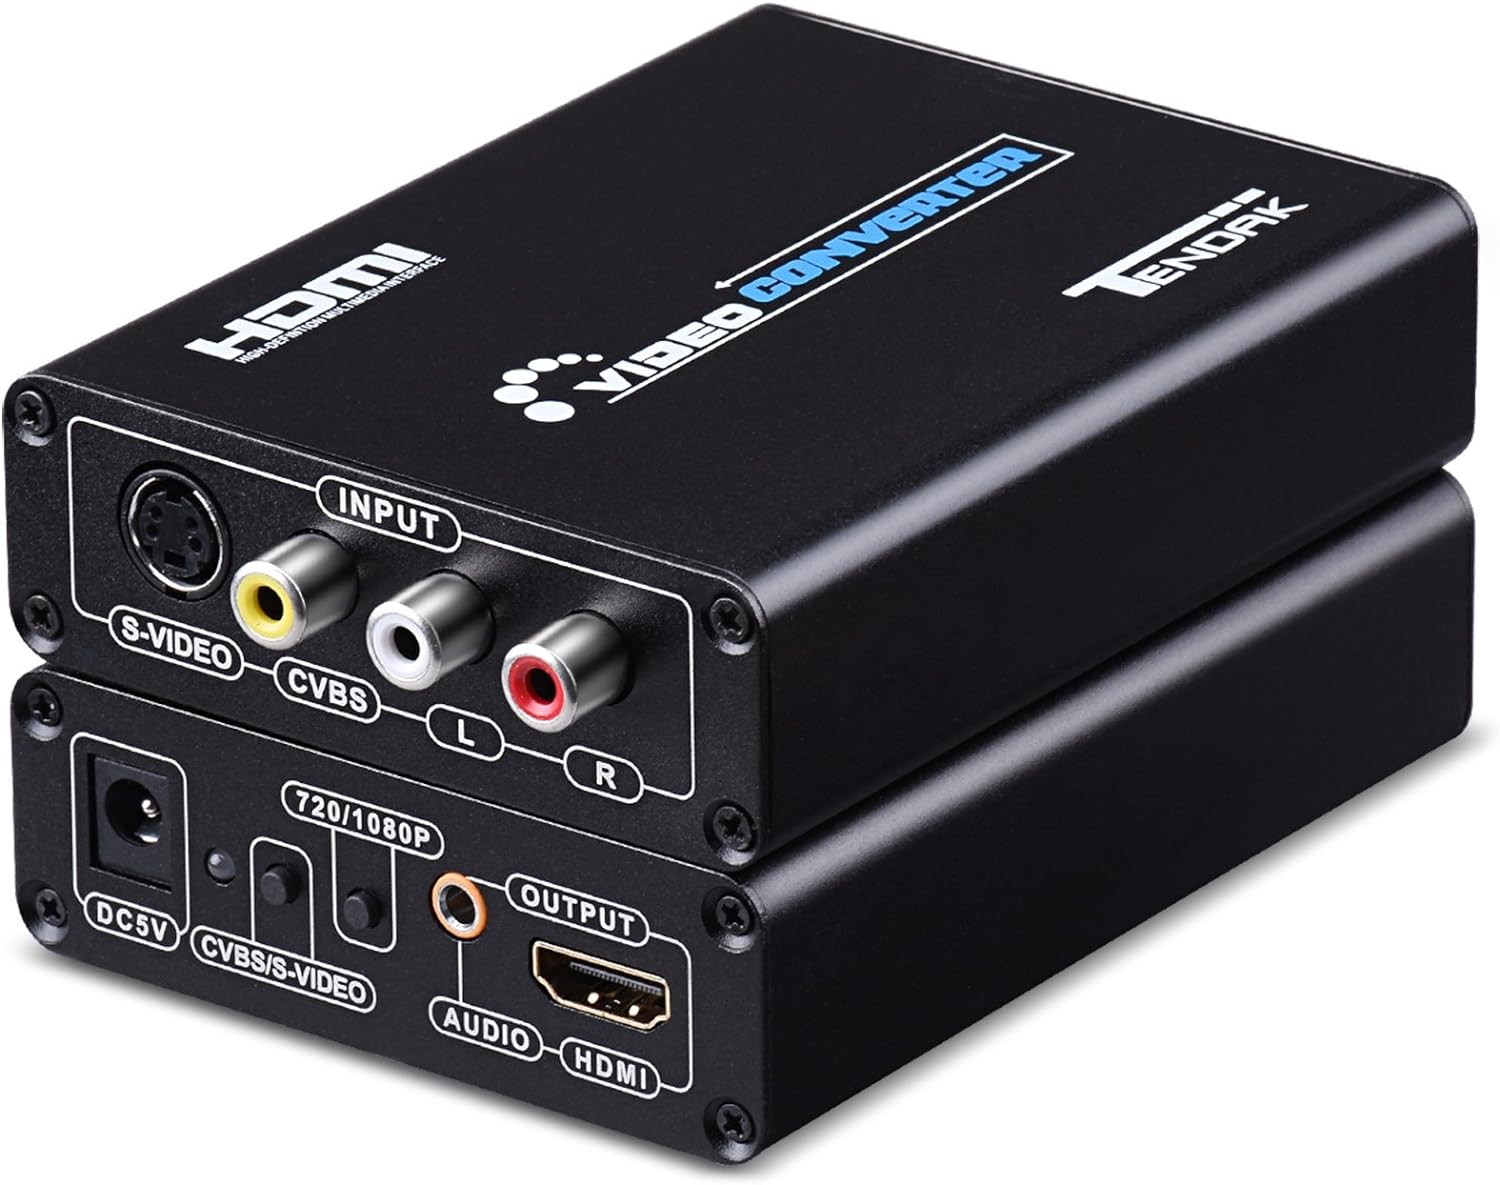
- Poor video quality over composite (I use this upscaler as a solution: https://amzn.to/4bgsy11).
Time to disassembly!
AMIGA CD32 disassembly
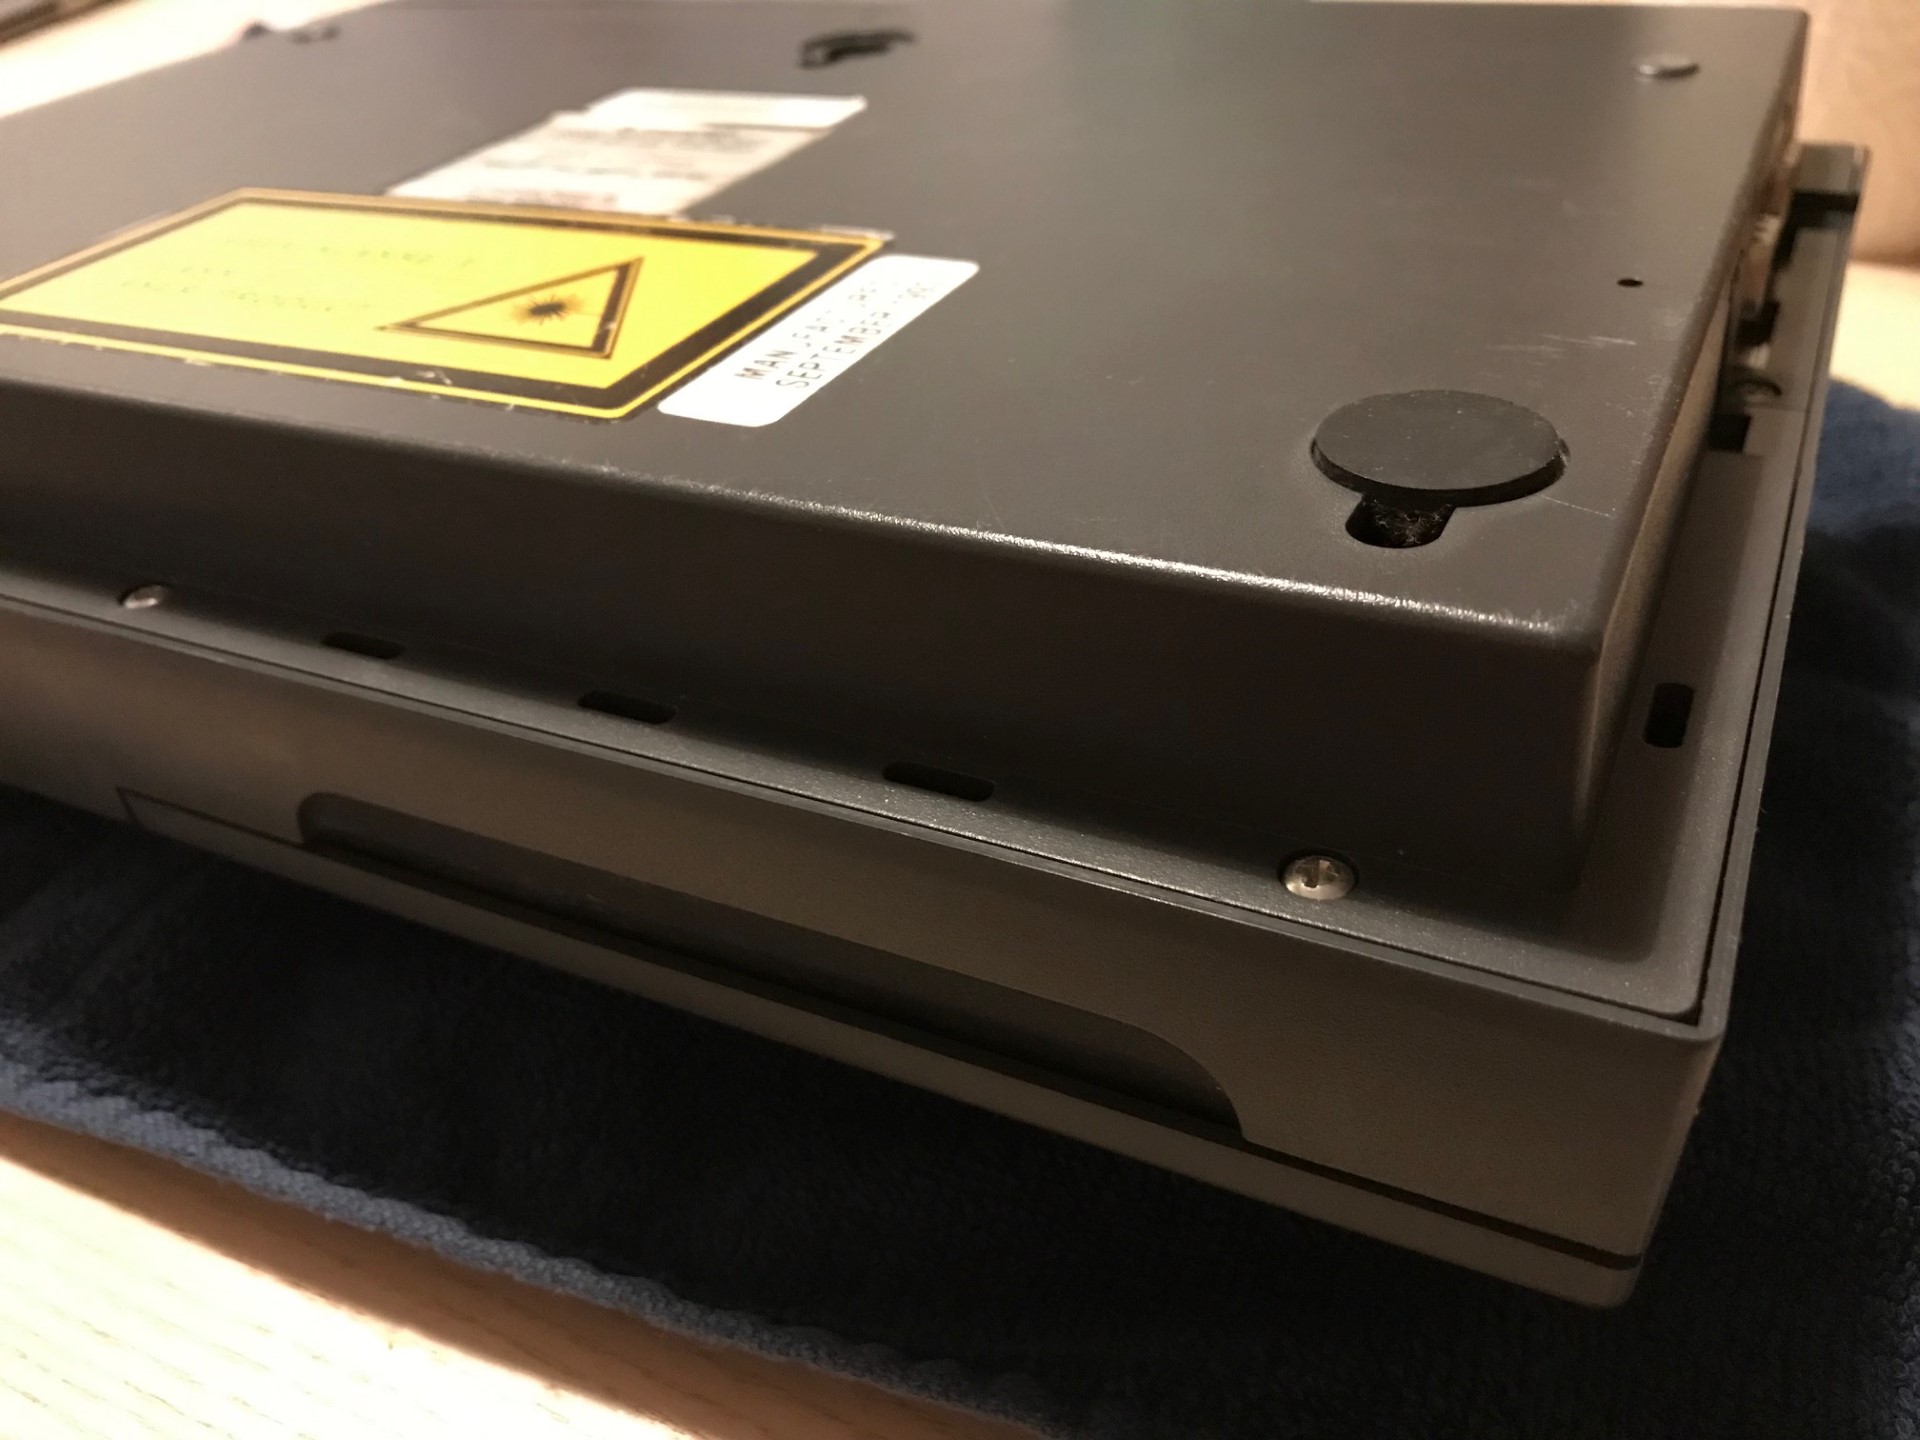
Disassembling the CD32 is a fairly straight-forward process:
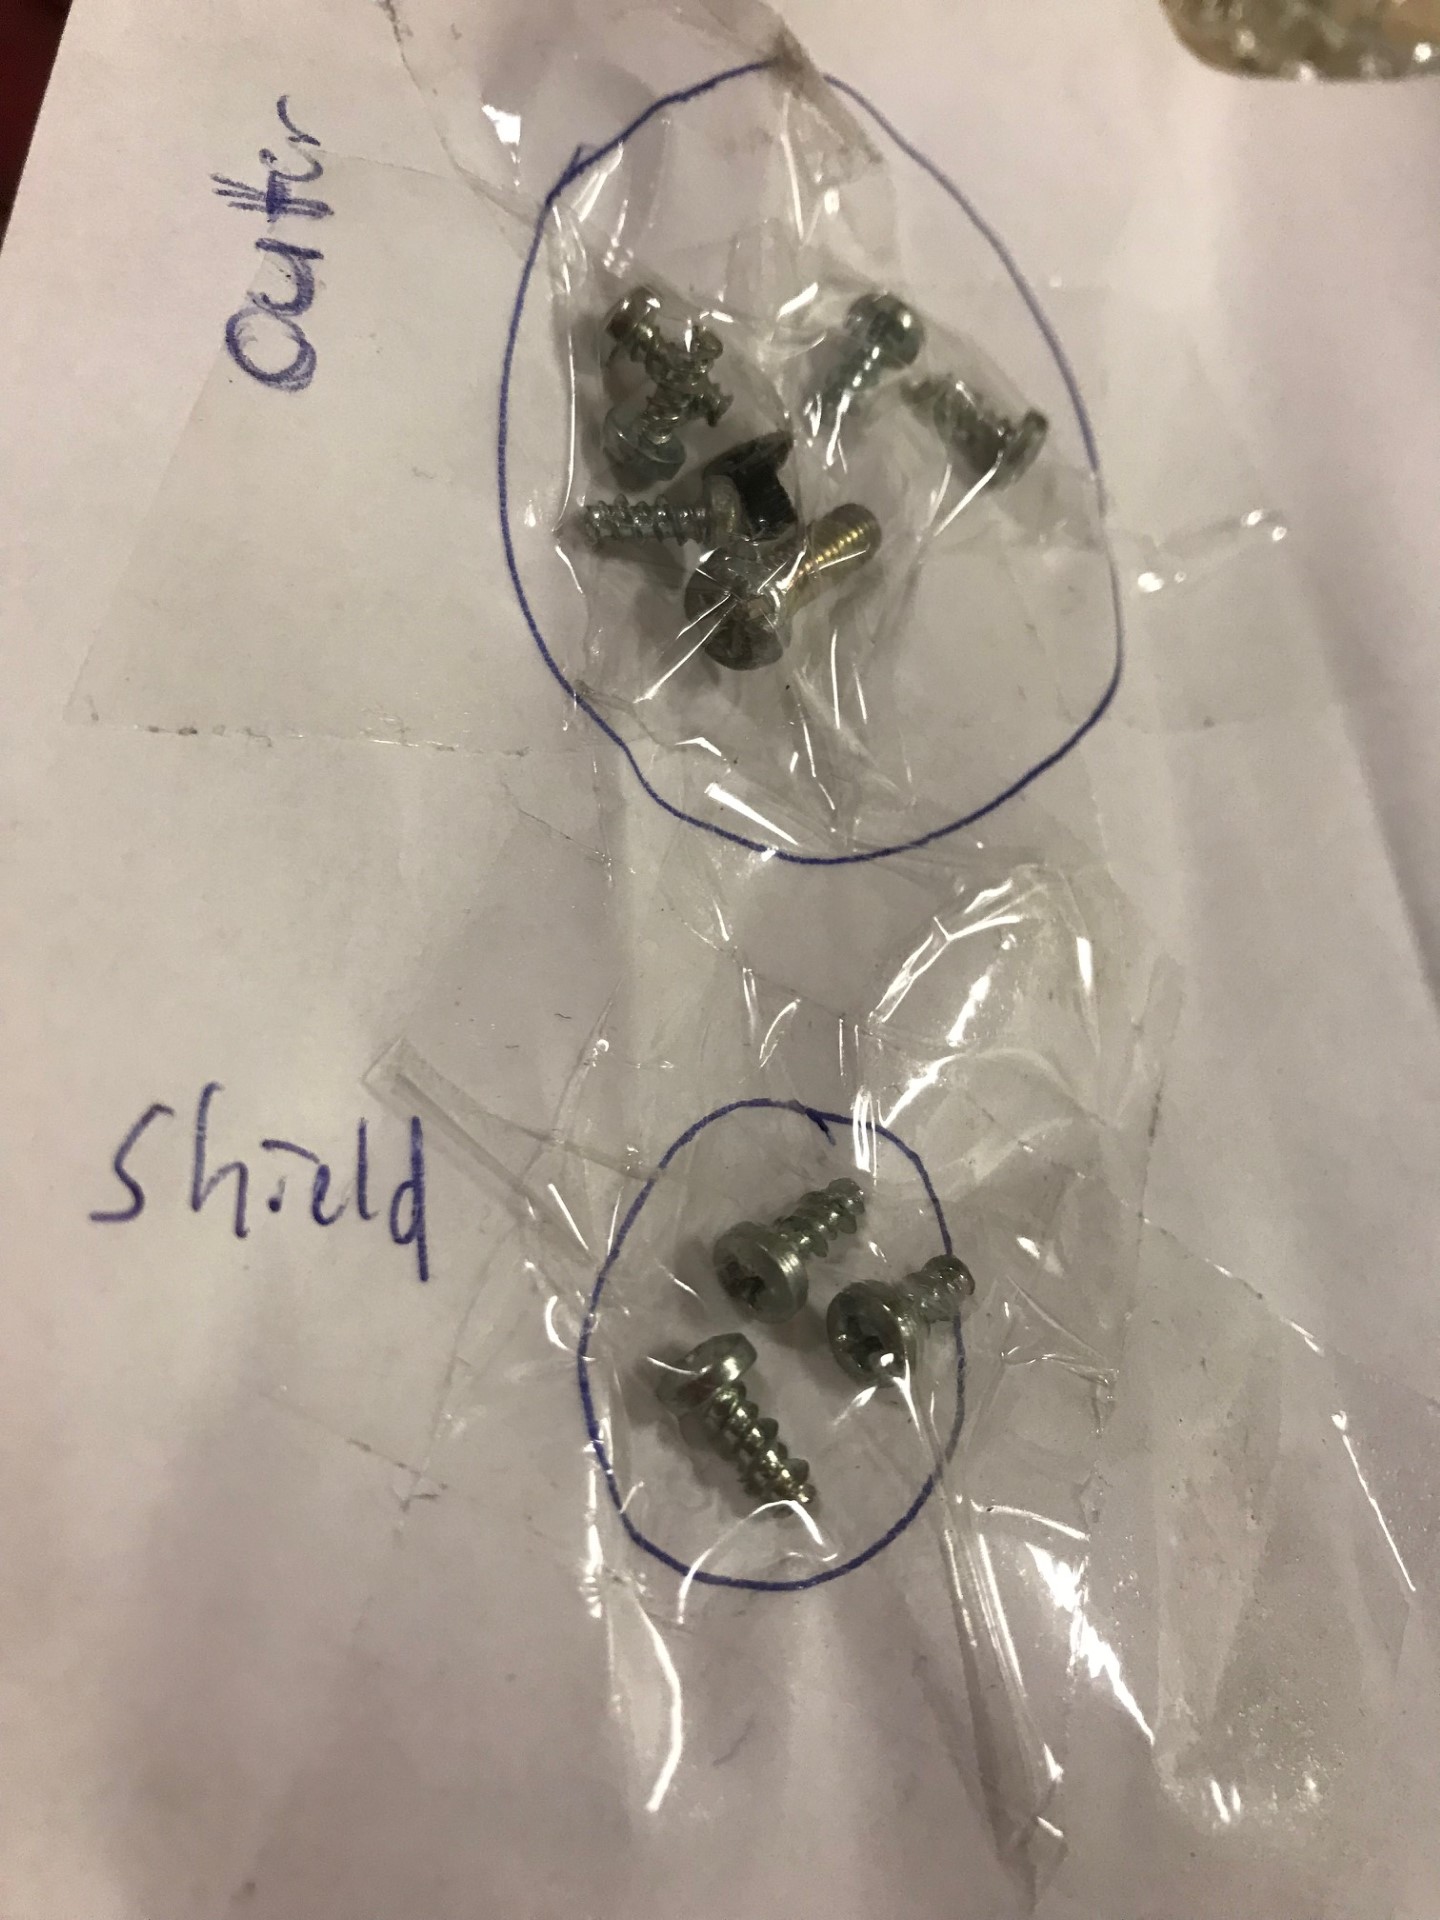
- Seven screws hold the top and bottom of the plastic casing together.
- Three screws hold the metal shielding and motherboard into place.
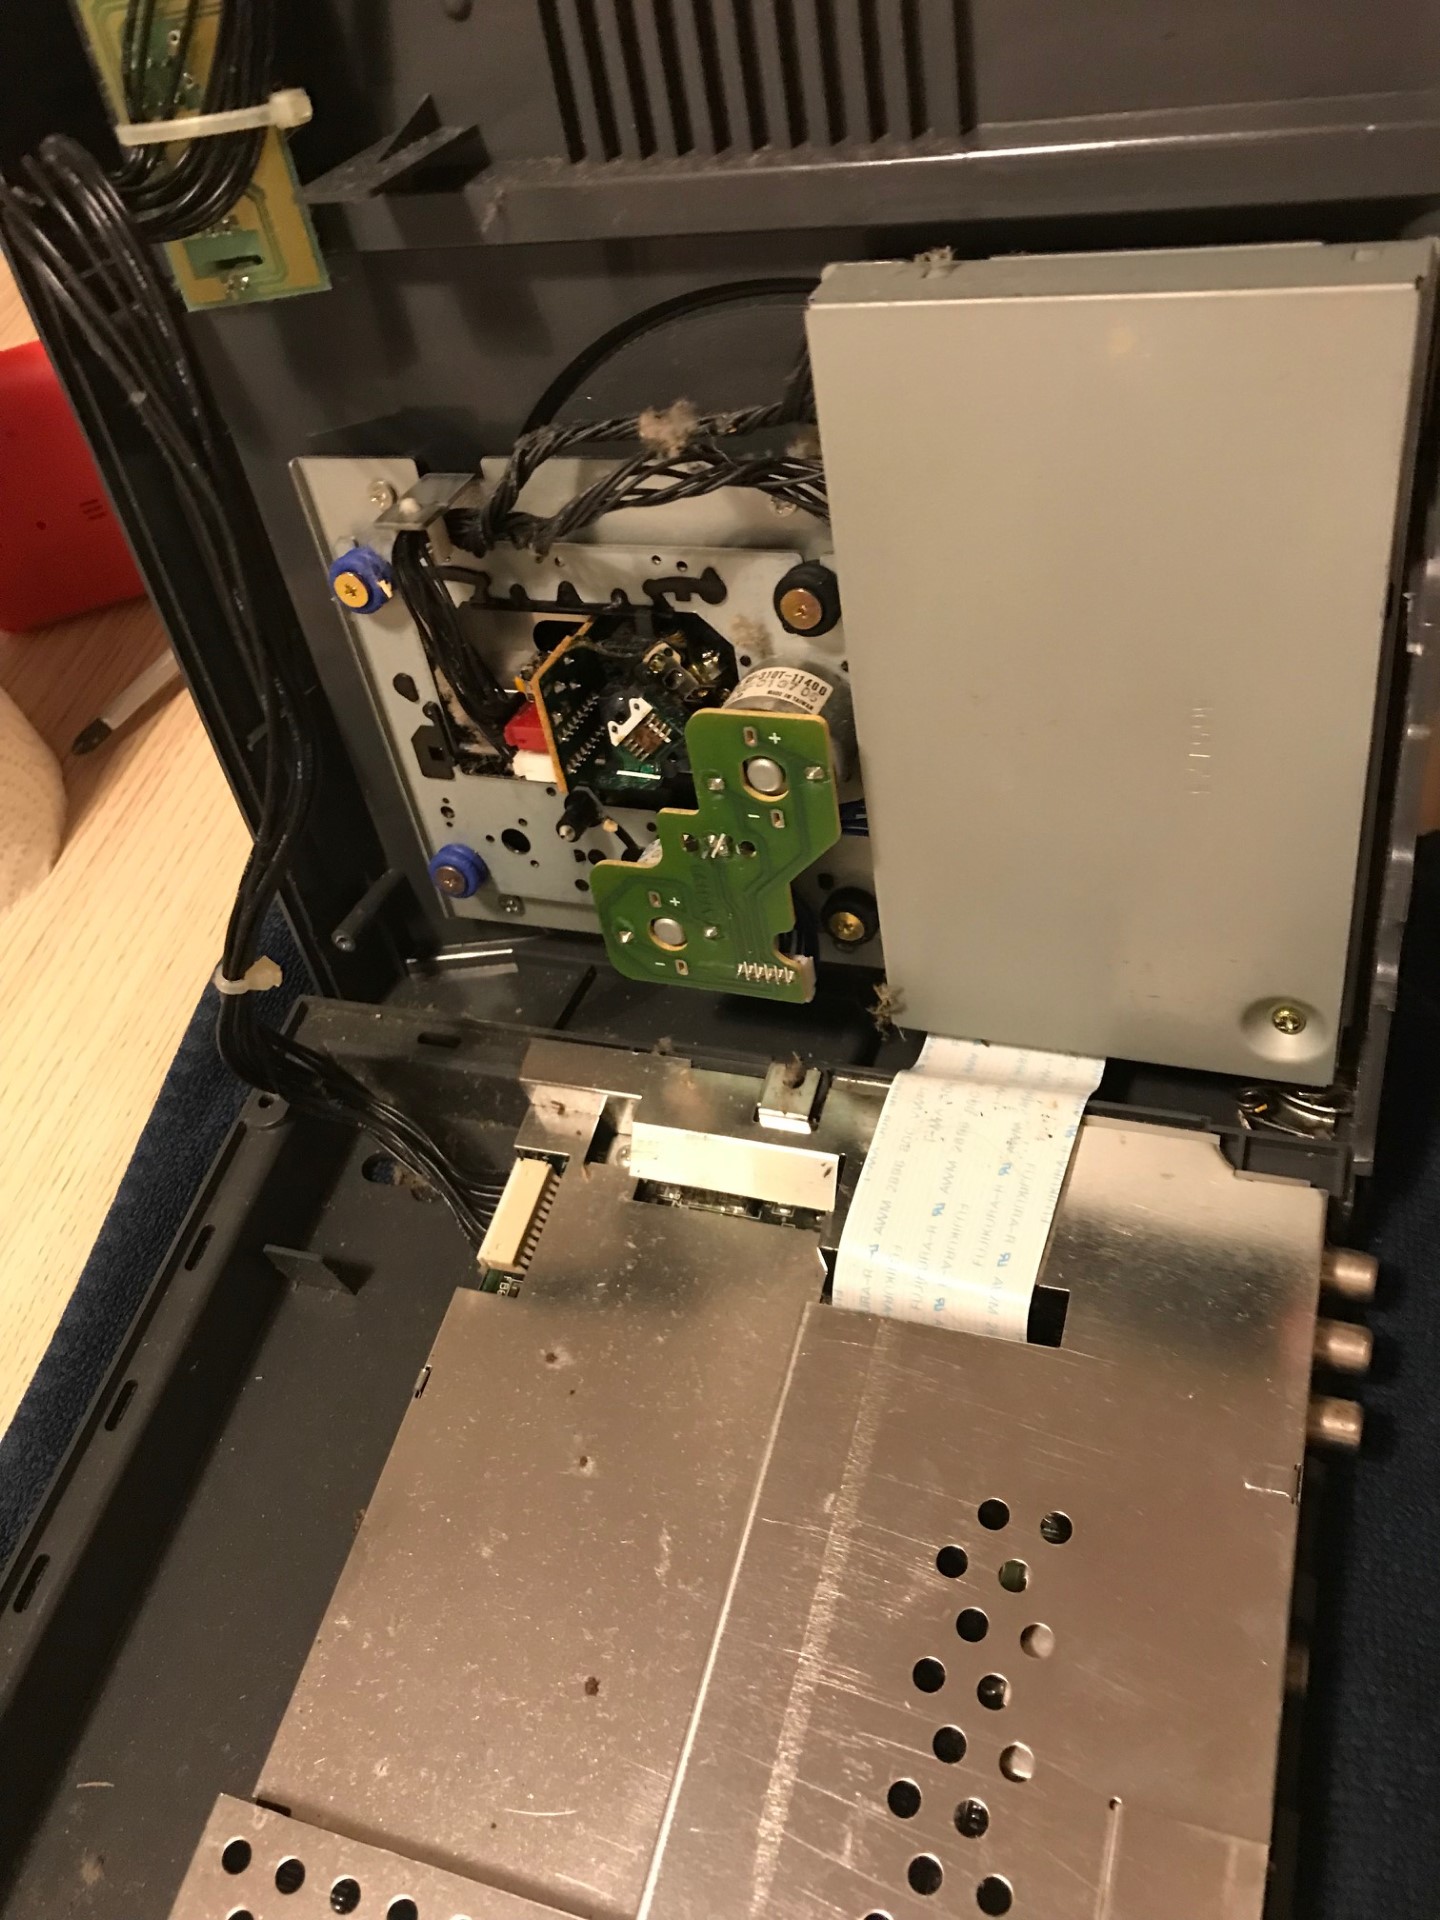
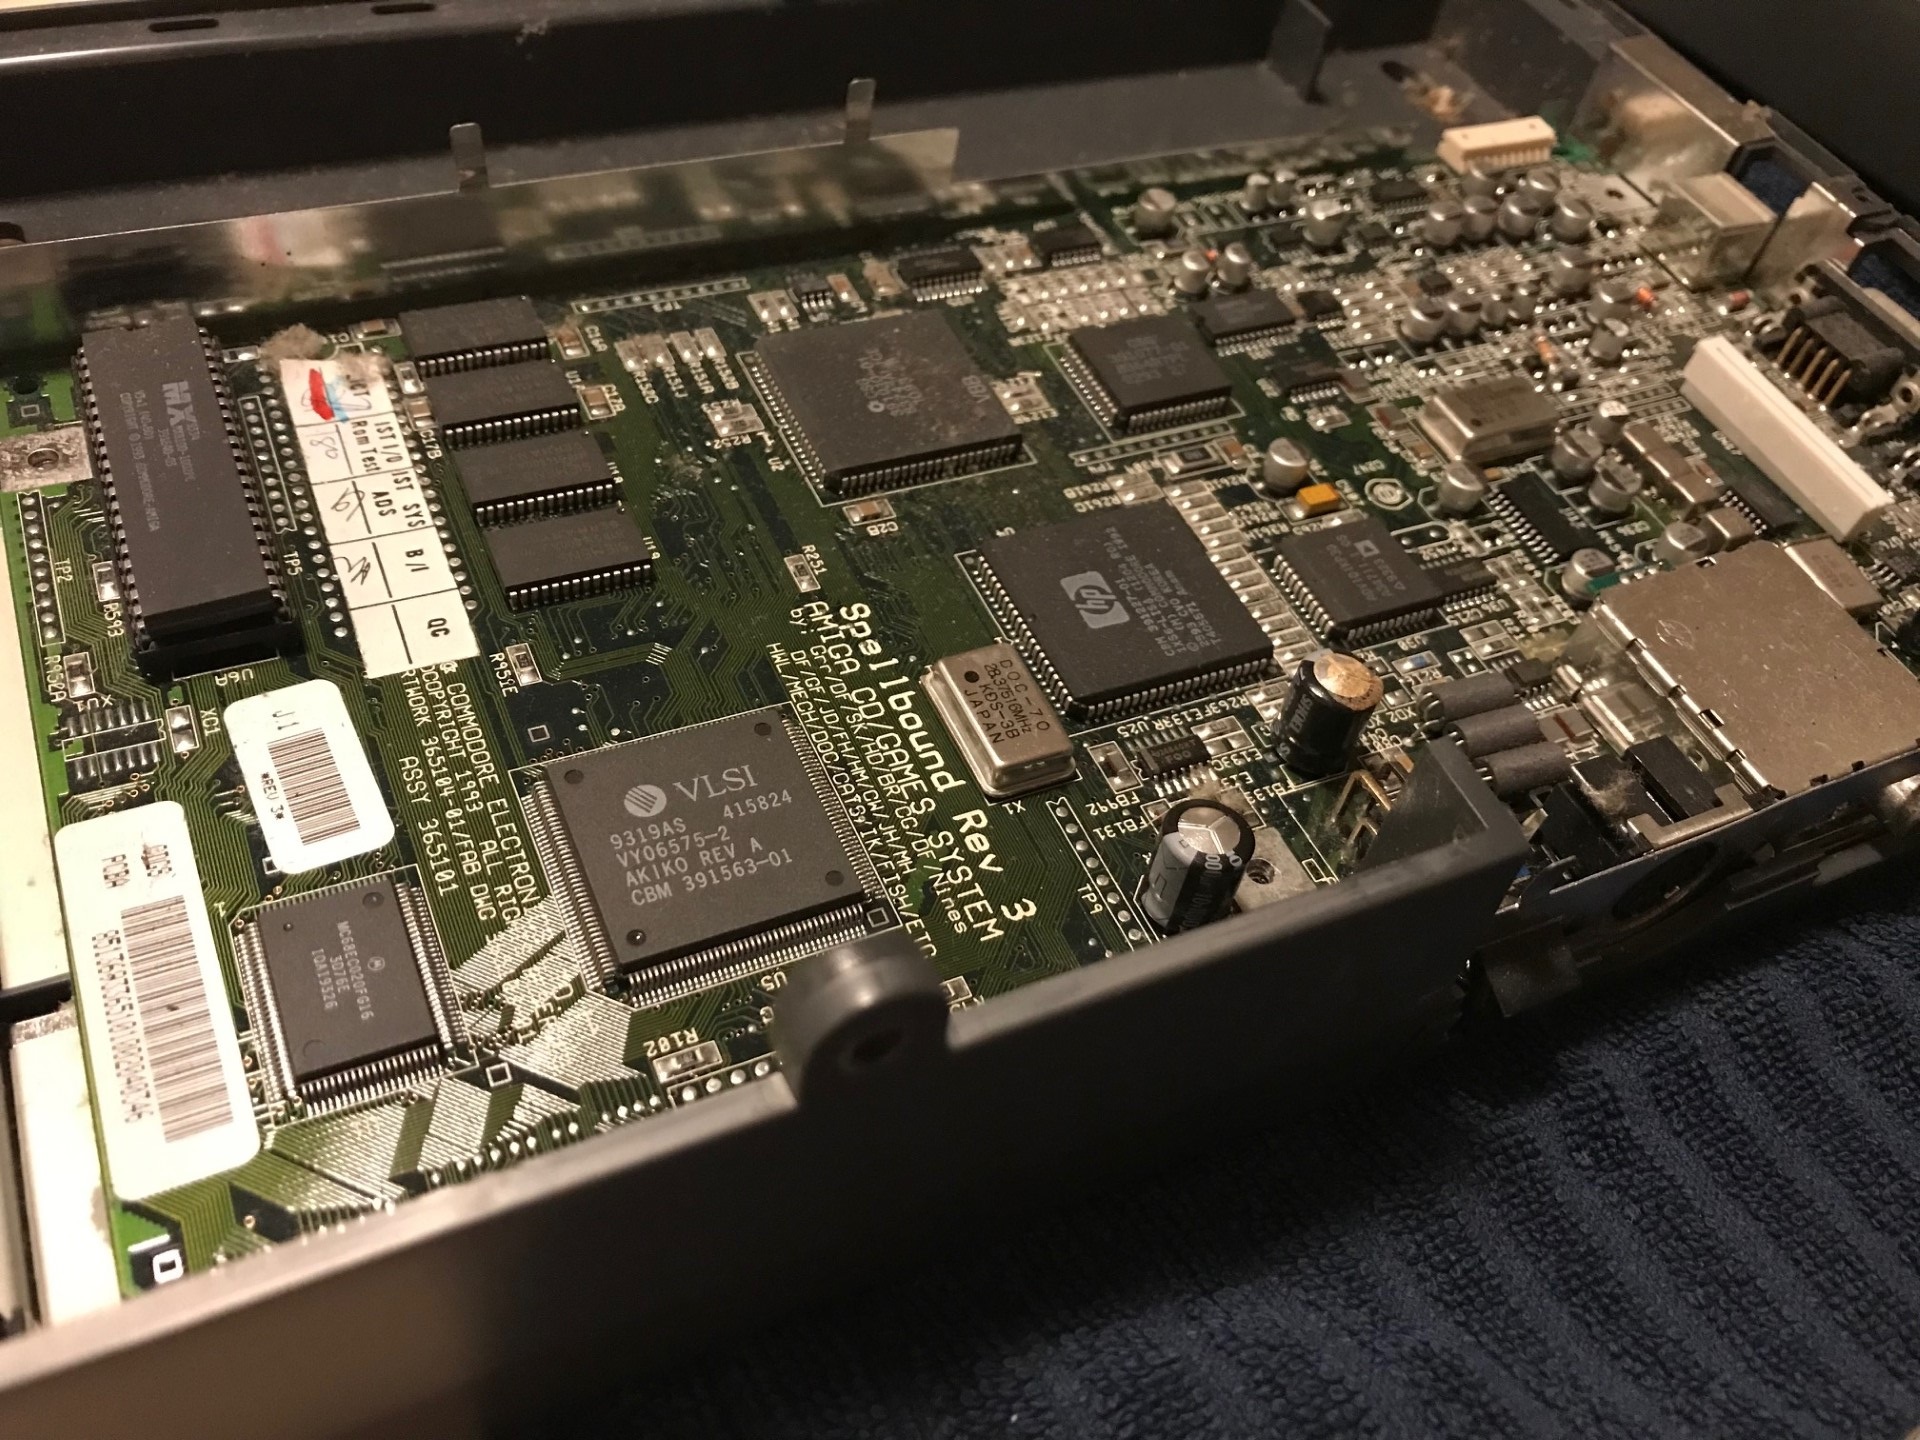
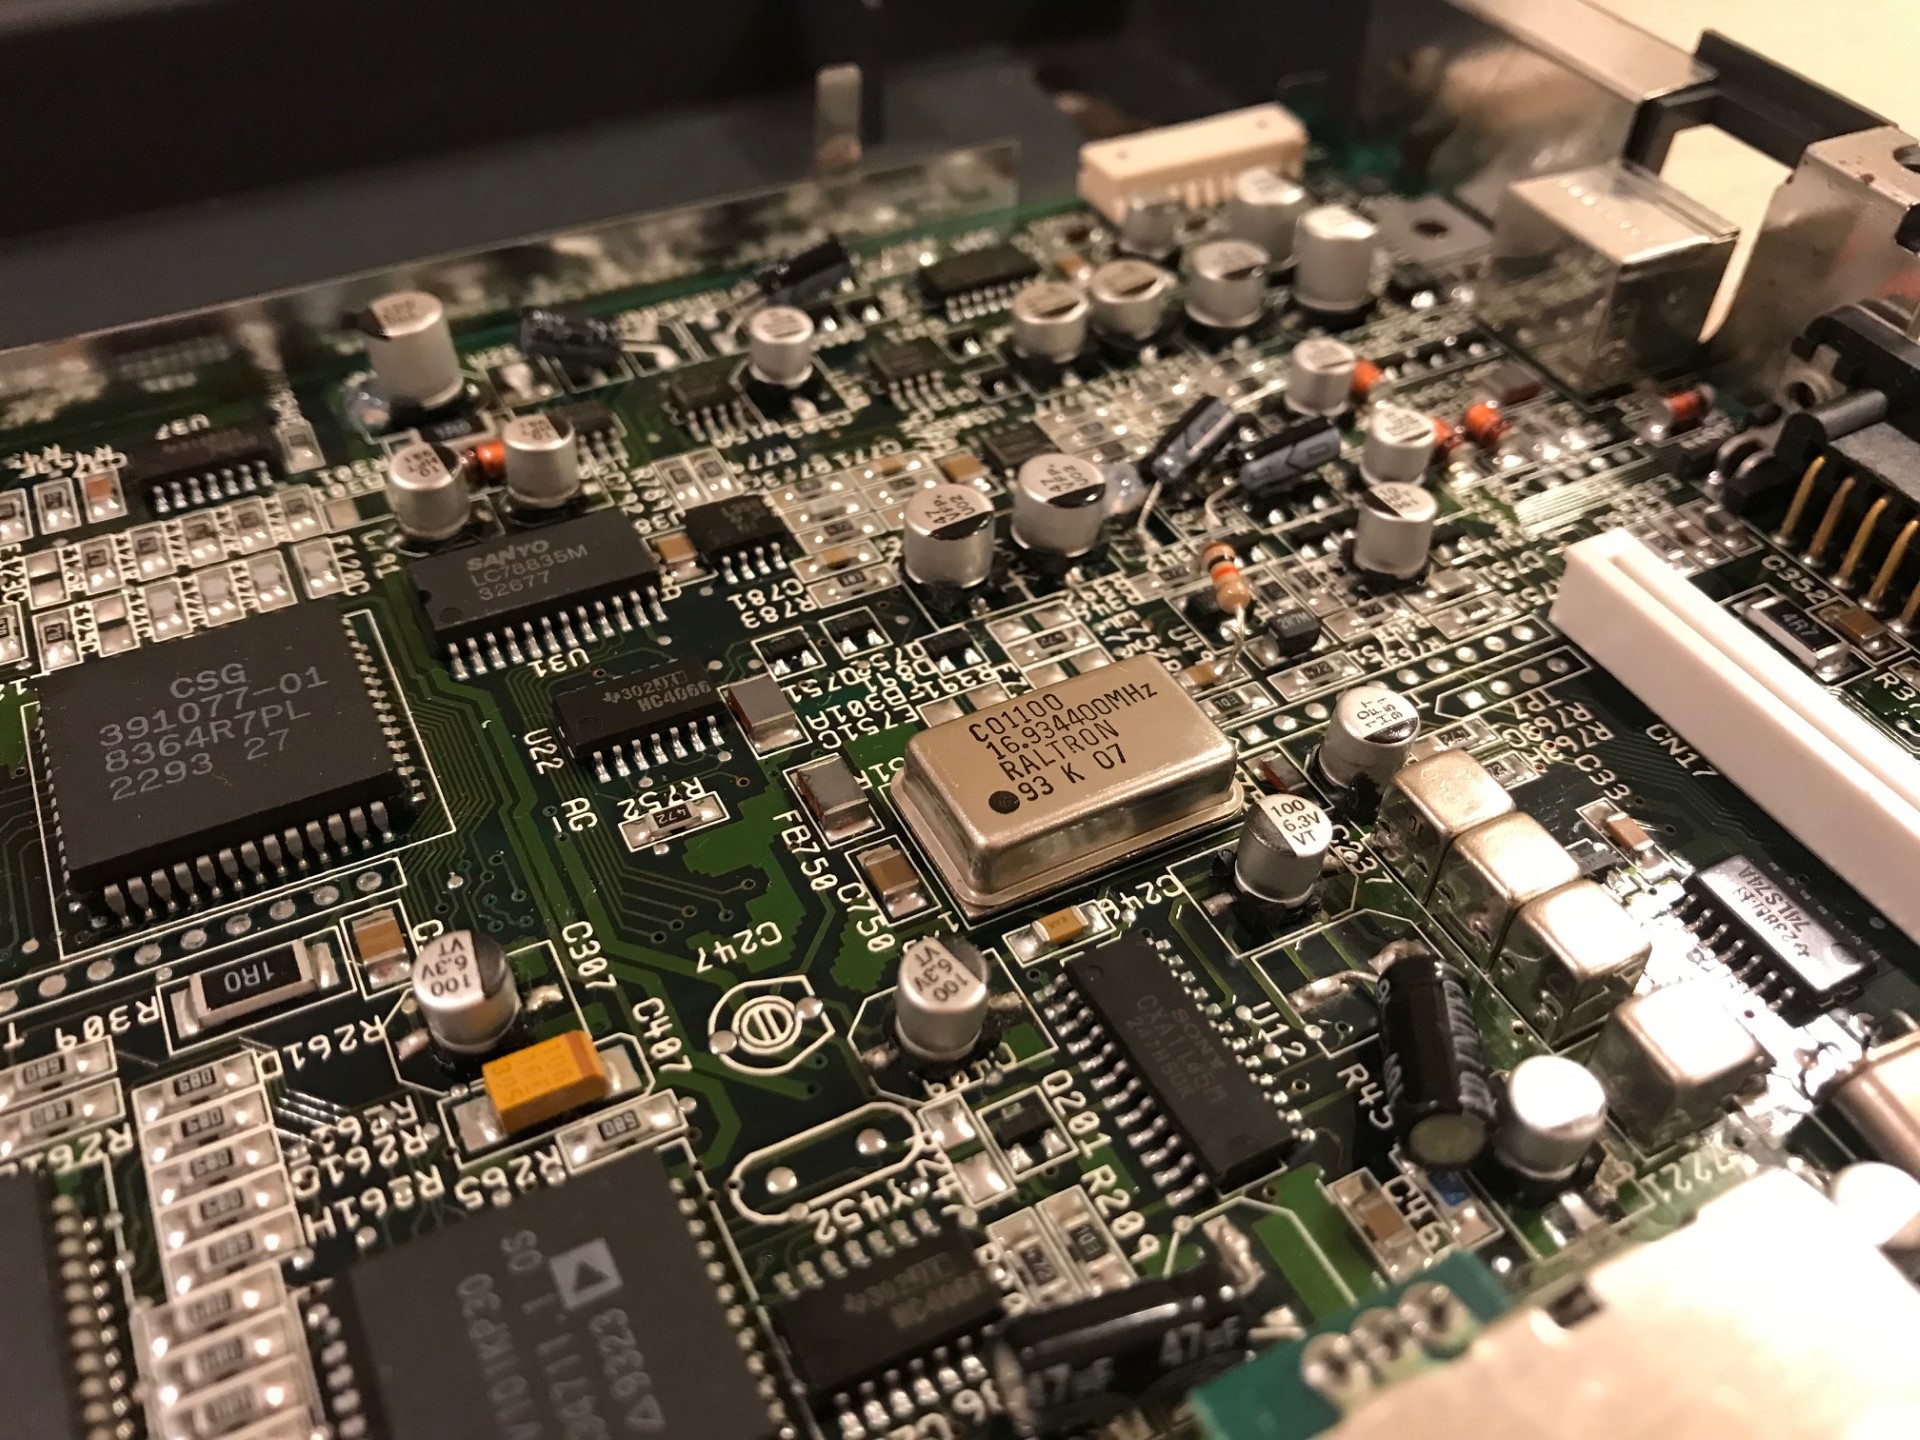
When separating the top and bottom, be careful not to damage the flat ribbon cable that connects the CD-reader (top) to the mainboard (bottom). This cable can be removed by gently lifting up the top part of the white plastic holder on the mainboard. Your goal during this process is to separate the mainboard from the rest of the unit / rf shield. I don’t think my unit ever had been opened. Note the leaky caps in the picture below! The capacitors in the CD32 are notorious for going bad over time. The sooner they are replaced the better. No major damage was visible on my console.
AMIGA CD32 recap
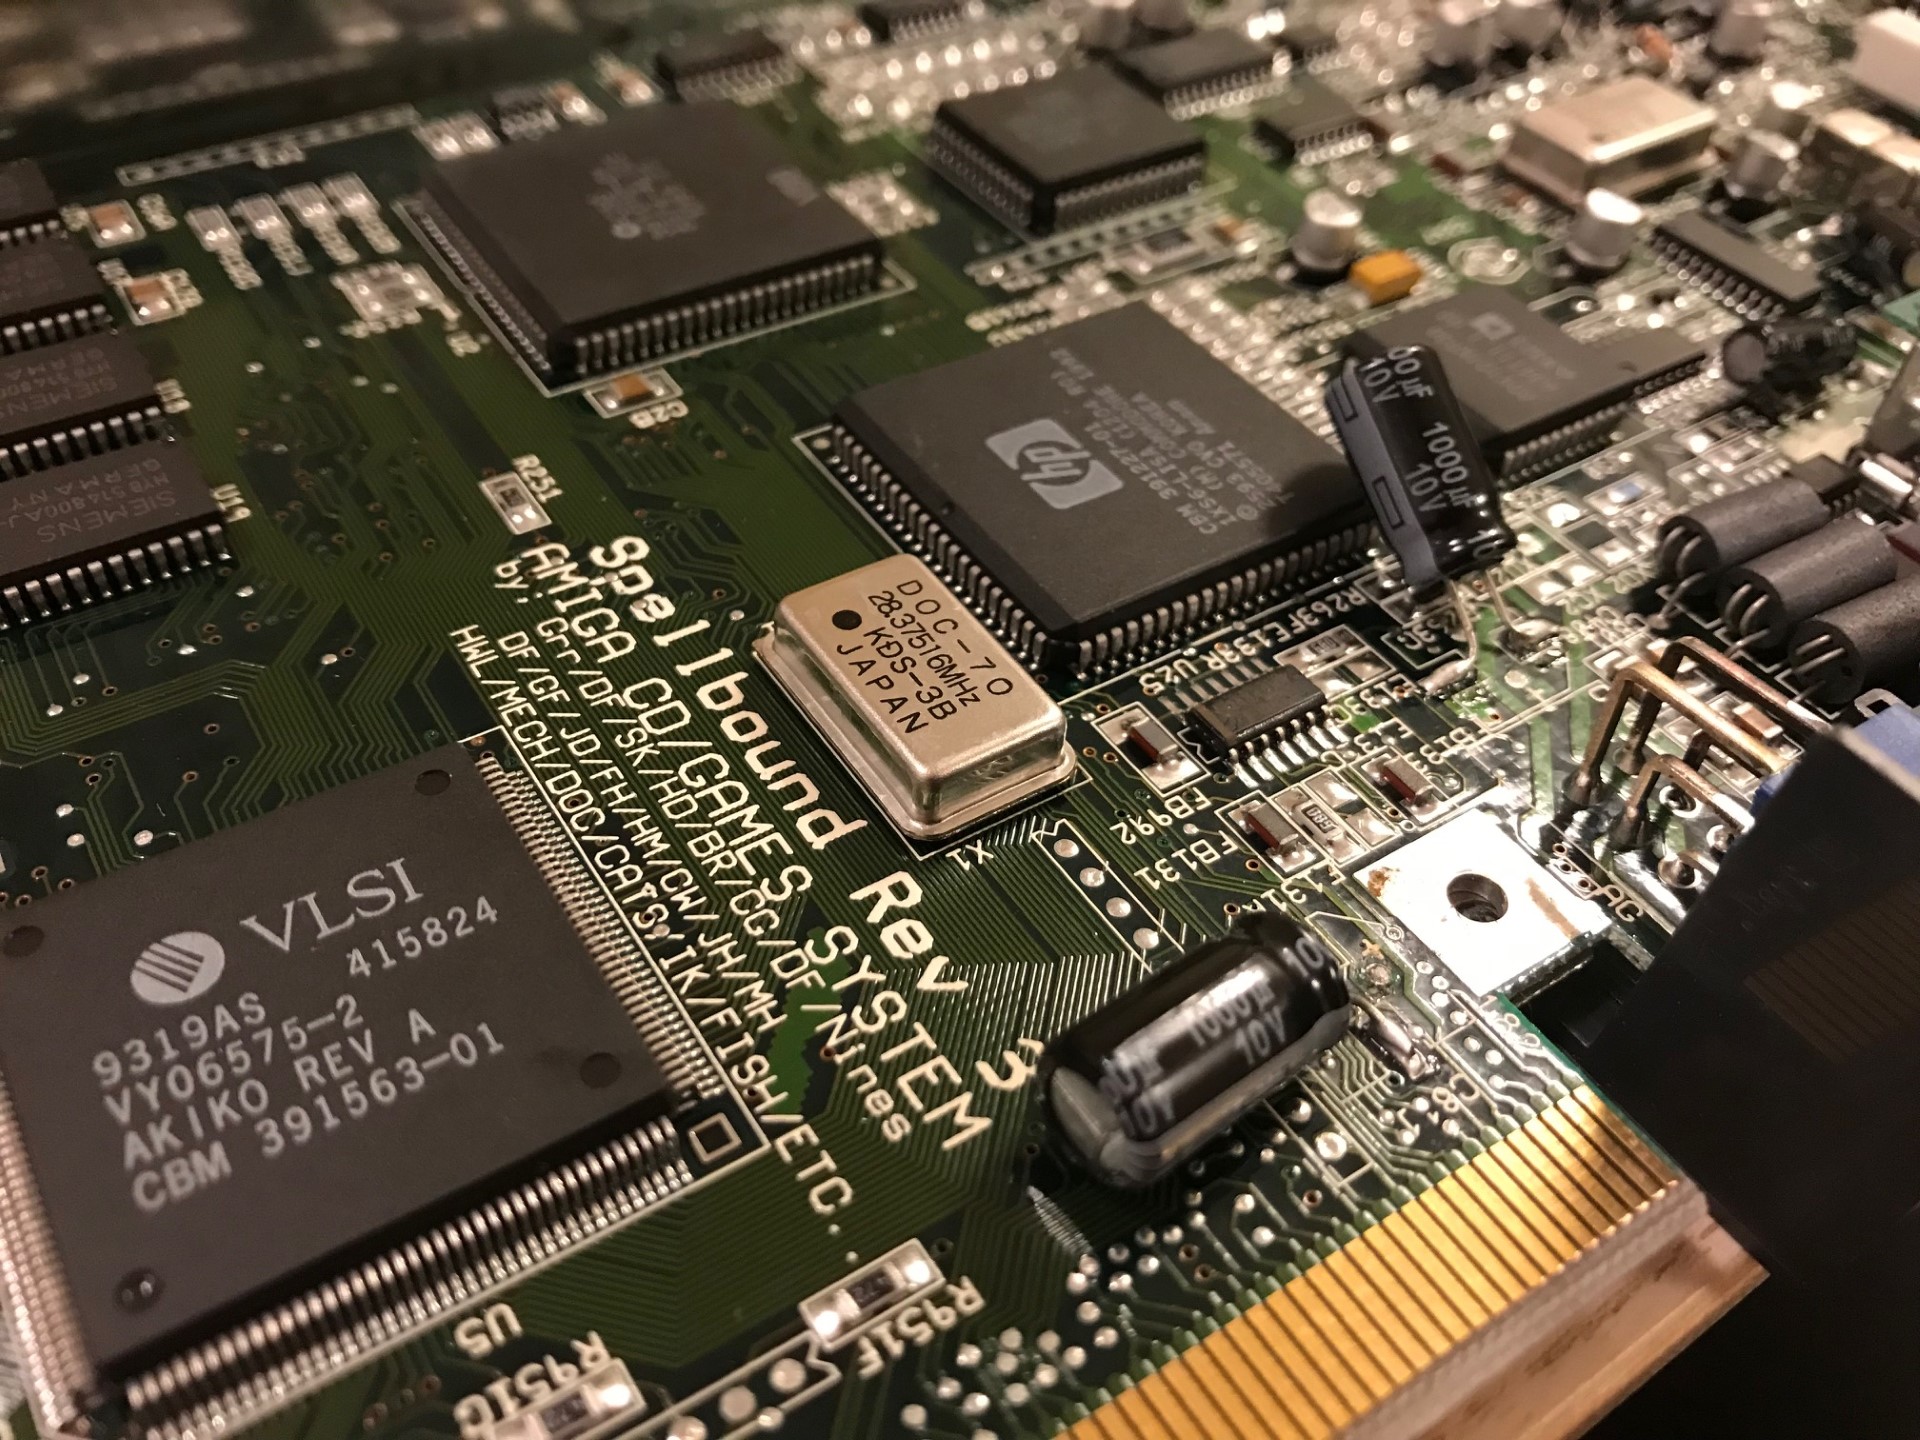
The CD32 mainboard houses a range of SMD capacitors together with a three large thrrough-hole caps (C281, C408 and C811). The re-cap process is rather straight-forward except for the C408 and C811 capactitors: these may be assembled with the wrong polarity from factory, and the marking on the mainboard might be wrong. These should be mounted with the negative side towards the power switch!
In many other projects, I have replaced SMD caps with through-hole ones (see e.g., Macintosh SE30 recap), since my skills with the SMD:s are limited. In this case, I went for using mostly SMD caps, with a few exceptions (some of the 4.7 uf capacitors were out of stuck at my supplier).
One of the problems I experience with SMD caps is that the pads underneath them tend to break during desoldering. To counteract this problem, I use the “wiggle” method to separate the “can” of the cap from its legs. Basically, I take a pair of pliers, press down to not put any strain on the pads, and wiggle the can loose from the legs. This works perfectly unless there has been any major damage to the board from leaking caps. In fact, I have a better track record with this method compared to using the solder iron to remove them.
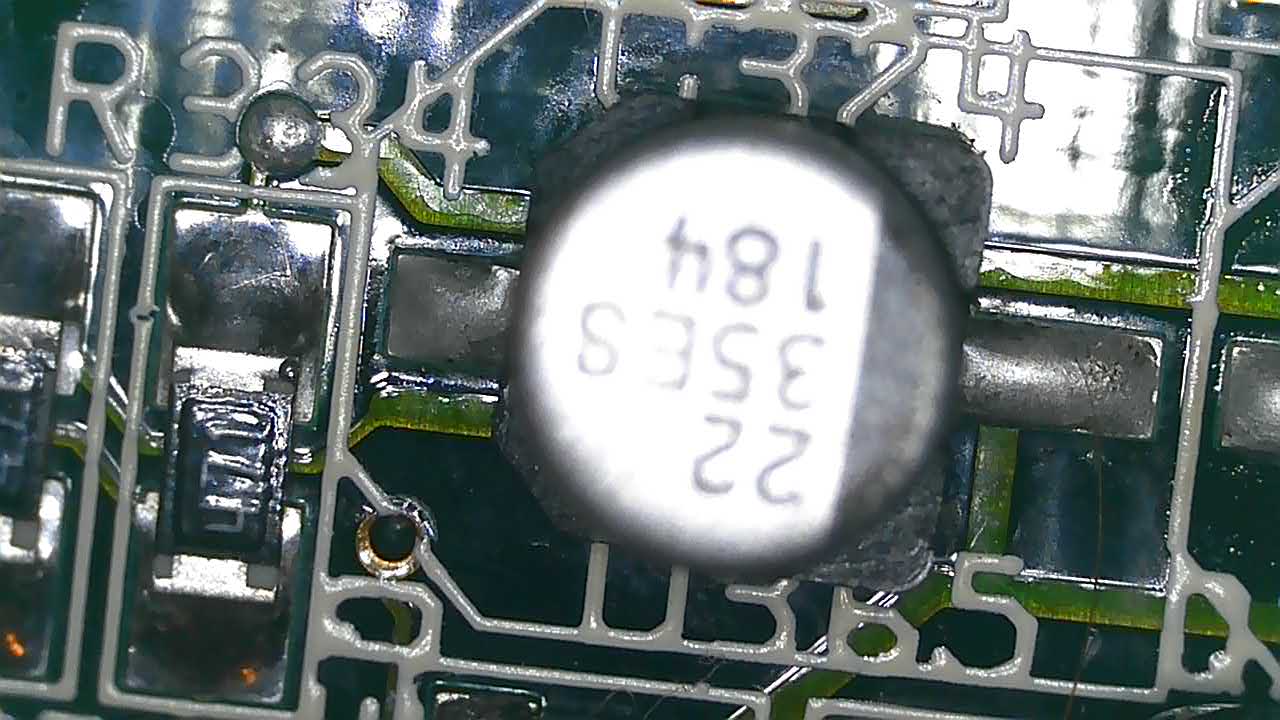
After removing the caps, I use the solder iron to remove the legs, and solder braid to clean the pads. Then I add a generously amount of solder on the pads, followed by flux. In addition to making the soldering easier, the flux works as a bit of a glue that holds the new SMD in place during soldering. After replacing the caps, I use my digital microscope to inspect all soldering points (see, image below), and make adjustments if needed.
It is also important to check that no capacitors touch the rf-shield when assembling the CD32 again.
After assembling, I tested the CD32 with my TV and it works perfectly! Discs spin and the games start. Image quality over composite is not perfect, but that is more of a feature than a bug on these devices (see, below for how I addressed these issues).
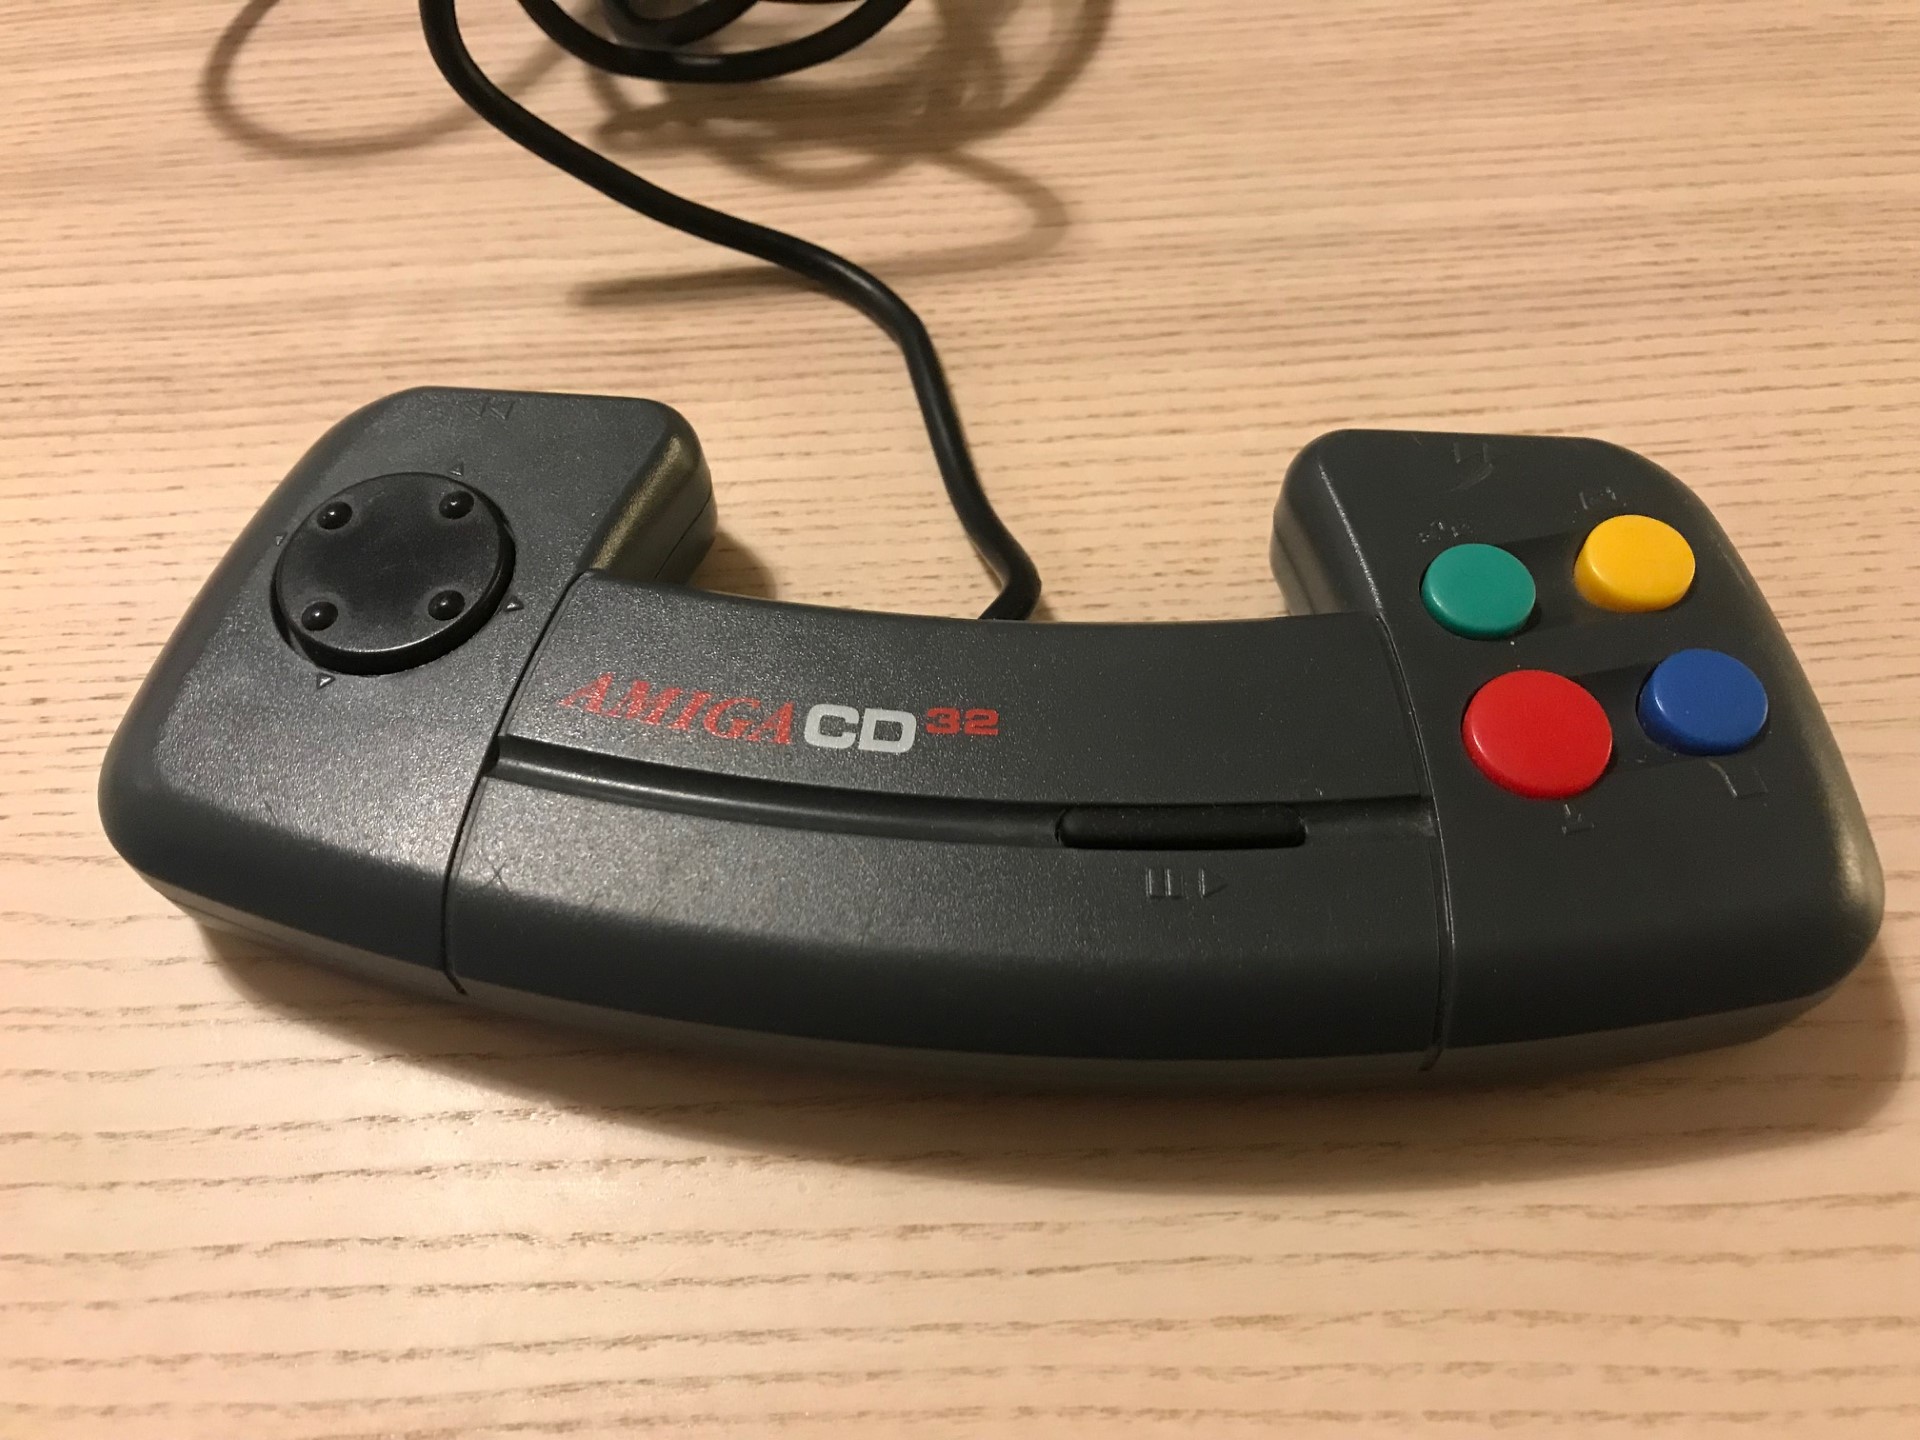
AMIGA CD32 gamepad repair
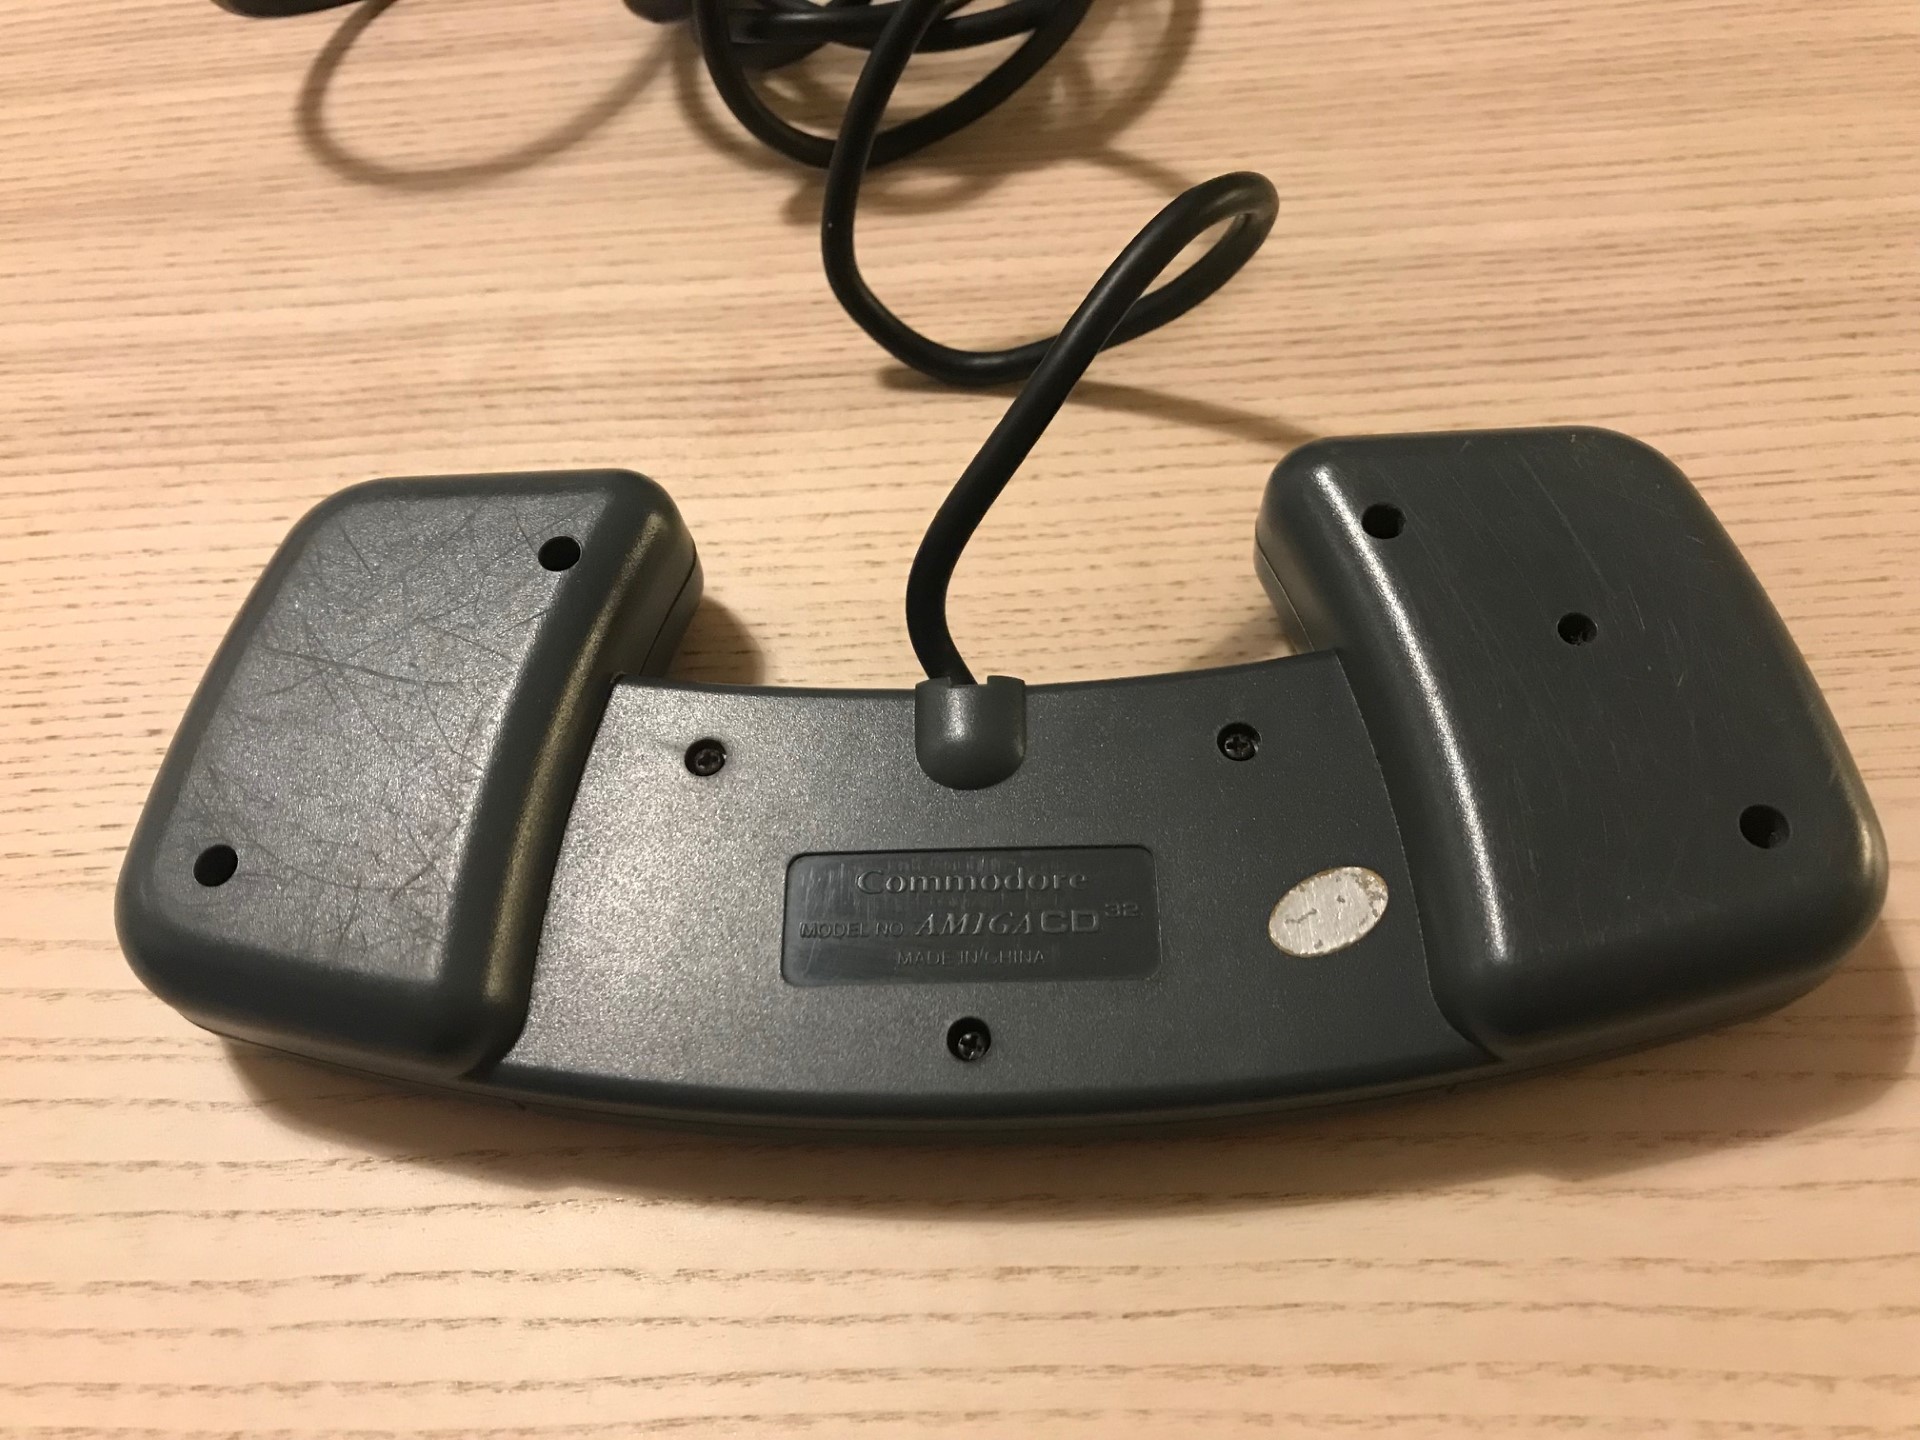
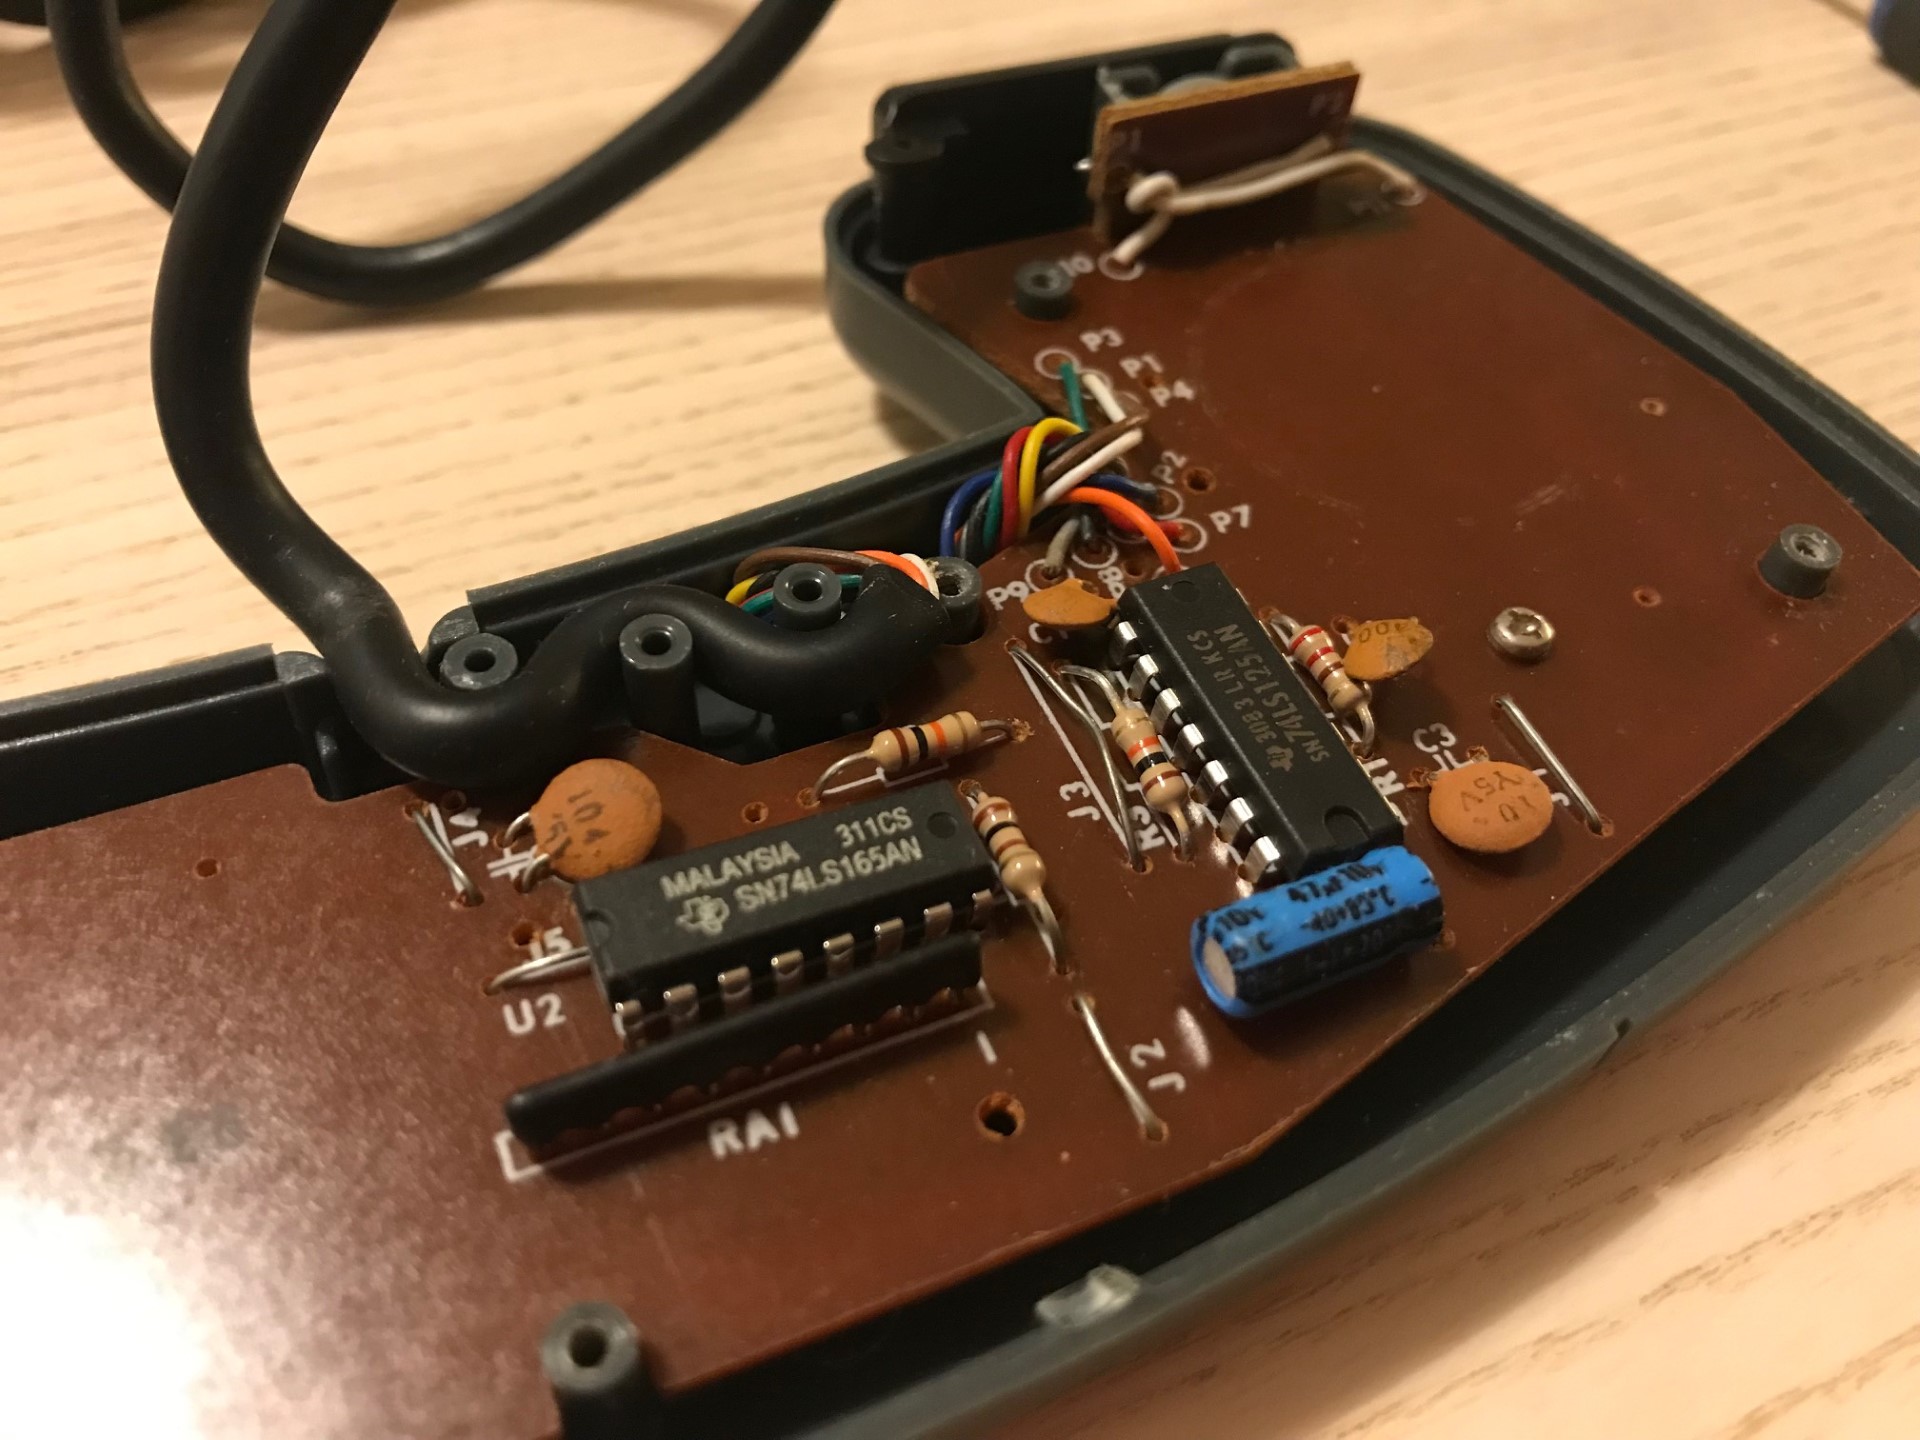
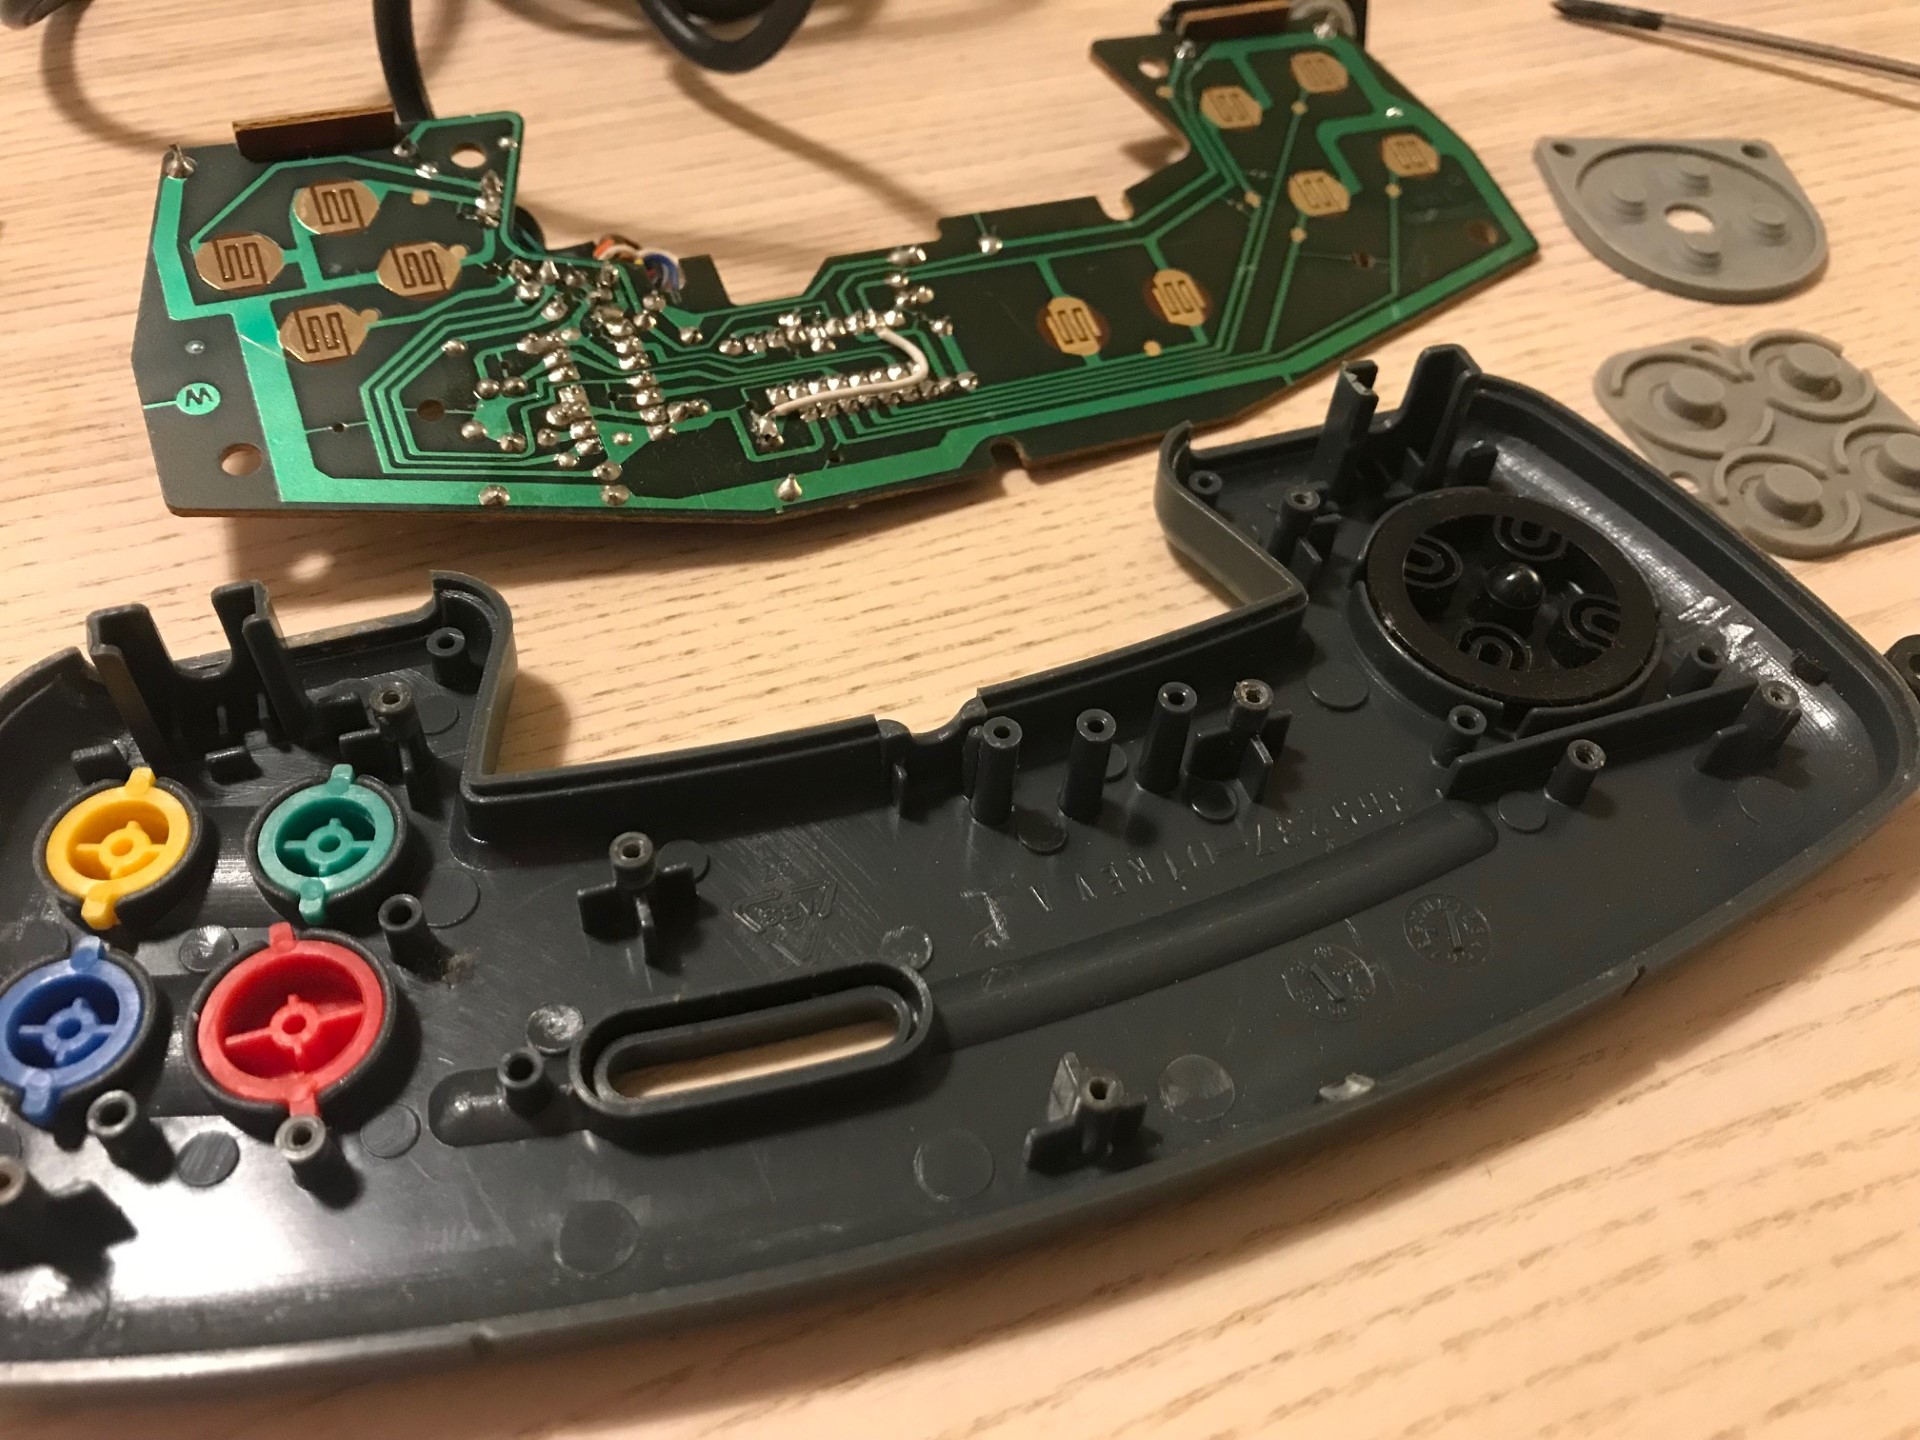
As mentioned, the gamepad had some stuck buttons. It looked like someone had tried to disassembly the pad, and did not assembly the shoulder buttons properly. The layout of this gamepad is fairly simple, similar to other controllers (e.g., SNES) from this era: A PCB with a couple of controller chips. The images below show the insides of the pad. All it took was some cleaning with isopropanol alcohol and a bit of silicon grease to the metal pins of the shoulder buttons to make it work again.
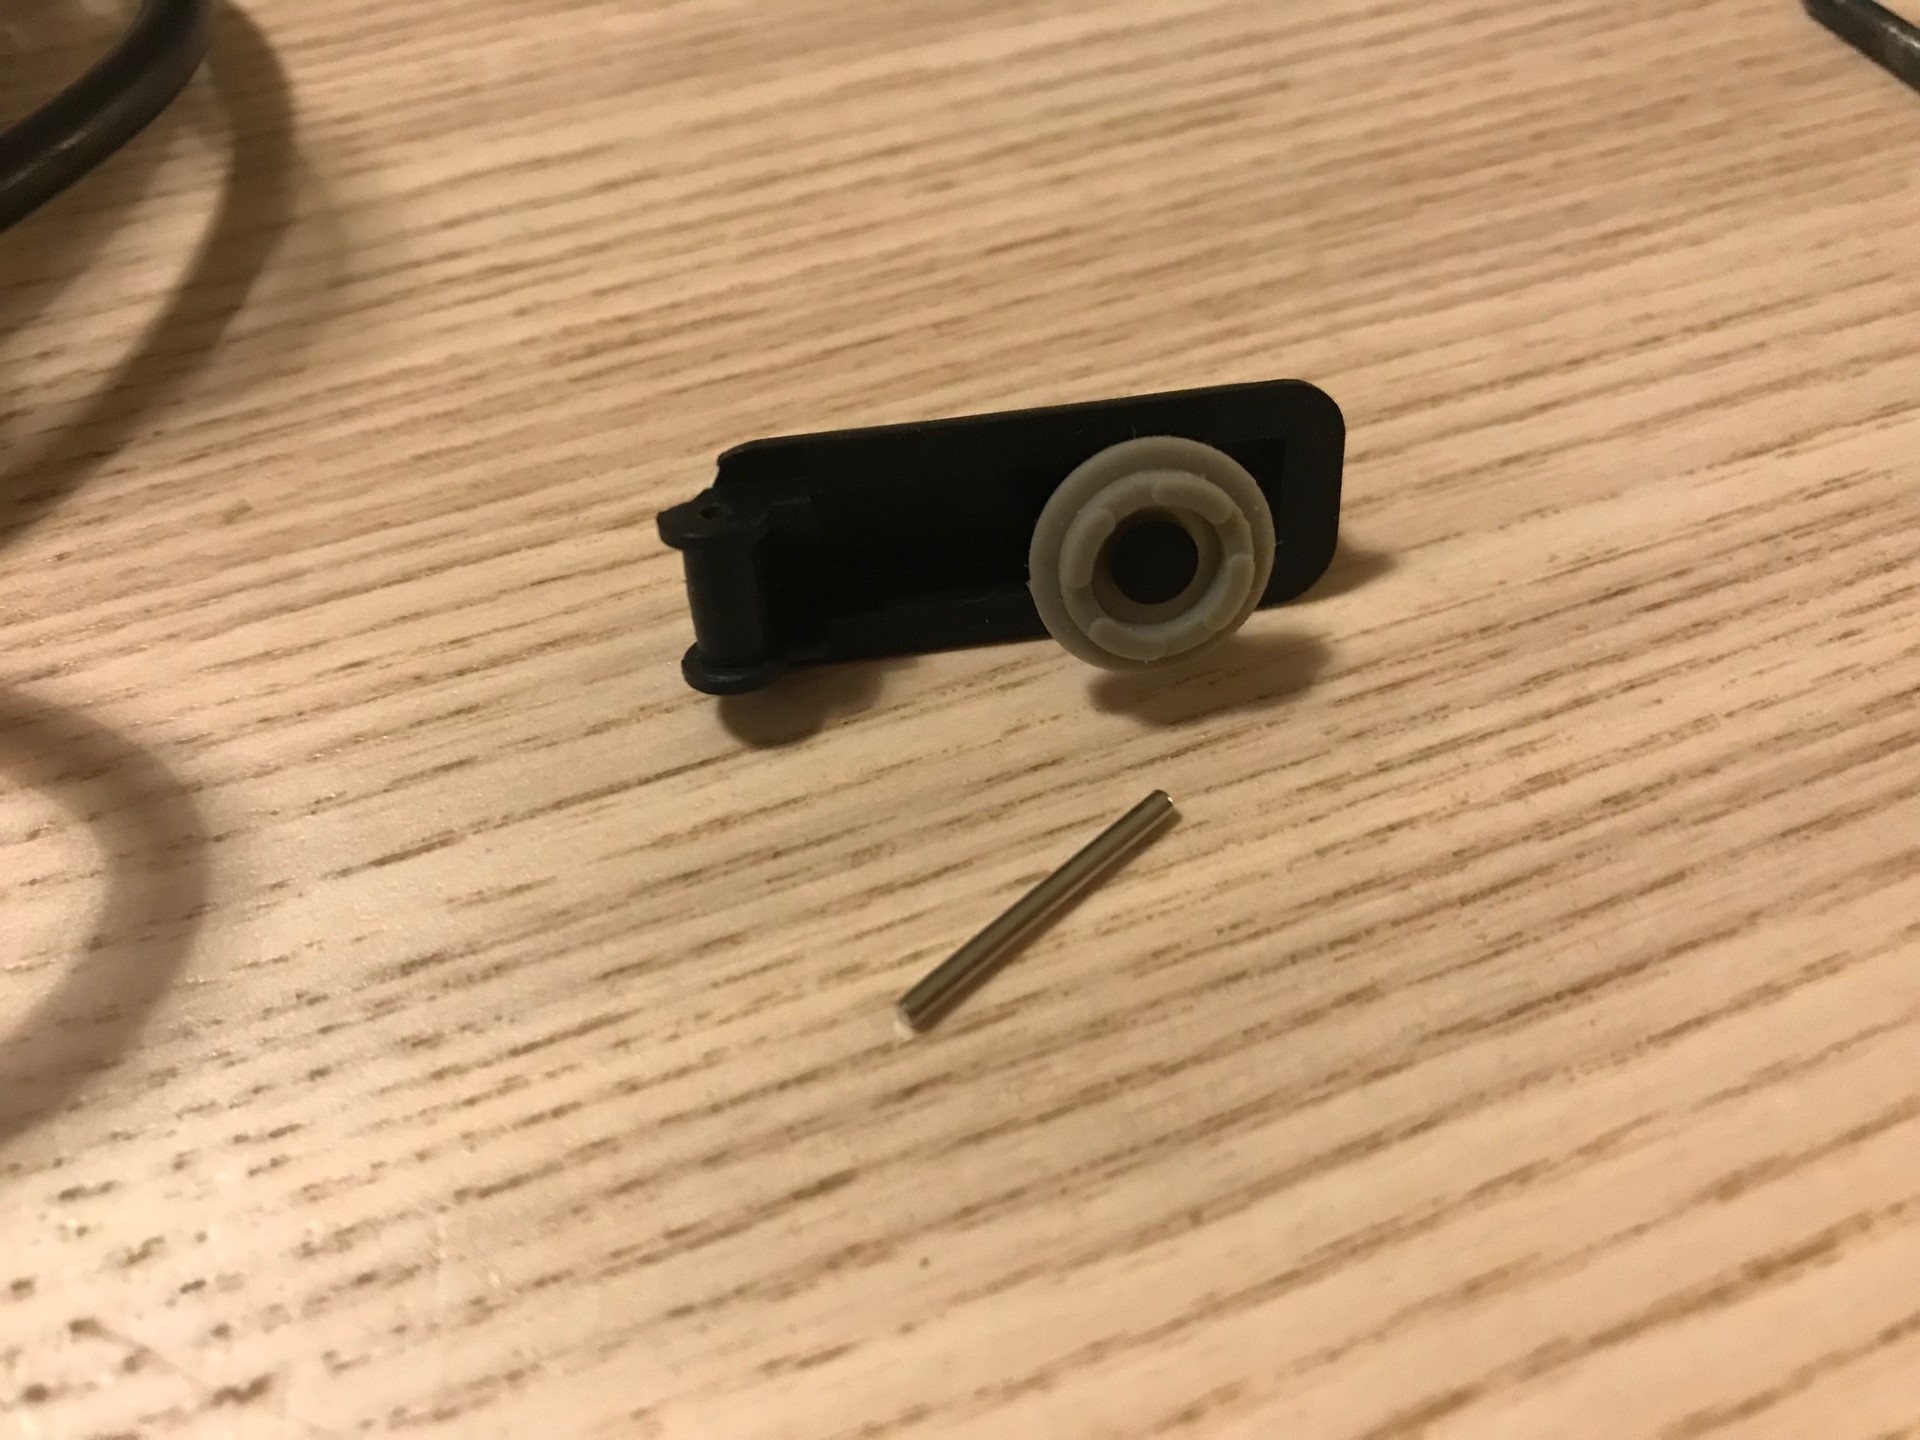
However, when I started using the gamepad I noticed the d-pad was getting out of alignment all the time. Upon closer inspection I noticed it had some missing plastic pads to hold it into place. According to the internet wisdom, it is common for these pads to break. Luckily, replacements can be 3D-printed! The final image below shows the 3D-printed addition to the d-pad. Mounting it required grinding a little bit on the original d-pad.

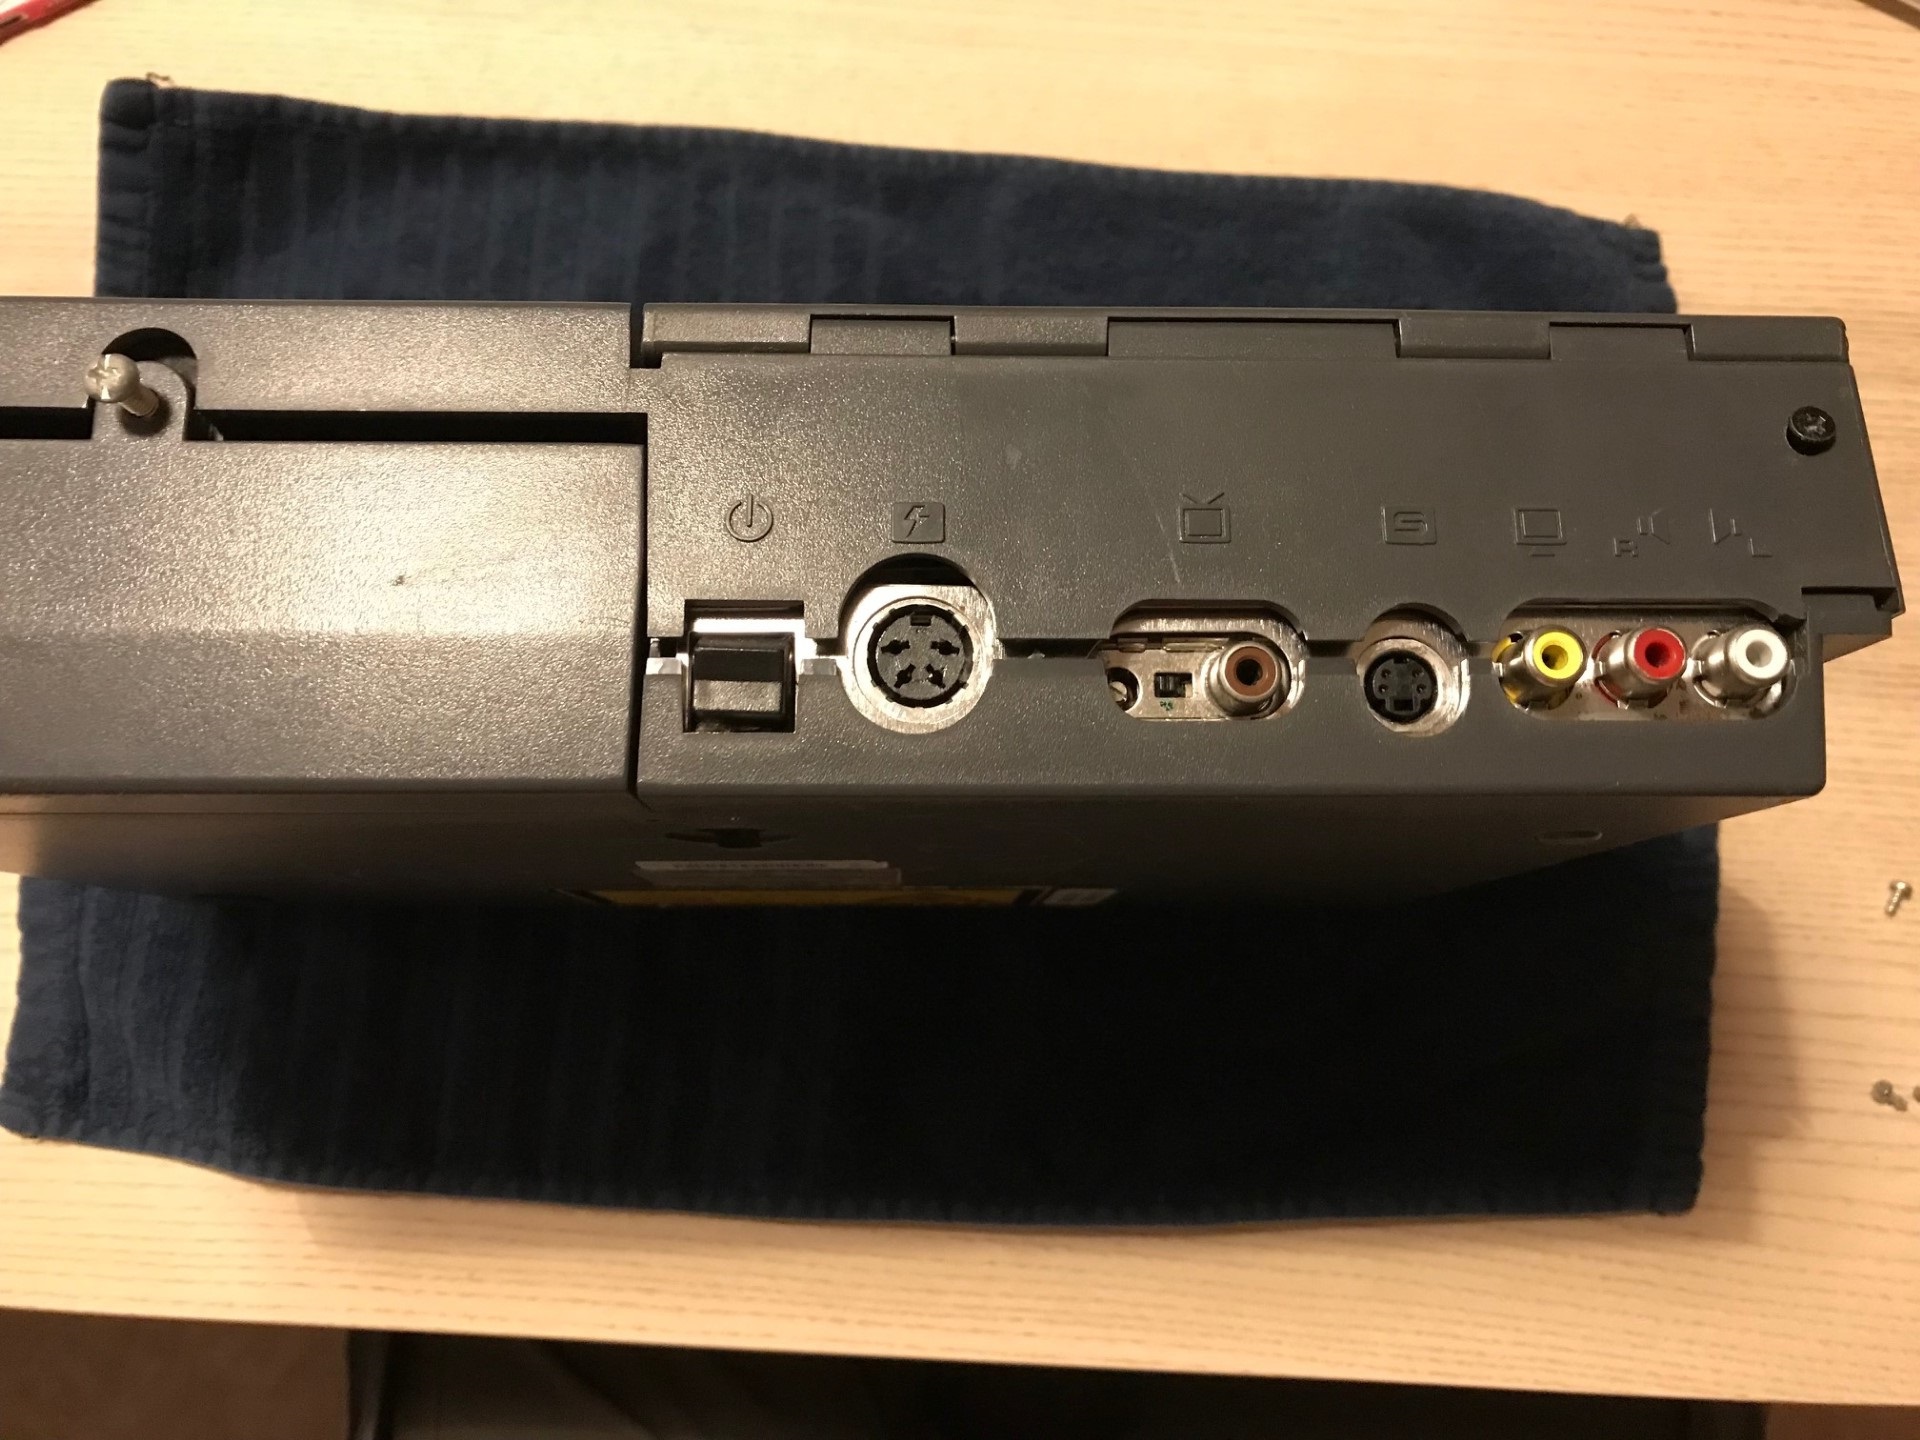
AMIGA CD32 image quality
The composite video out on the CD32 is rather crappy. Even after a re-cap I experienced a bit more shadowing than acceptable. One solution would be to use the s-vhs outlet instead, but my TV lack both SCART and SVHS inputs. Instead, I used a composite / S-VHS converter from Amazon (link below) which improved the image quality to acceptable levels!
Links:
Capacitor list and capacitor map:
https://wiki.console5.com/wiki/Amiga_CD32
Replacement d-pad pads:
https://www.thingiverse.com/thing:4090246
SVHS / Composite to HDMI converter:
https://www.amazon.se/dp/B07F1SRXR4?psc=1&ref=ppx_yo2ov_dt_b_product_details