With the new battery in place it was time to test the main peripherals – being the cassette and the printer. The cassette drive is actually a plug in module – it could be replaced with a ROM cartridge, and as originally shipped with a simple blanking plate. The quality of the engineering is superb – it feels very solidly made and slots into place with a very positive action. I have a cassette supplied which contains the original logging program for the data logger complete with instructions.
As described above, the tape transport is entirely under computer control including winding, and there is even a digital tape counter accessible from BASIC. The ‘WIND’ command rewinds the tape, and I was pleased to find that sure enough it rewound to the beginning. The ‘LOAD’ command (as expected!) searches the tape for something to load so I typed ‘LOAD’… and nothing happened. No sign of life from the drive at all, and the computer reported a ‘IO error’.
It is very common for old cassette machines to have problems with their drivebelts as the rubber stiffens and perishes over time. However the belt was likely intact to some extent because the winding mechanism seemed to work. It clearly did need the drive stripping down and servicing, and this proved to be quite a task.
Looking round the ‘net it is possible to find some information on how to do this. Given the small scale it is unsurprisingly quite a fiddly job. I’ll make a list of useful HX-20 sites but I’d start with this excellent resource from Martin Hepperle, and specifically the ‘Tips and Tricks for the HX-20‘ PDF:
https://www.mh-aerotools.de/hp/hx-20/index.htm
There’s loads of useful stuff in here, including some advice on replacing the drive belt. There is also a huge stack of other manuals – including a massively detailed technical reference manual – here:
http://www.vintagecomputer.net/fjkraan/comp/hx20/doc/
The technical manual gives a very nice exploded diagram of the tape drive, and in conjunction with Martin’s guide tells you everything you need to know. However it is extremely fiddly. The drive itself is a modular unit which slides out (and I understand it originally shipped as an optional extra). There are a few screws to remove the outer shell, and then several more which hold the PCB to the back of the drive mechanism. Some of them have brass standoffs, and all of them are really small so great care is needed not to lose any.
One of the hardest things to do is separate the mechanism from the top shell – it’s not clear how to do it, and takes a lot of wiggling around with the door open to do it. The technical manual talks about removing the front of the tape door but I couldn’t see how to do it and after a lot of fiddling around it eventually came off. So I can’t really offer any advice other than to persevere!
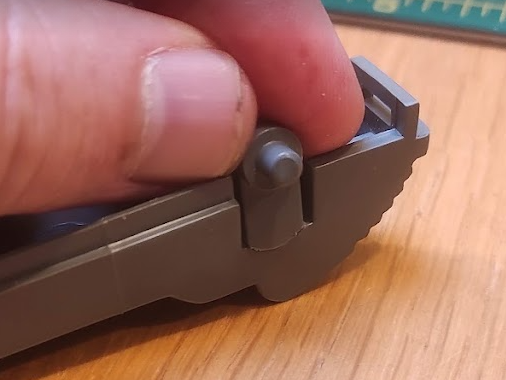
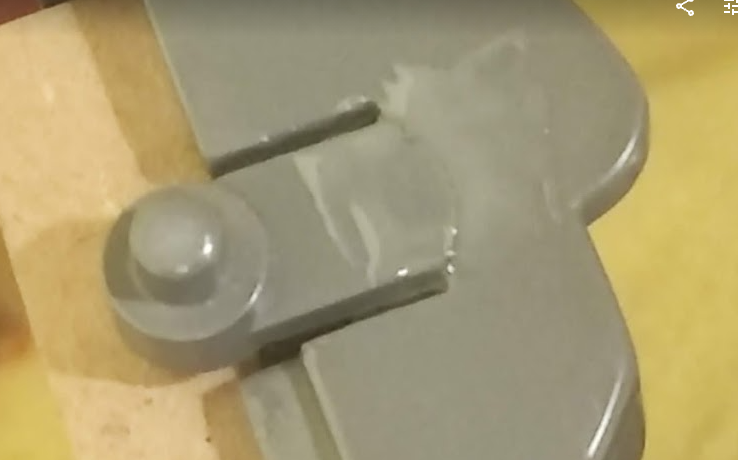
One thing I did learn – do not under any circumstances remove the screw which forms part of the door release latch assembly. I did this thinking it would make things easier, and in doing so the tiny spring which reset the eject switch popped out. I spent a very long time trying to get it back in again… which was incredibly difficult to do. After countless unsuccessful attempts I was eventually able to do it although the spring ended up rather buckled in the attempt.
Once you have the mechanism out you need to unsolder a few wires from the motor, remove the tachometer cap and then finally you can unfold the mechanism and reveal the belt. I had got so absorbed in the process that I didn’t take many photos unfortunately but there are details in the guide linked to above.
To get the belt out, you have to remove another metal bar which sits across the mechanism. The one on mine was intact but had clearly hardened up and was very slack and clearly would not do a good job. However it did not explain why the drive was not working at all, as even a missing belt should still allow the mechanism and motor to start. The belt itself is 50mm in diameter (so about 160mm circumference) with a square cross section. I have a bag of belts of varying sizes so tried a few until I found one which fitted. They do need to be thin enough to pass underneath the tachometer cap so a bit of experimentation may be needed. The cross section should be anything between 0.8mm and 1.2mm square – mine was 1mm.
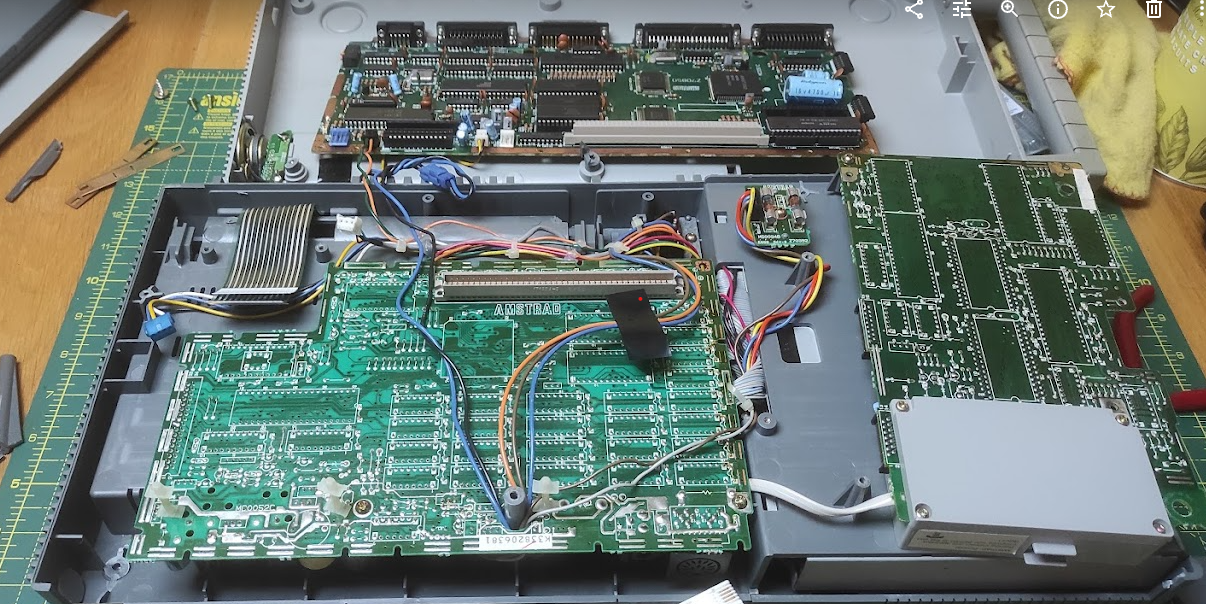
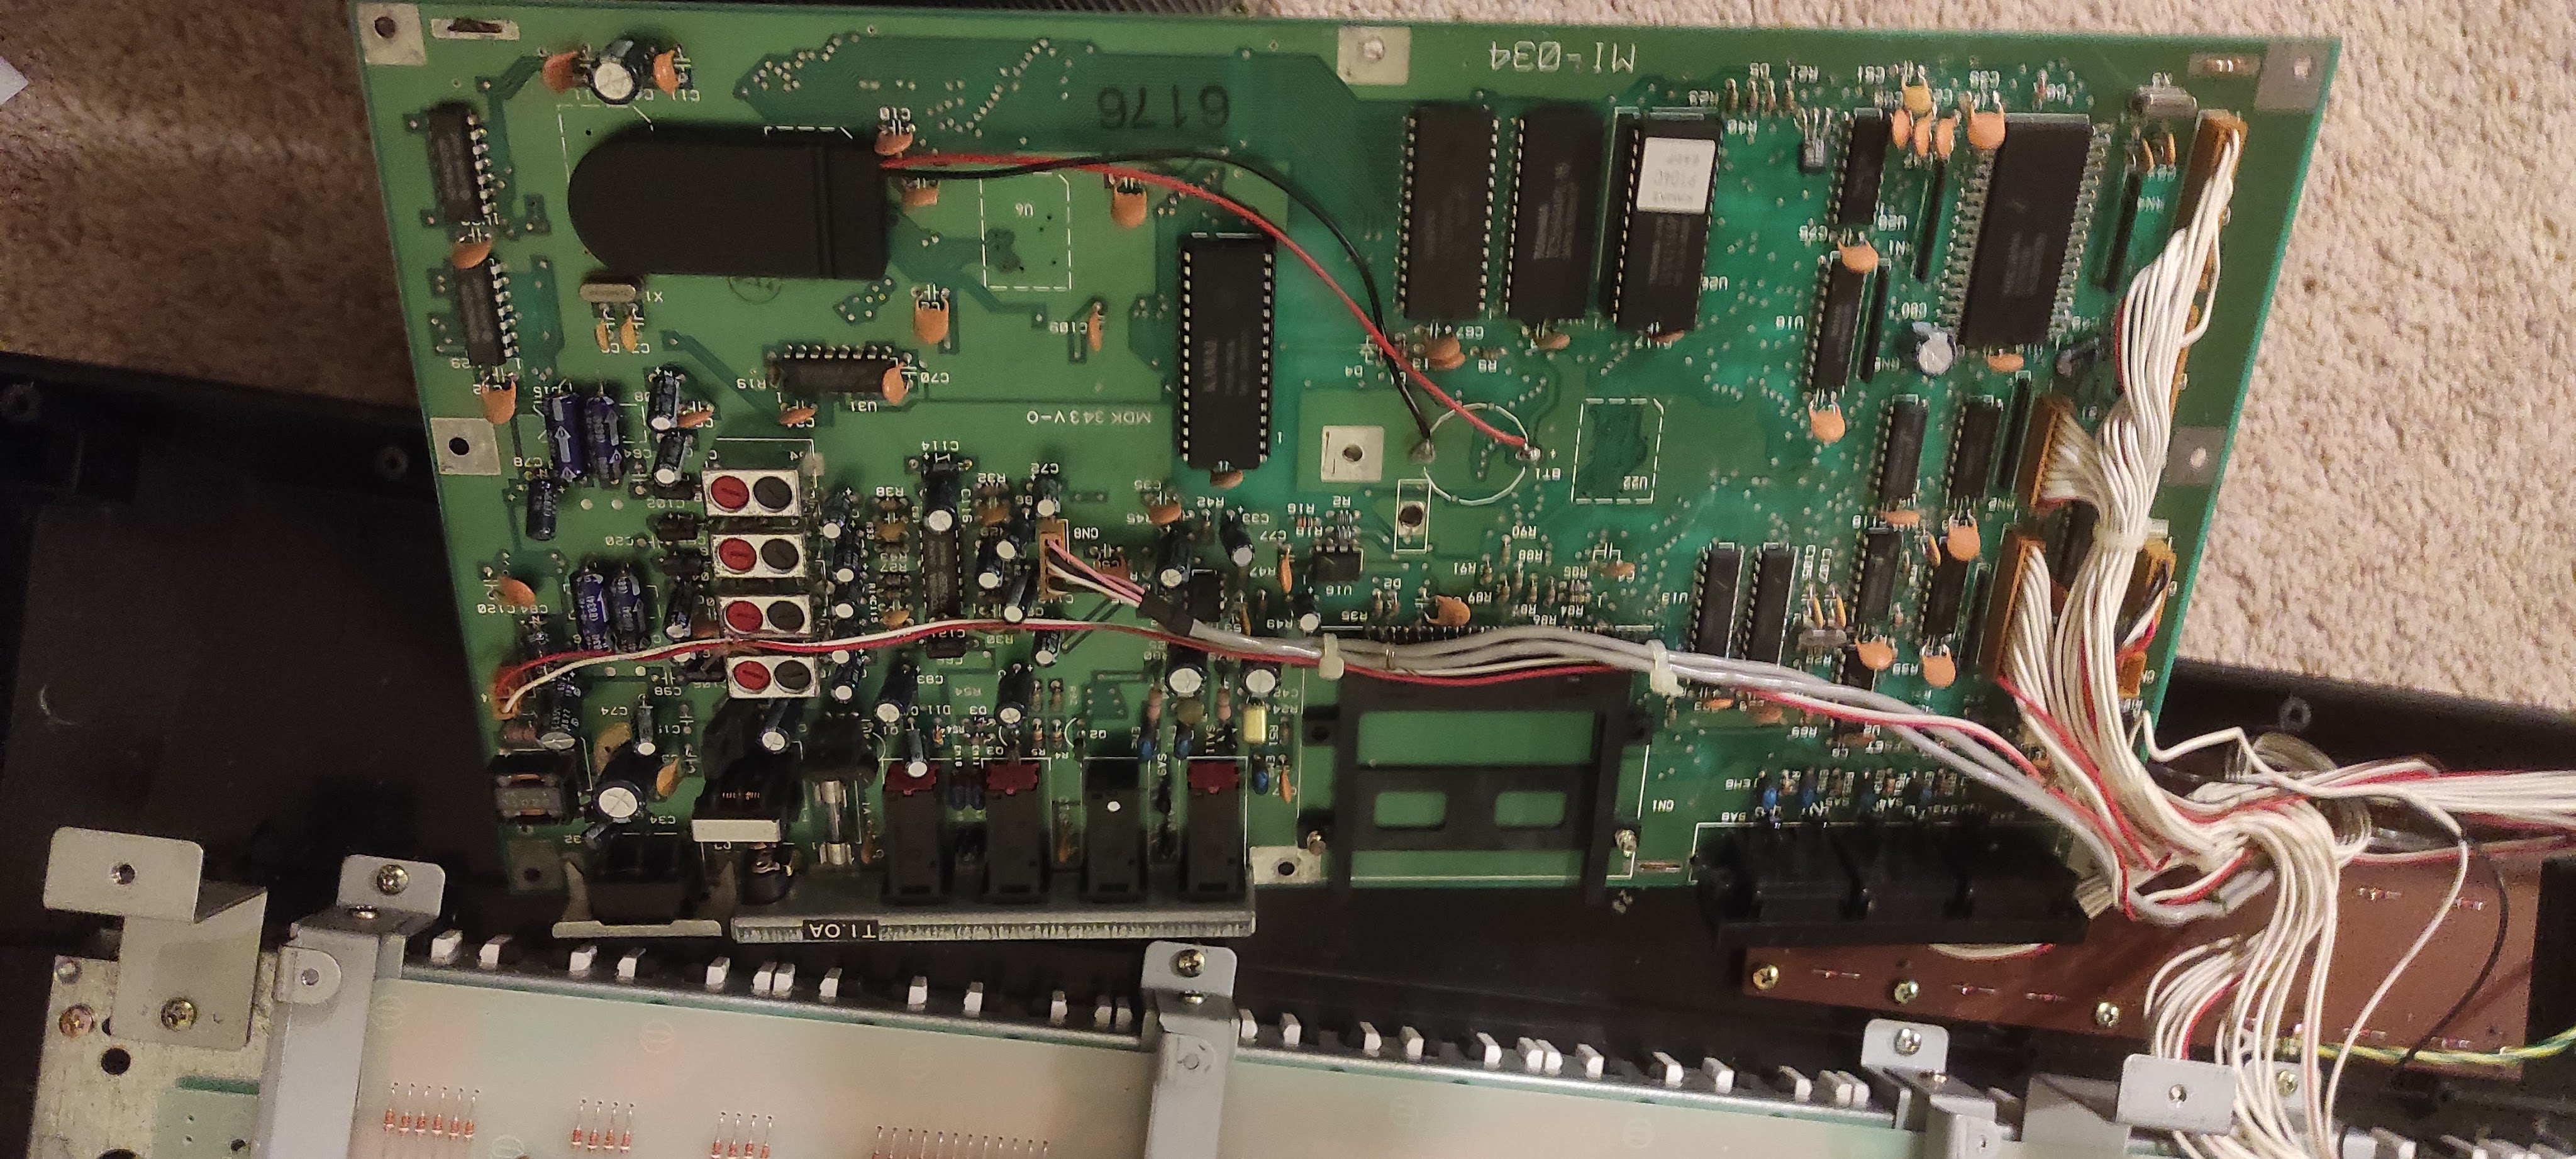
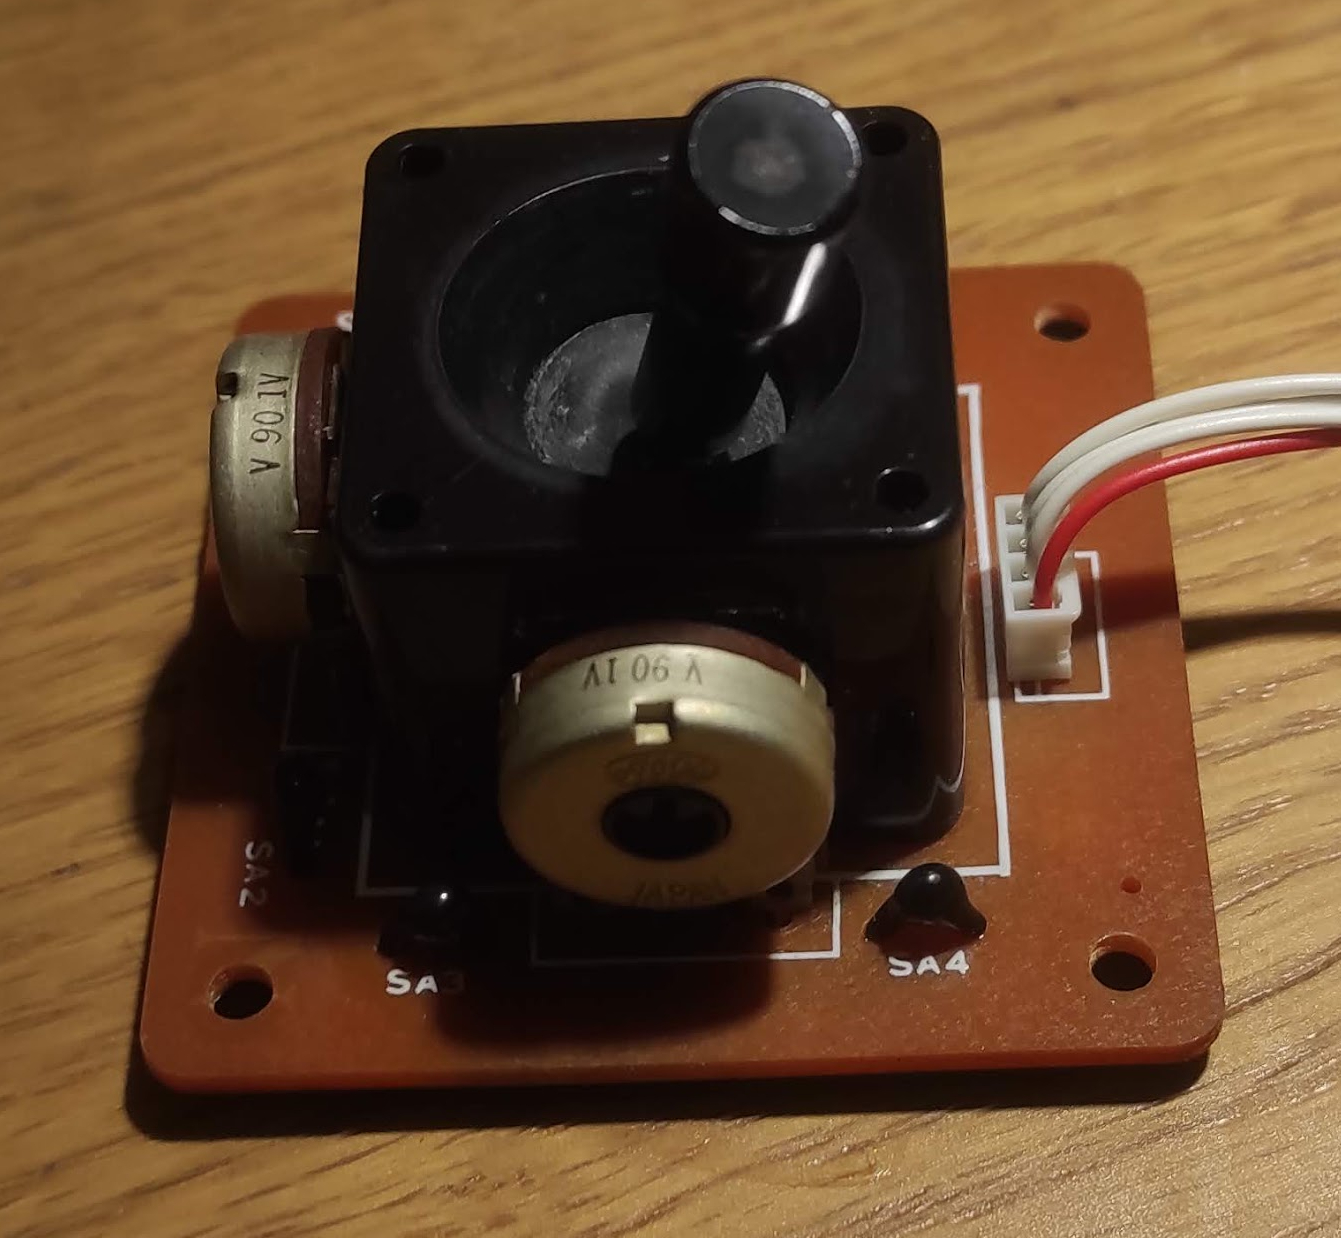
I then roughly reassembled the module and slotted it back in to see what else was wrong. It was clearly obvious that the real problem was that the tape head was not engaging, and so the computer was behaving as if no tape were loaded. The mechanism is circled on this picture, although here it is in the engaged position.

This mechanism is driven by a separate motor with a worm drive which moves the head in an out of position in a continuous loop. A sensor detects when it is in place which stops the motor. On initial inspection I could not see anything wrong. With long nose pliers I could turn the motor shaft and the mechanism worked smoothly. So the problem either lay with the motor itself or the logic driving it. To test this further I desoldered the wires from the motor (circled on the picture below) and used an external battery pack to see if I could get any life out it:

Initially it appeared completely dead, which was not good news. However, after a bit of fiddling around and without seemingly having done anything, it suddenly burst into life! I spent quite a few minutes watching the motor run smoothly and engaging and disengaging… quite hypnotic. I’m still not quite sure what made the difference, but I think the most likely thing is that the motor had seized through lack of use and a combination of moving the shaft manually and the external power source was enough to kick it into life.
It was then simply a matter of further testing. I reassembled the unit without the case, took a deep breath and…
Success!
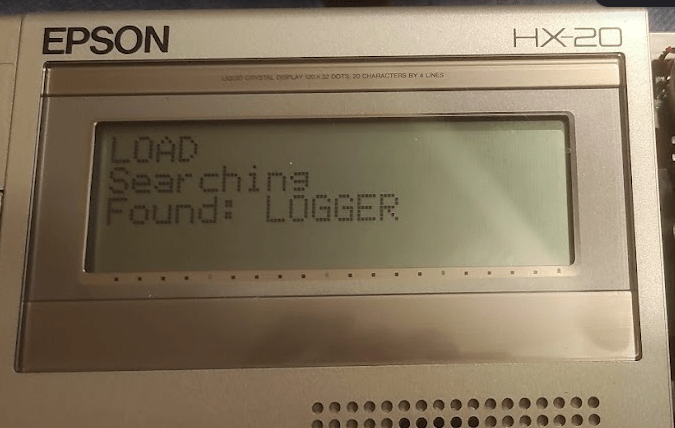
It was then a matter of reassembling properly and testing with an actual tape. My unit was was used with a data logger and came with the logging program on tape. It’s not been touched for many years, but I put the tape in typed the ‘LOAD’ command and to my great satisfaction it found and loaded the program:
The final piece of the puzzle was the printer. It was clearly working although the ribbon in it had completely disintegrated. Amazingly you can still buy brand new replacements as a similar mechanism is still used in some cash registers:
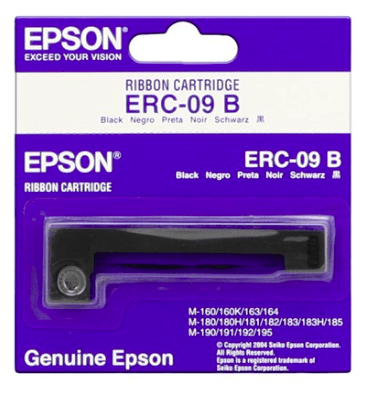
You can easily find these – either originals or cheap knock-offs – online very cheaply. On installing it, I was pleased to find that the printer did work but I had a lot of trouble with it apparently jamming. The paper would advance very slowly with constant beeping from the computer. This turned out to be simply due to the plastic gears binding due to a lack of lubrication, and a quick spray with a silicone lubricant (designed for plumbing, but great also for plastic gearing) left everything working smoothly. You can ‘screen dump’ direct to the printer or output to it in BASIC.
The quality is surprisingly good, and I have a box full of original branded Epson paper rolls although these also are widely available.
So after quite an interesting journey I now have a fully working HX-20. There is plenty of other stuff to explore – although the HX-20 scene is quite limited, it is still possible to find software from various sources which can be loaded through an external tape port. I would also really like to see what the data logger can do, will have to think up a suitable retro project for it. Also need to clean up the case a bit. It remains one of a very small group of computers which have printer, display and storage in a single unit. In fact the only other one I can think of is the much later Canon NoteJet / BubbleNote series of laptops
This whole thing has given me a taste for these quirky early portable computers, and I know I would have absolutely loved something like this back in the 80s. Watch this space for more adventures…