

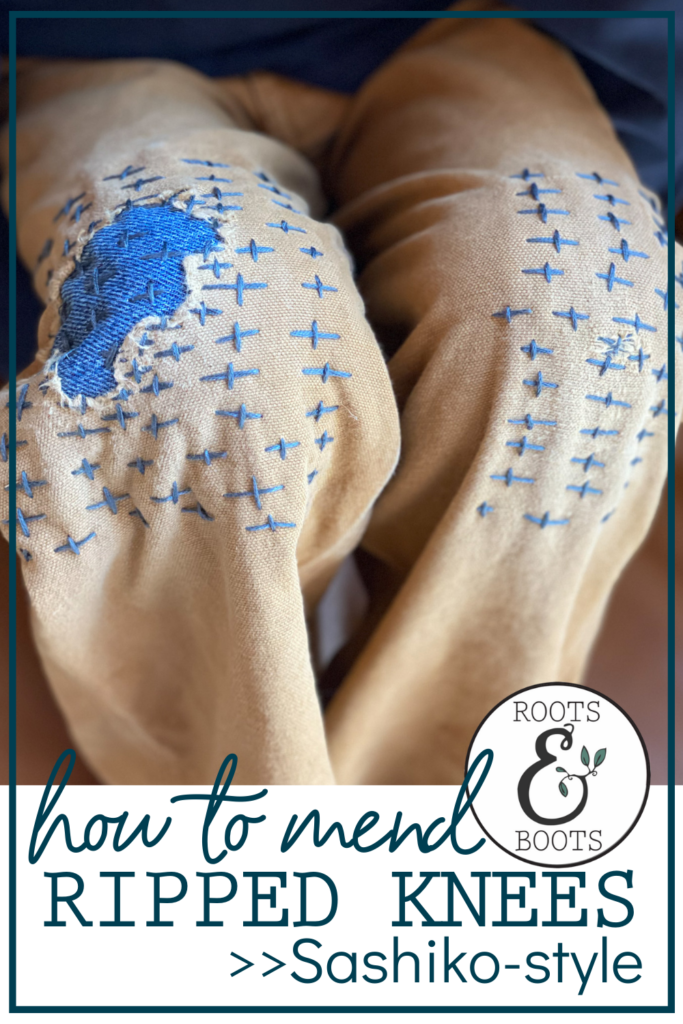
DIY Sashiko Fabric Mending

This post may contain affiliate links, which means I make a small commission at no extra cost to you.
See my full disclosure here.
Sashiko fabric mending may seem complicated or even exotic, but it’s really quite simple.
Sashiko fabric mending
I don’t consider myself a seamstress by any stretch of the imagination. If I can handle Sashiko fabric mending, I promise you can do it too.
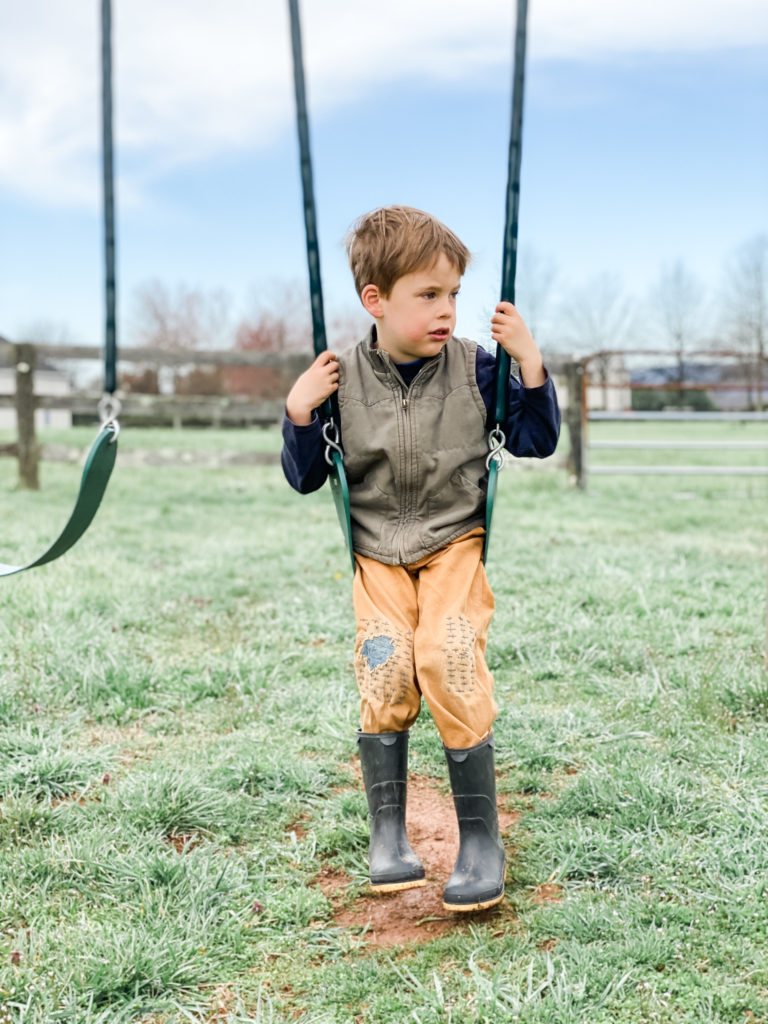
As a homesteading mama of three boys, I’m faced with more than my fair share of jeans with holes in the knees. Instead of tossing multiple pairs of pants every year, I was determined to find a way to mend them.
However, I’d tried to mend ripped knees before and it never worked well. Until I discovered the art of Sashiko fabric mending.
Sashiko is a Japanese form of folk embroidery which works really well for mending clothes. I love how it combines durability with creativity. This method of mending the holes in my boys’ jeans has worked so much better than other methods I’ve tried before.
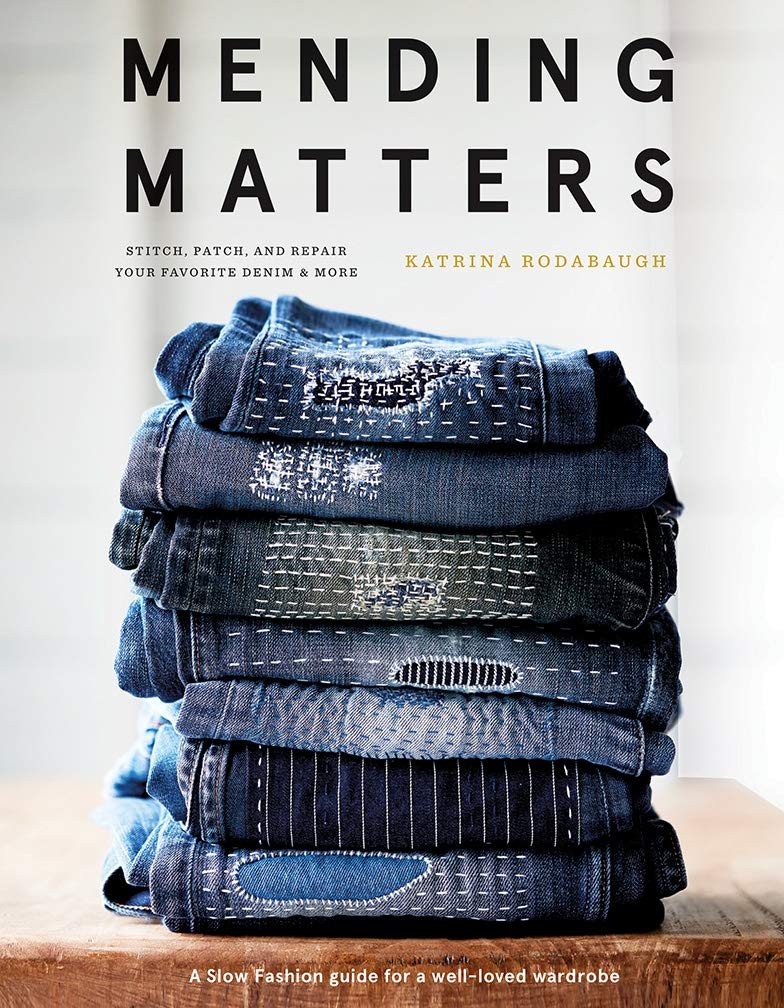
This book inspired me to take matters into my own hands and learn the art of visible mending, Sashiko-style.
Durability & creativity
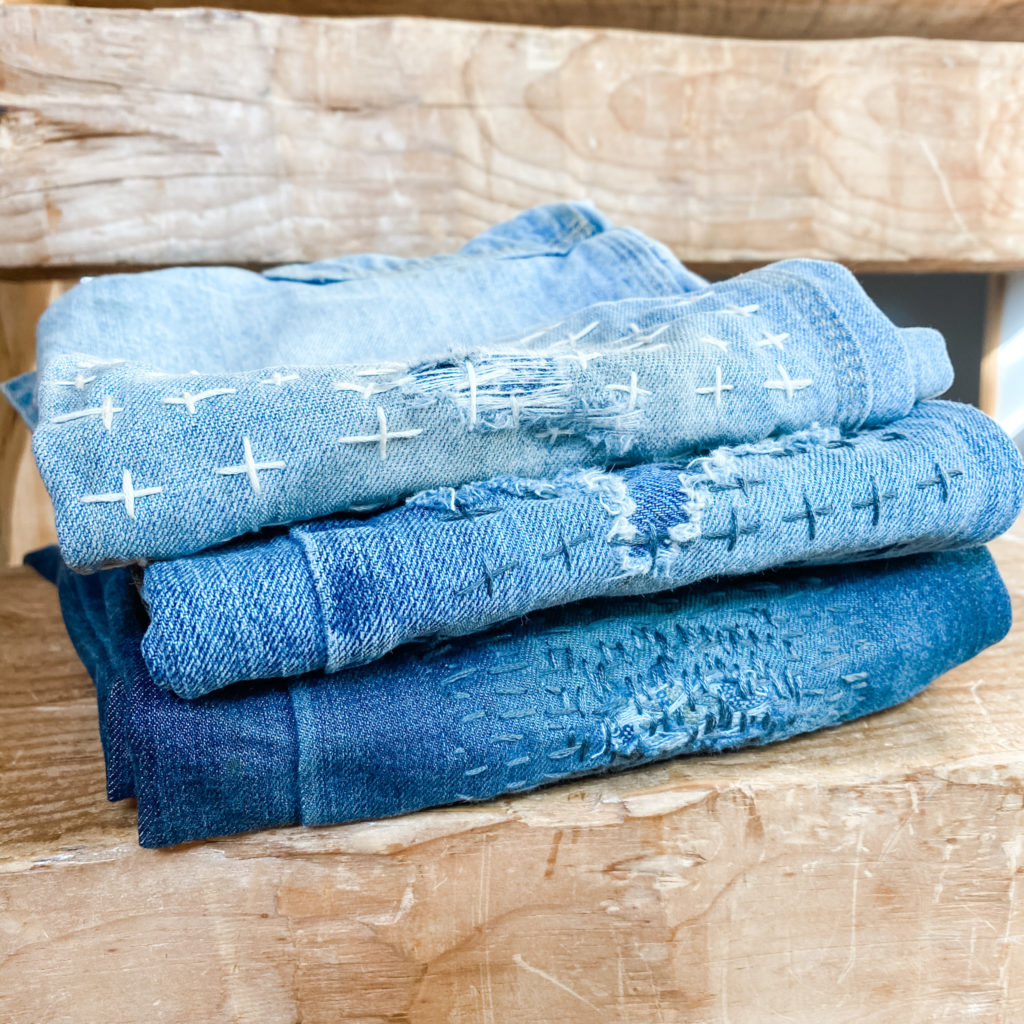
Because the stitching covers the entire patch, the results are much sturdier and longer lasting. And because the sky is the limit when it comes to stitching patterns, you can get really creative! Or, like me, you can just keep it super simple.
I use the same basic stitch every time. It looks decent, holds up well, and my boys like it.
If I had girls, or if I were mending clothes meant for nicer purposes, I might experiment with other stitching patterns. But in my case, I’m dealing with farm clothes for boys. My main goal is durability.
So let’s take a look at the basic steps involved in Sashiko fabric mending. And then you can look up other fancy stitches if you’re so inclined! Or you can just practice with this basic, all-purpose Sashiko stitching pattern.
I hope it serves you well!
Patching materials
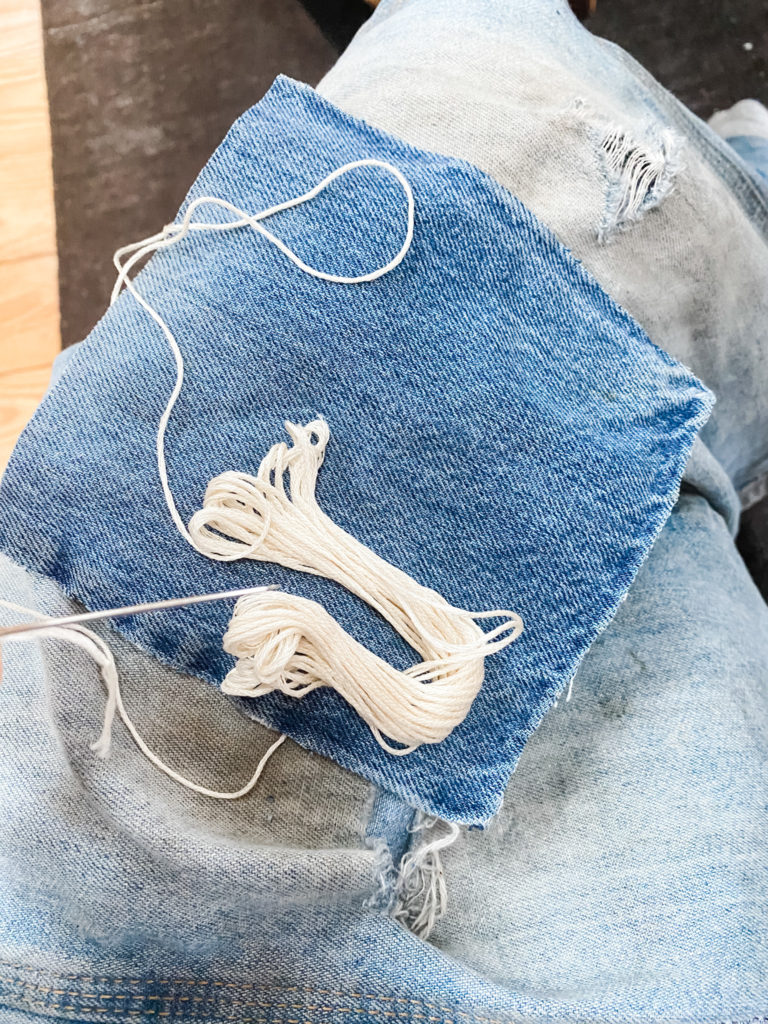
I almost always use denim, because it’s so sturdy. When I’m patching the knees of my boys’ farm pants, durability is my top goal.
At the time when I first began practicing Sashiko fabric mending, I still had a few random pairs of outgrown toddler jeans with holes in the knees. So I started cutting my patches out of those jeans that would otherwise have been tossed.
Don’t you love that? I do! It feels really good to repurpose one pair of pants–the toddler jeans–in order to extend the life of another pair of pants. Those are two pairs of otherwise unusable pants, now put to good use.
When my toddler jeans patches run out, I’ll probably pick up a pair of sturdy jeans at a thrift store.
Aside from denim, you could of course choose any type of fabric you have on hand. Again, the possibilities are endless.
Embroidery supplies
You’ll need embroidery thread, an embroidery needle, and scissors.
If you want the stitching to stand out, choose a thread color that contrasts with your fabric. If you want the stitching to be less conspicuous, choose a thread color that more closely matches the fabric.
You will need:
- clothes to be mended, such as pants with a hole in the knee
- 1 patch per hole, cut larger than the hole
- safety pins, medium to large
- embroidery thread
- embroidery needle
- embroidery scissors
The importance of backstitching
I don’t always remember to do this, but I do recommend back stitching a bit at the beginning and end of every length of thread. This will prevent the stitching from unraveling should the knot ever come loose.
If you’re not familiar with backstitching, it basically means to stitch in the opposite direction from where you intend the actual stitches to go. In this case, you don’t want the backstitches to show through to the right side of the pants, so you have two options.
- Confine your backstitches to the denim patch only. Don’t allow them to go through the actual pants leg.
- Instead of true backstitches, make a few stitches through the rows of thread on the back of the denim. You can see a picture of what I mean in step 8 below.

Instructions:
For ease of explanation, I’ll assume we’re patching a hole in the knees of a pair of pants.
Important tip: make the patch large enough to extend well past the edges of the torn area. You want to reinforce the ripped portion as well as any stressed, compromised, or threadbare areas.
Stage one
1. If the hole is large or has hanging threads, tidy it up with sewing scissors. Trim off any lose threads. Here’s an extreme example, from a ripped knee that was pretty far gone by the time I got around to mending it. Lots of trimming was required to clean up the edges.
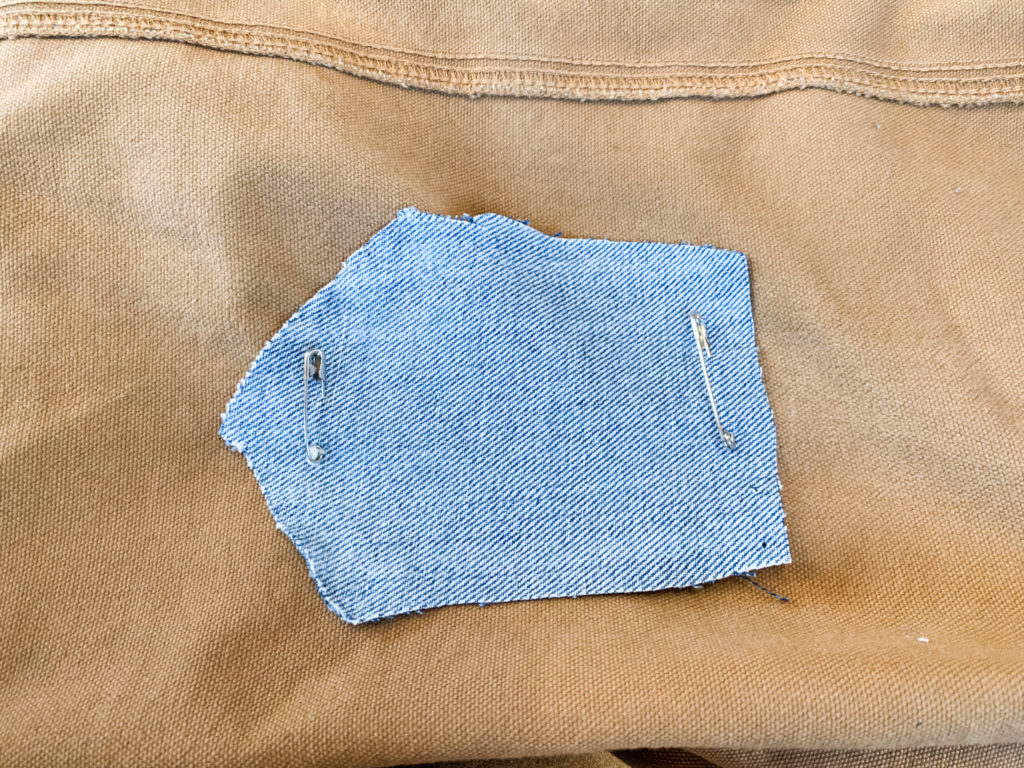
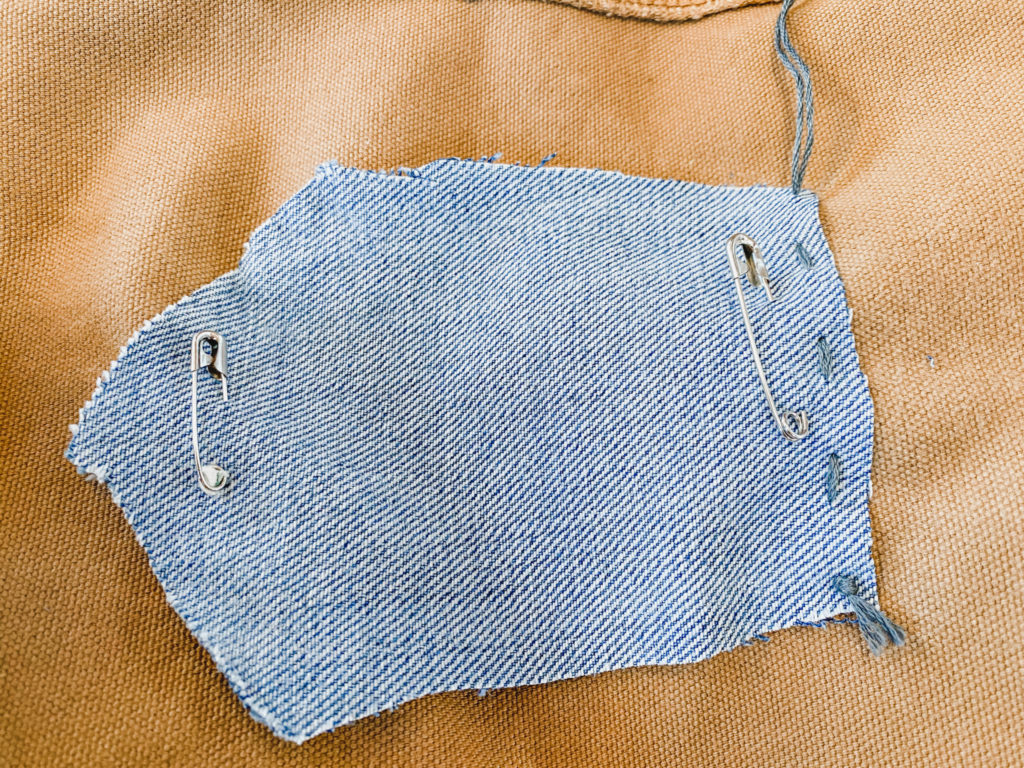
2. Turn the ripped leg inside out and use the safety pins to pin the patch in place, with the right side of the patch facing out, and the wrong side facing you.
3. Thread your embroidery needle with embroidery thread. I prefer to double up my thread, and I like it to be long enough to complete steps 5 and 6. Tie a secure knot at the end of the thread.
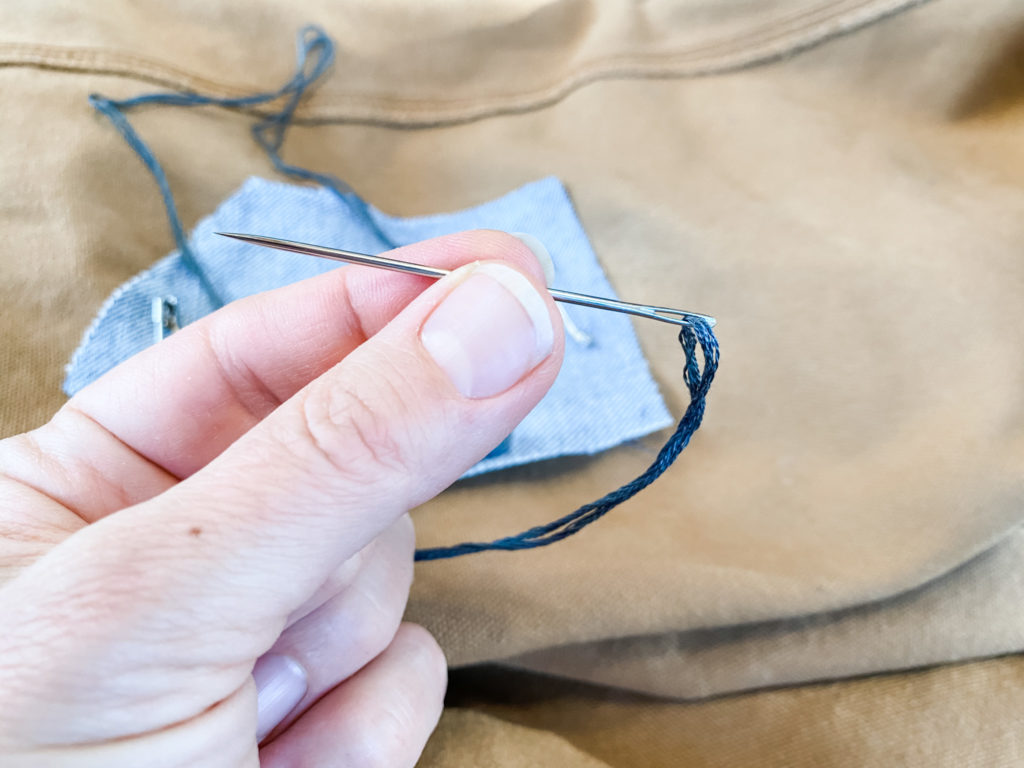
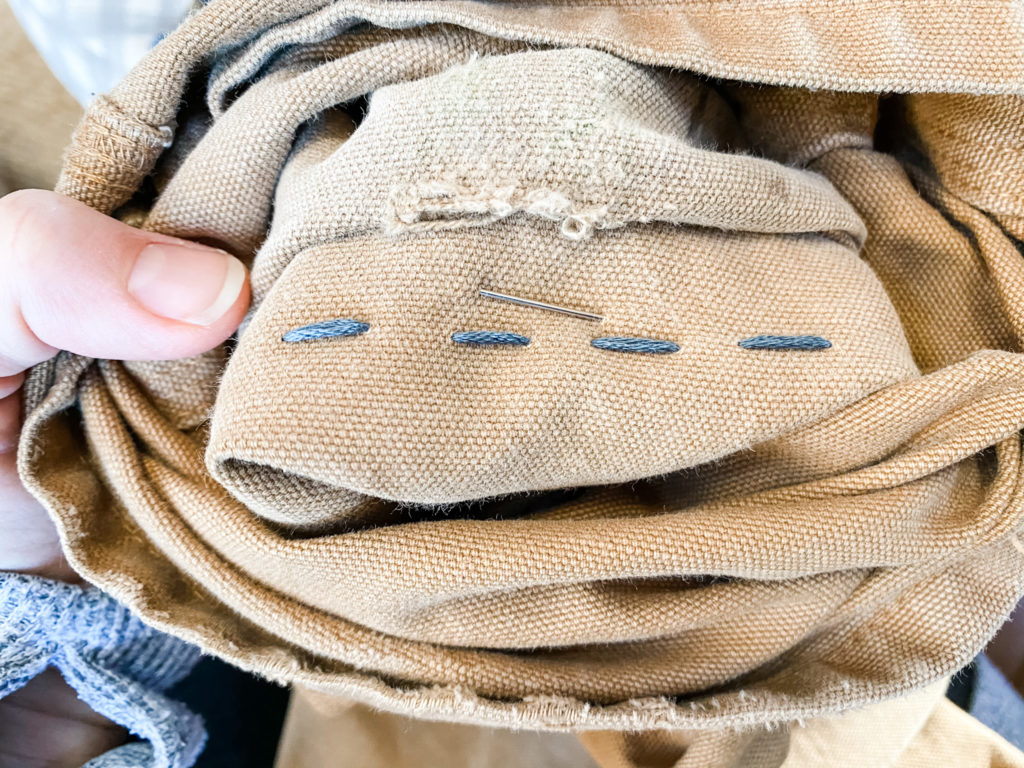
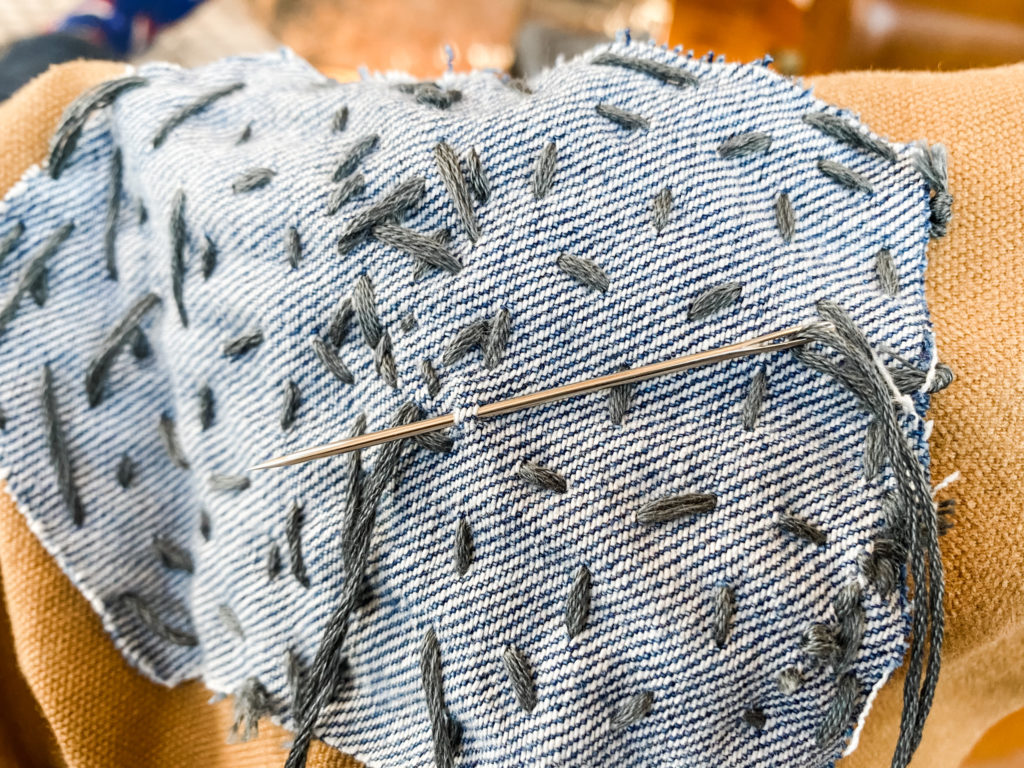
4. Make a few backstitches (see my notes above), then begin stitching in one direction.
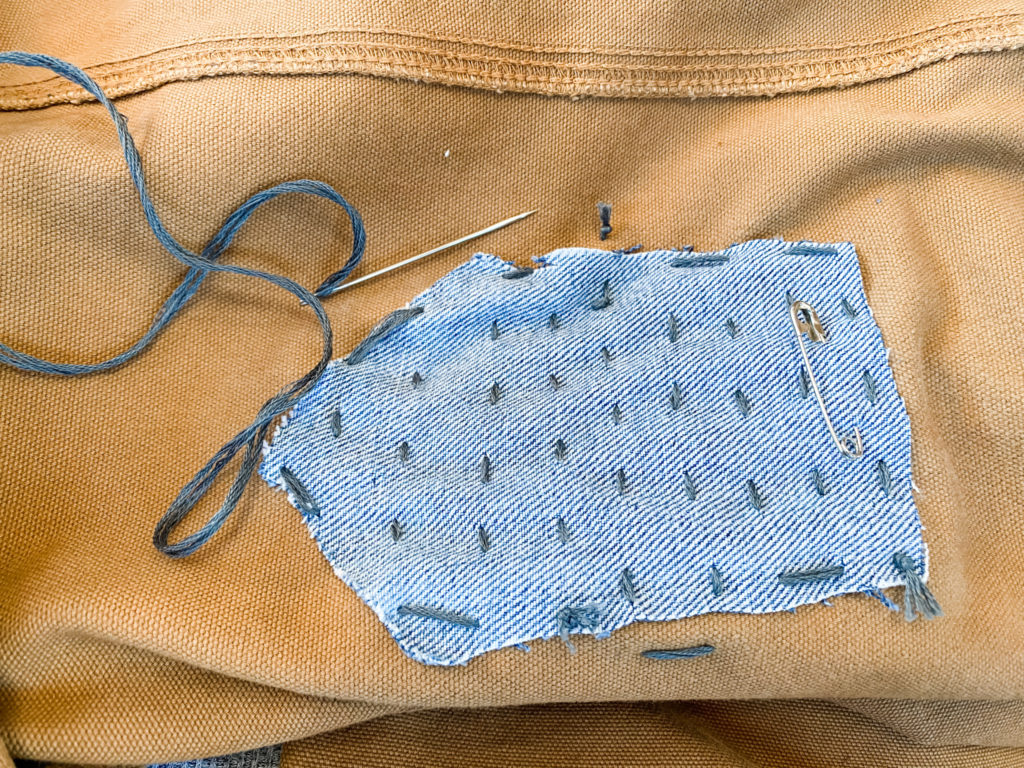
5. Continue stitching until the entire patch is covered in stitches. It’s helpful to turn the pants leg right side out every now and then to check your stitches.
6. When you’ve finished stitching the entire patch in one direction, remove the safety pins.
Stage two
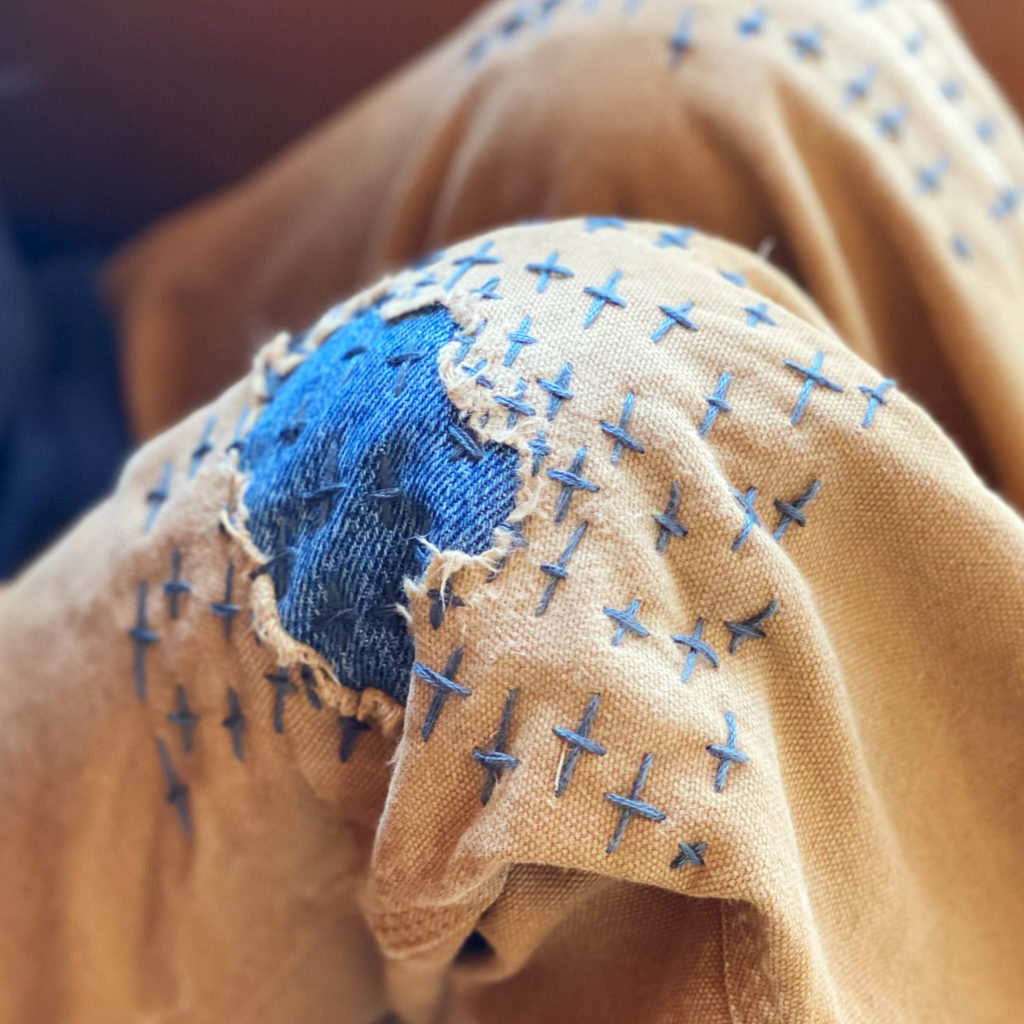
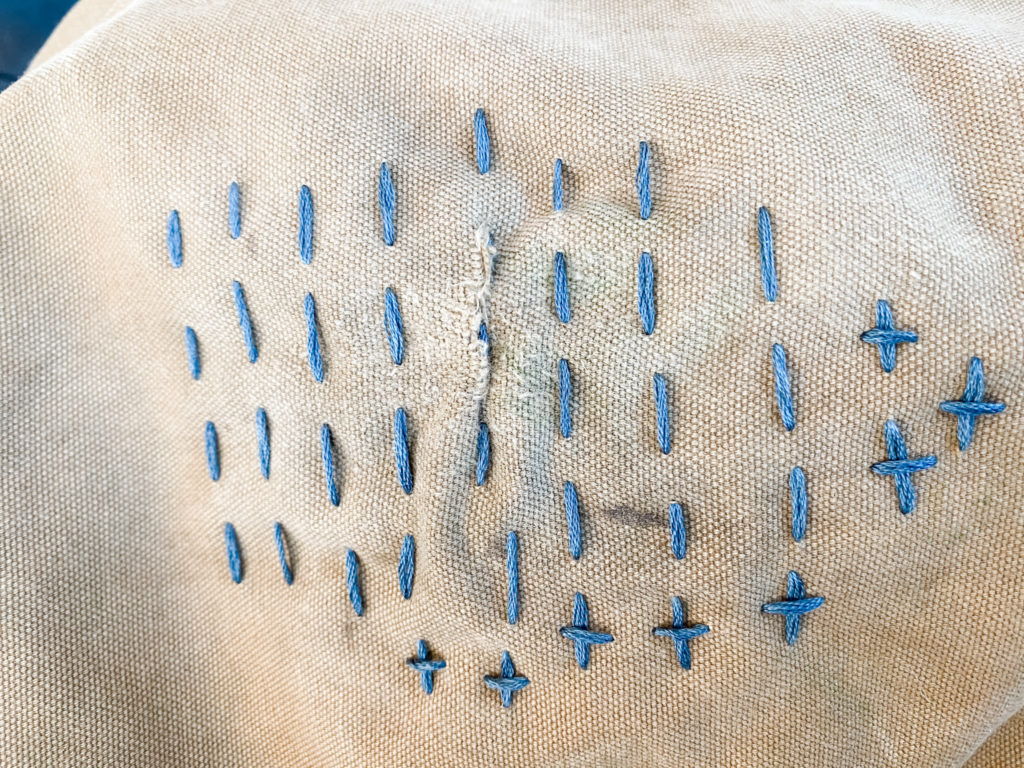
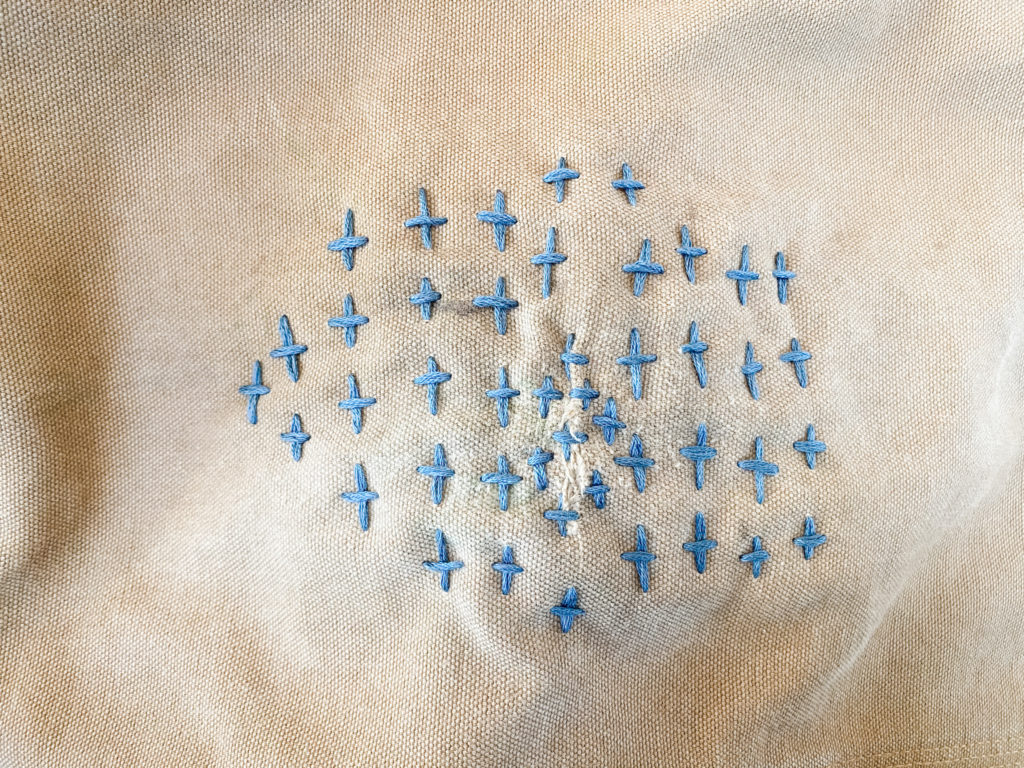
7. Turn the leg right side out and begin stitching in a perpendicular direction to your original stitches. Your new stitches will form tiny crosses.
Tips for stage two stitching:
- I try to avoid tying a knot in the middle of the knee, because that’s not very comfy for kneeling. If you think your thread might run out and force you to tie a knot where you don’t want one, you might want to tie off early and start with a new length of thread.
- Now that the pants are turned right side out, the hole is visible. As you complete the second stage of stitching, make sure to add extra stitches to secure the edges of the hole.
8. After you’ve crossed each original stitch, tie off your thread and make a few backstitches.
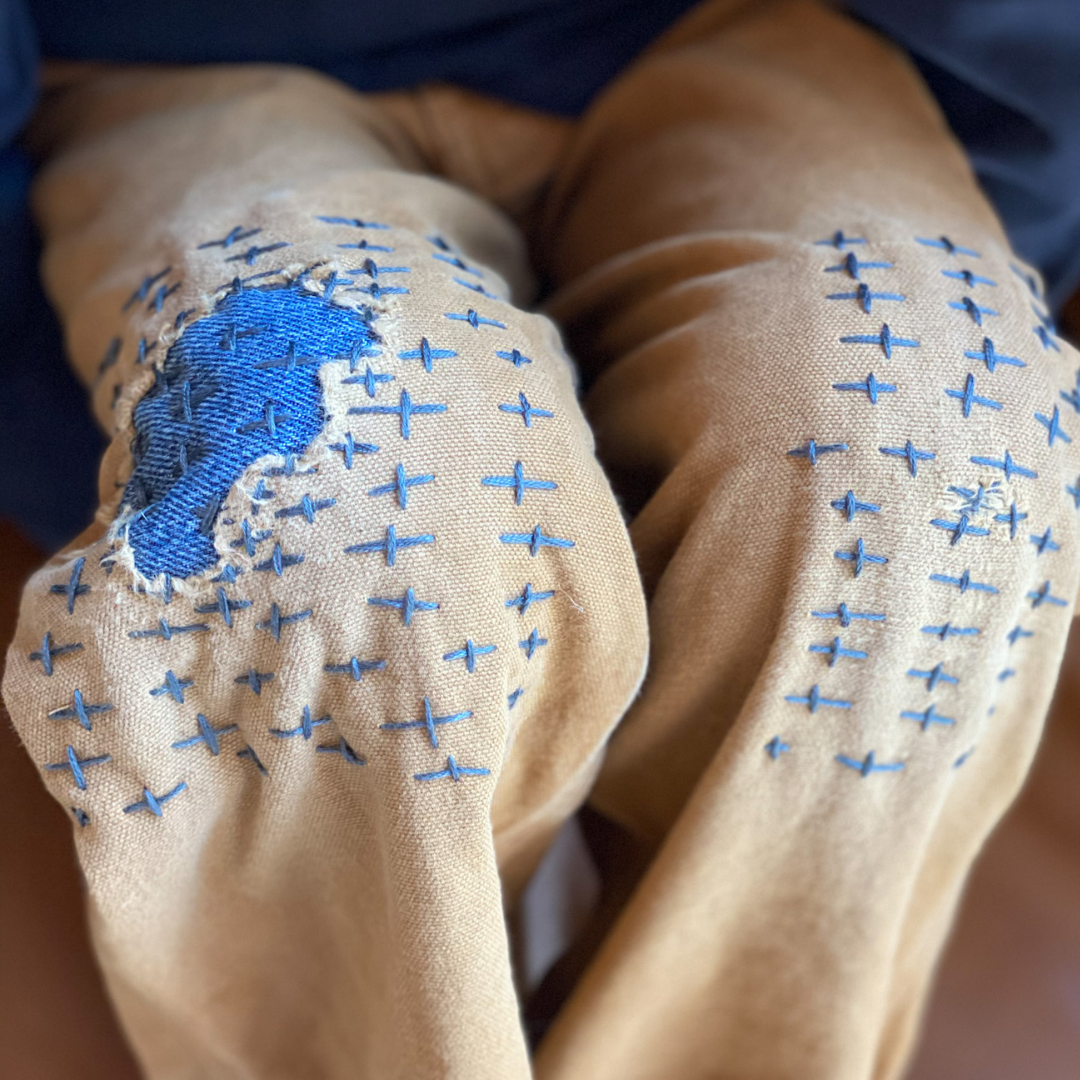
9. Cut off the excess thread, and you’re done!
Isn’t that better? I just love the satisfaction of repairing an otherwise useful pair of pants with holes in the knees. Instead of having to toss and replace my boys’ jeans or Carhartt pants, I can reinforce the knees in a fun and durable way.
Now maybe I can work on teaching them to mend their own pants…
What do you do with torn or ripped clothing? Do you think this method of Sashiko fabric mending would work for your family?
")
Sign up NOW for my best tips delivered weekly to your inbox!
You’ll also get instant access to my library of free ebooks and resources.


What a wonderful idea. I usually end up cutting the legs to make shorts for summer but i will try to do this next
Yes, I’ve done that, too, Amika. It’s nice to have another option, right?
Love this idea!! I used to use iron on patches inside the pant leg which helps a lot. I just got a very useful book along the same lines called, “Mending Life.” They use the same method and show step by step ways to repair many types of clothing.
It’s such a creative way to breathe new life into well loved pieces. 🙂