
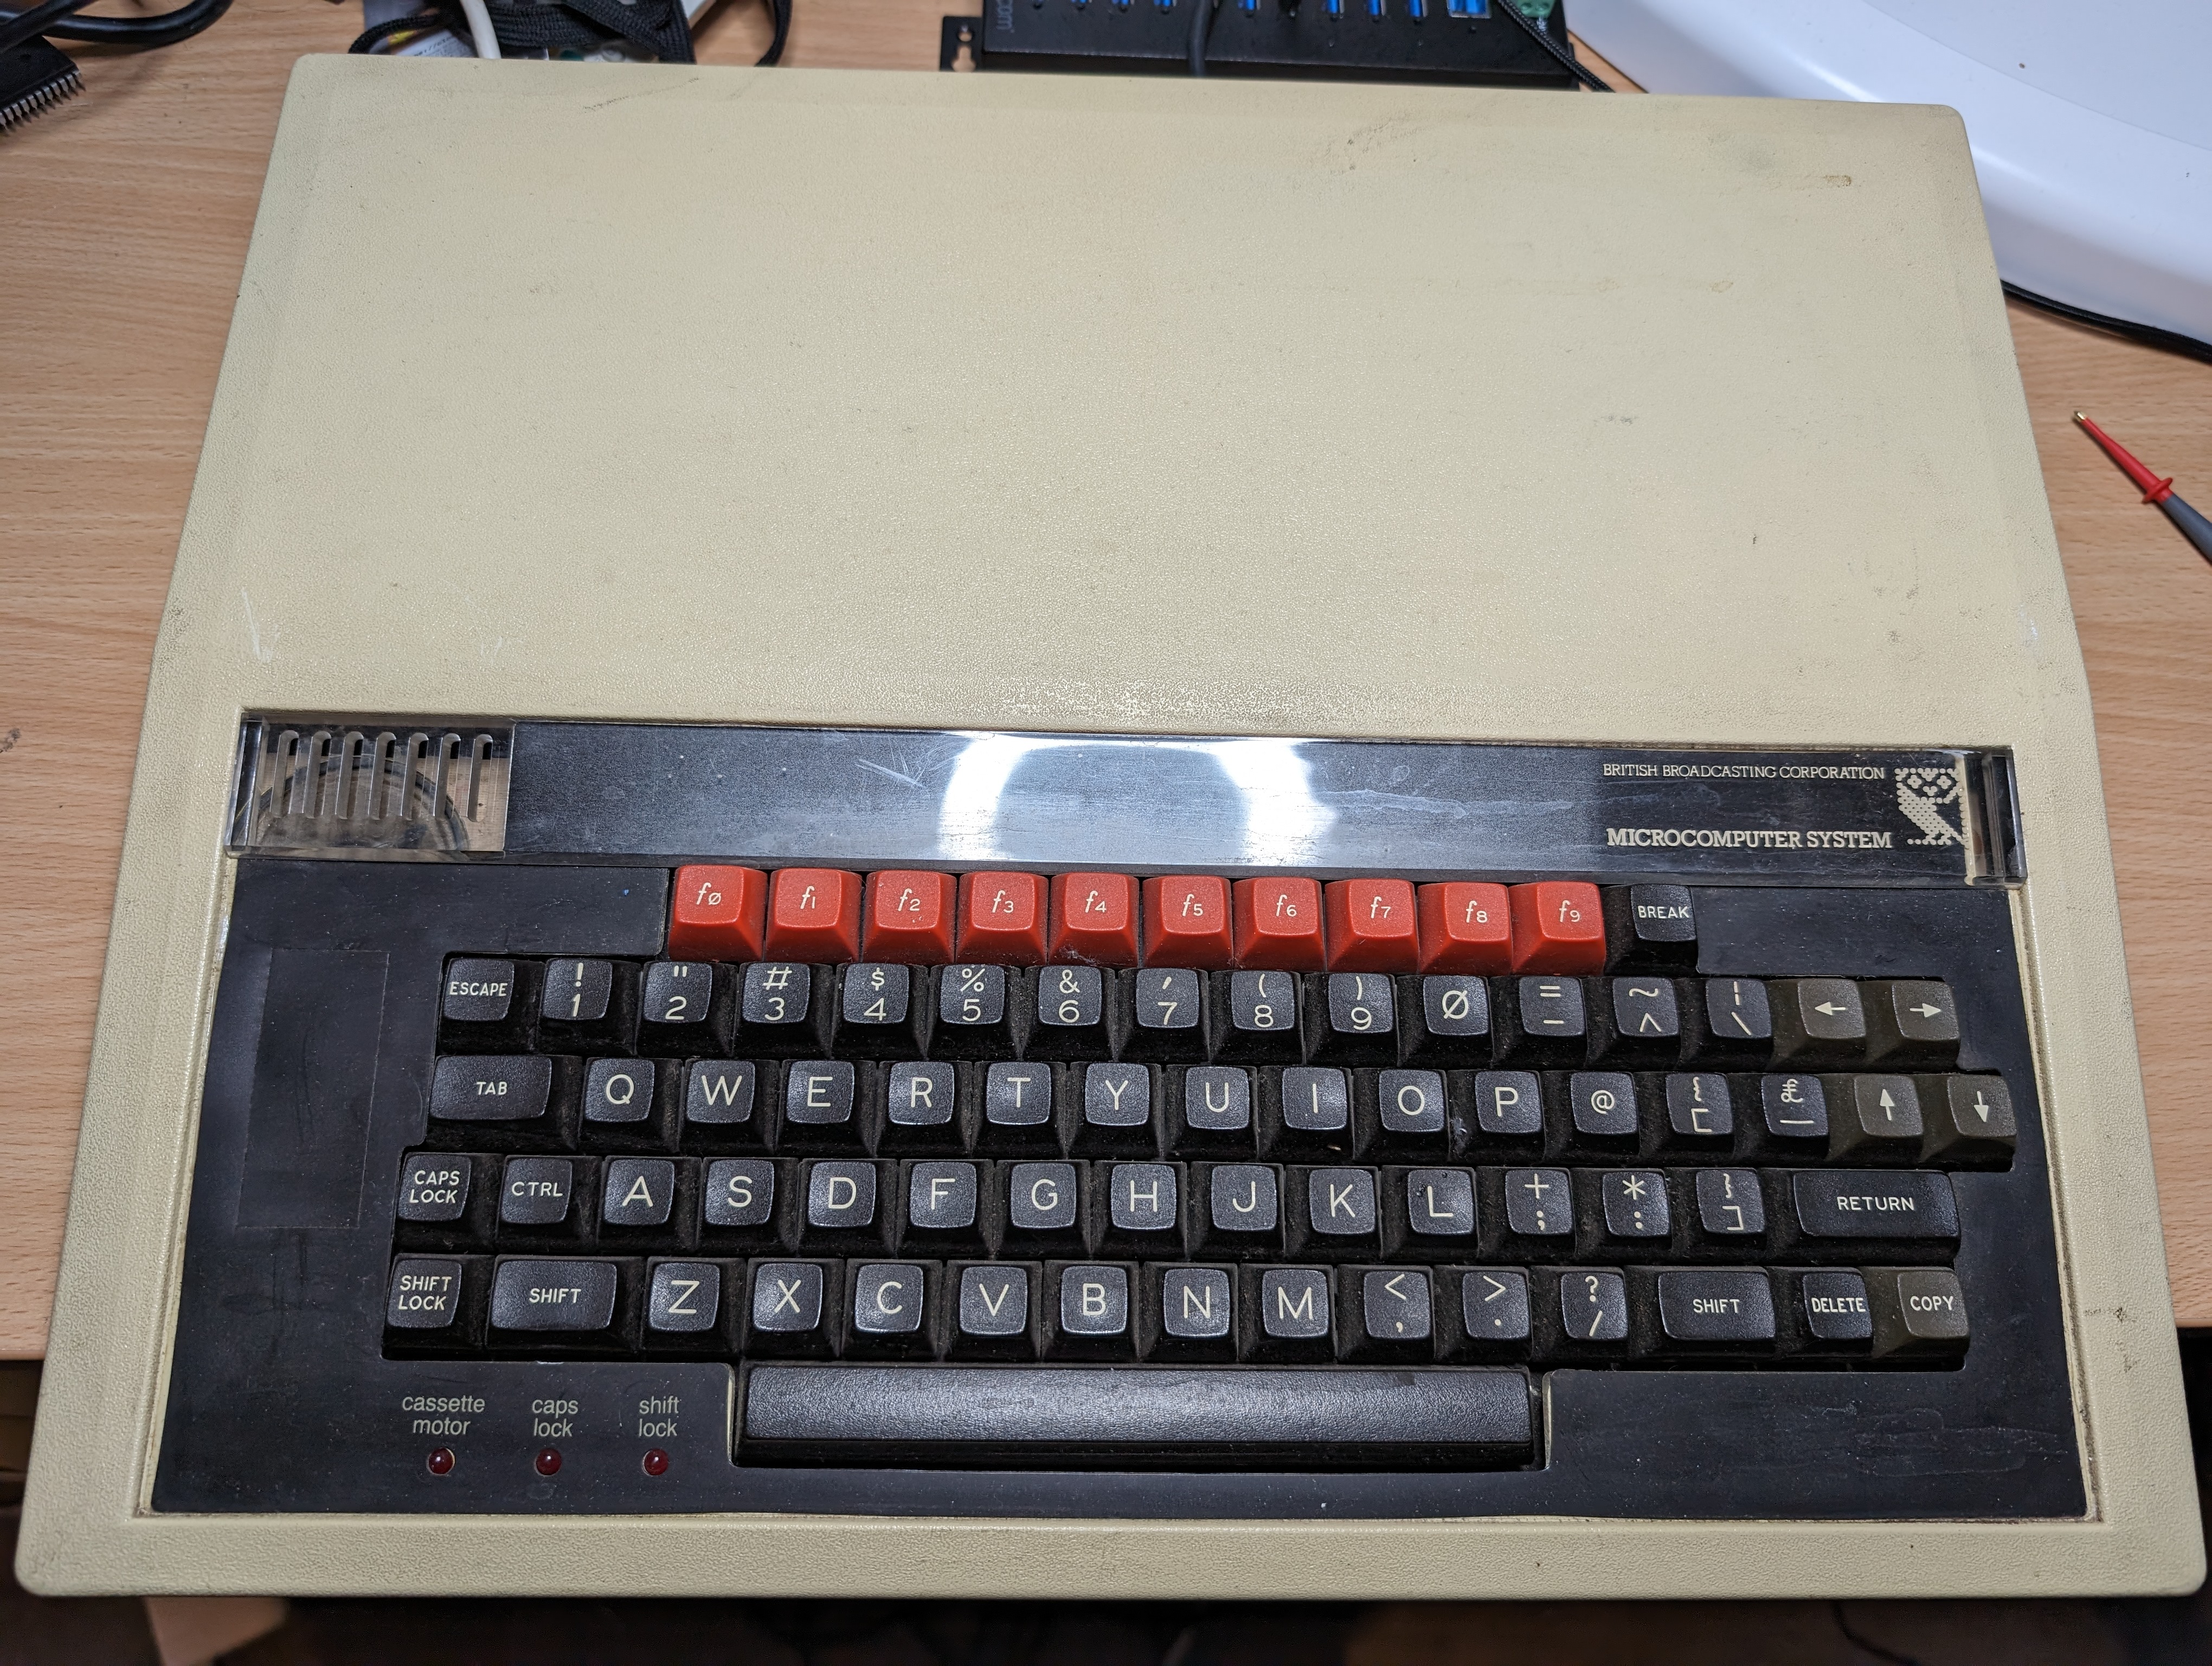
In my previous post, I thought I had both BBCs fully working and almost complete. I cleaned the inside of the bottom half of the case for the white BBC and installed the motherboard again, screwing it back down. This would turn out to be a mistake.
DFS Upgrade
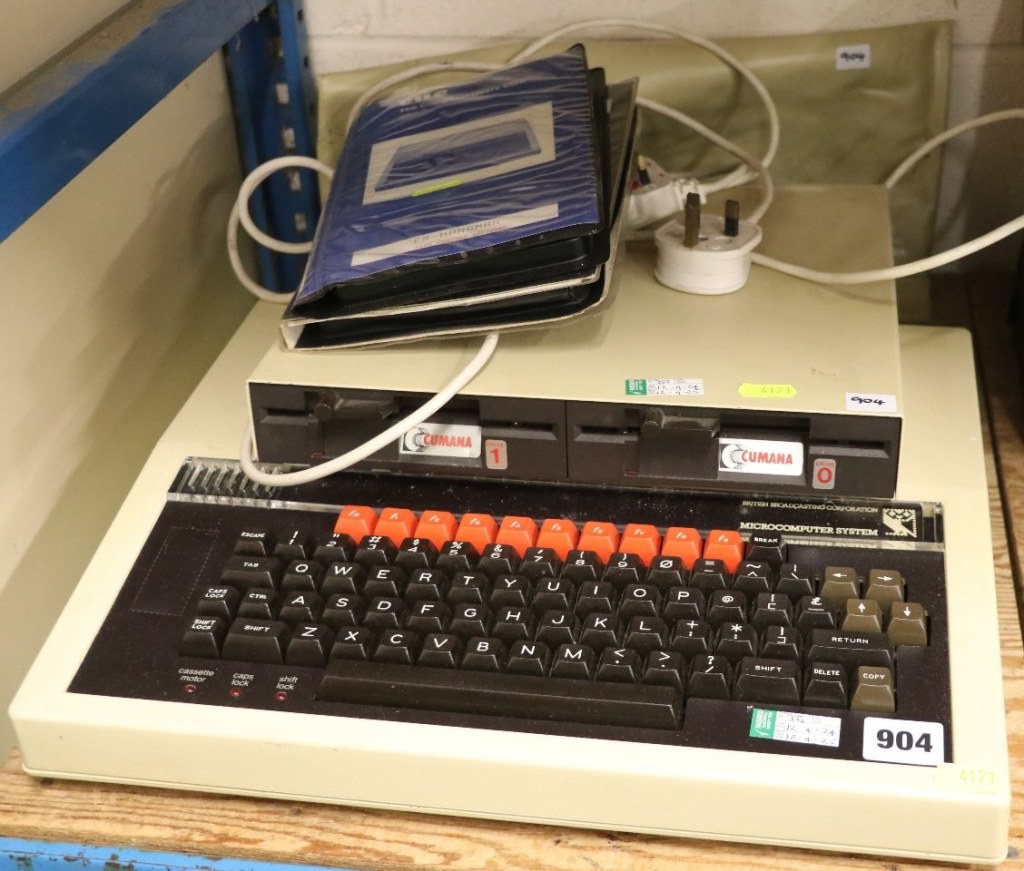
The white BBC didn’t have the disk interface installed on it at the factory, so I acquired one to install.

The manual is great, even if you have no electronics experience. But basically, you install two logic chips, two jumpers in pin sockets, the DFS board and the DFS ROM.


Whilst I was at it, I installed two other ROMs that I wanted in this machine. Logo and ADT, the latter is a bunch of useful utilities for BBCs.
I turned it on and there was a problem. The DFS ROM was missing.

Every power cycle would show a different set of ROMs working. In one case, the BASIC ROM didn’t even boot. We have a problem…
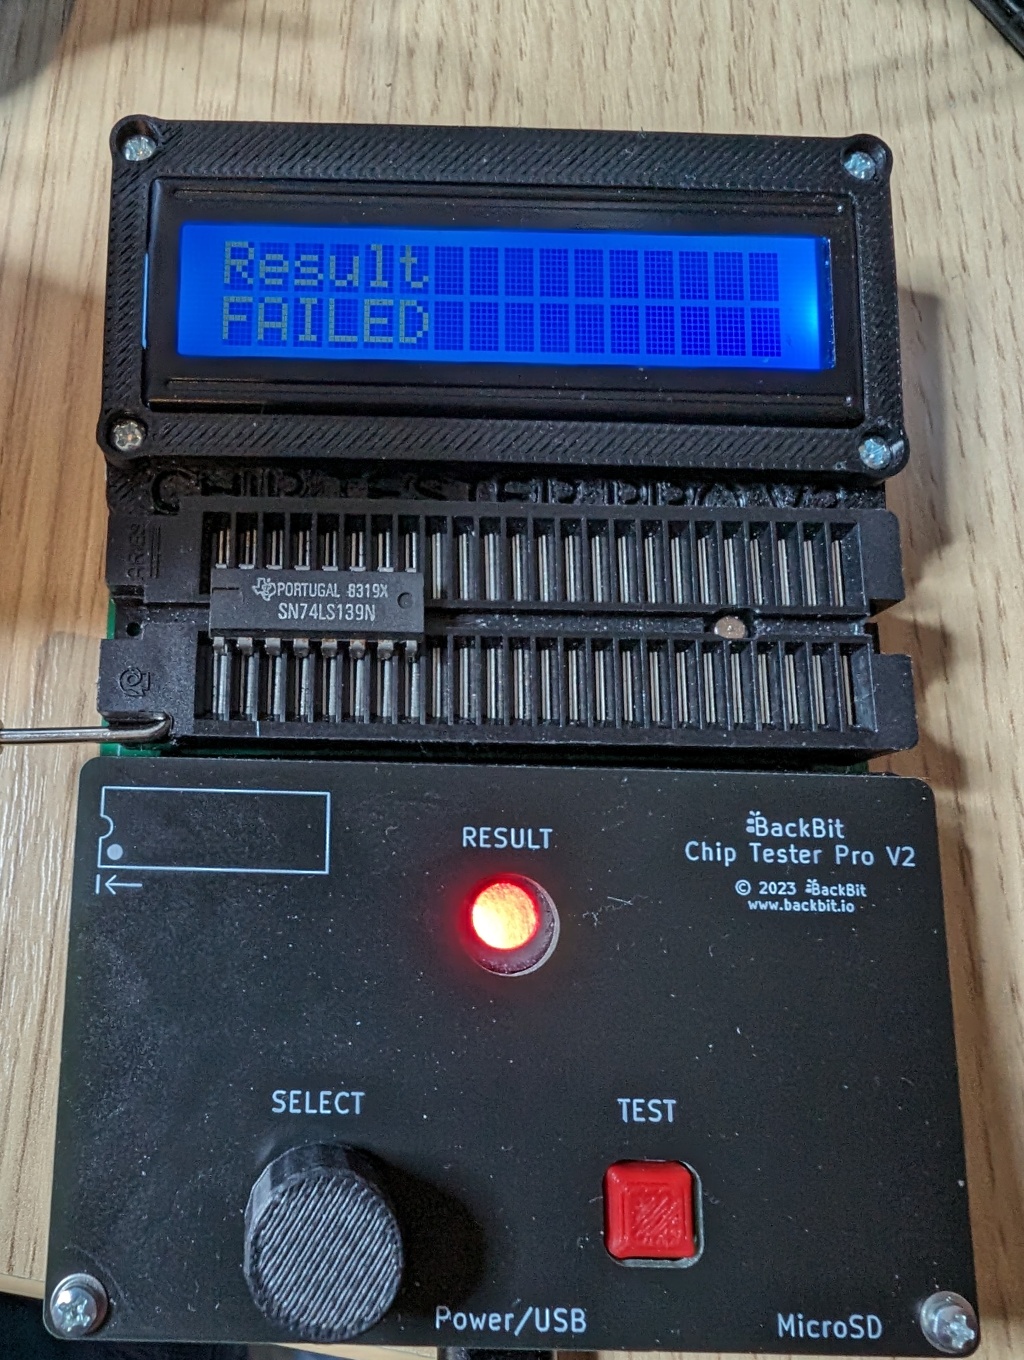
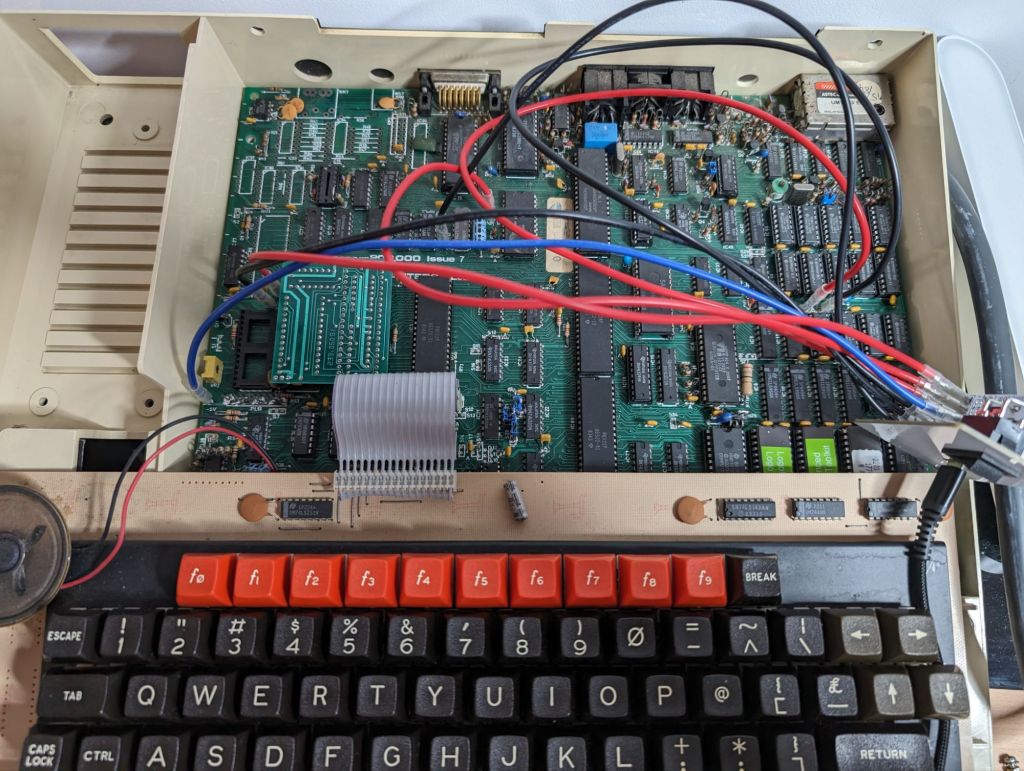
I knew the BBC does bank switching to switch out which ROM was active. So, my guess was the bank switching was failing. The bank switching is mostly controlled by IC76 and IC20 here.

I unscrewed the motherboard from the case again, pulled it out, and I removed both ICs. IC76 was fine, but when testing IC20…

Well, that is a third bad chip in this BBC. That sucks. I didn’t have a spare of this chip to hand, but a 74F139 is used in Amiga 500+ motherboards as part of the RTC circuit. I have a couple of scrap A500+ motherboards, so pulled the chip from there. The F is a faster chip than the LS, so it should be fine for this usage. I socked both ICs after I removed them, so I put the 74F139 in the socket and powered it up.


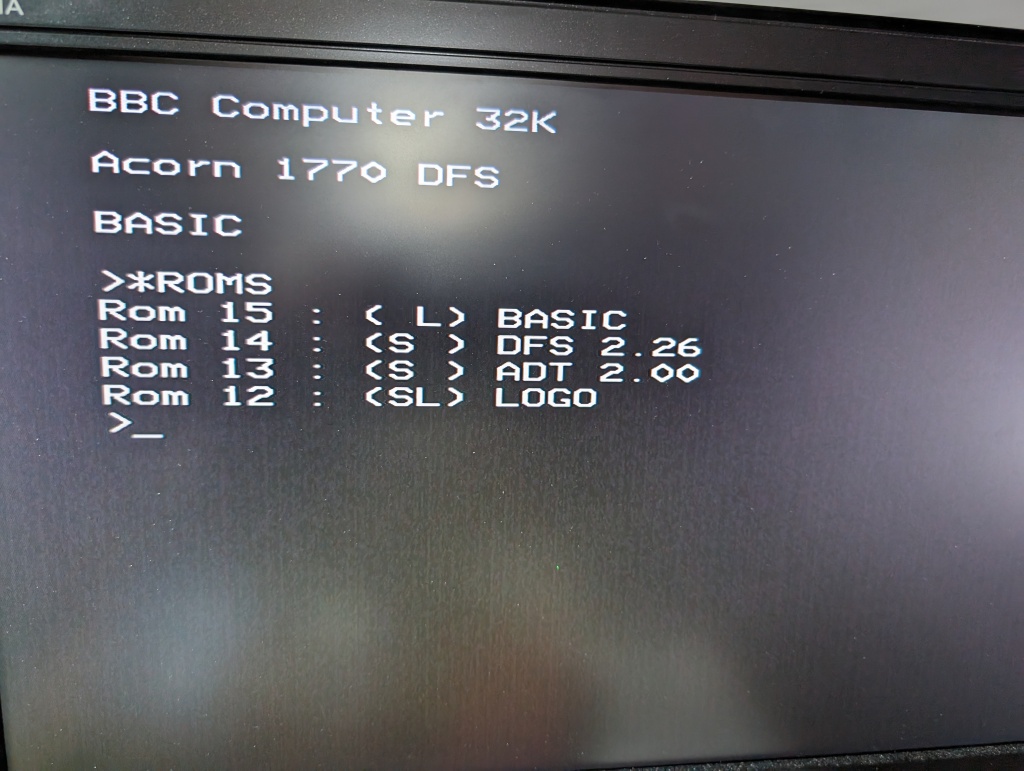
That’s more like it! I tried several power cycles and the ROM list was working properly.
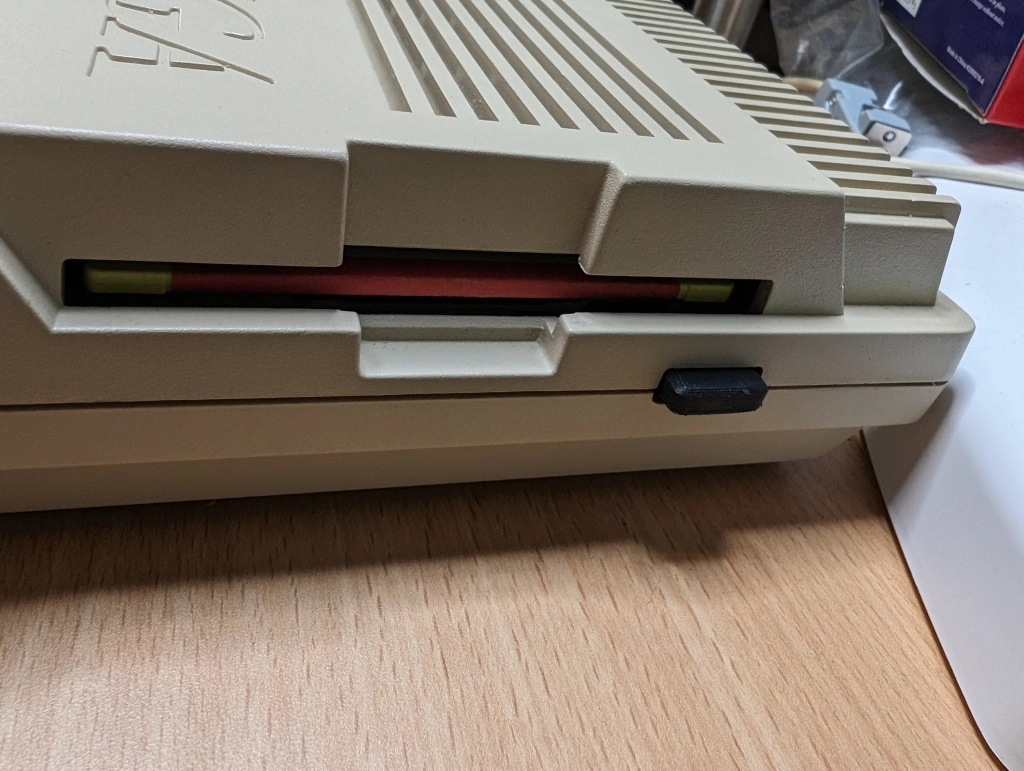
Now, to test the DFS, I plugged in a Gotek and loaded an image of “Hopper”, which is a port of Frogger.

It works! Finally getting somewhere!
Another keyboard failure
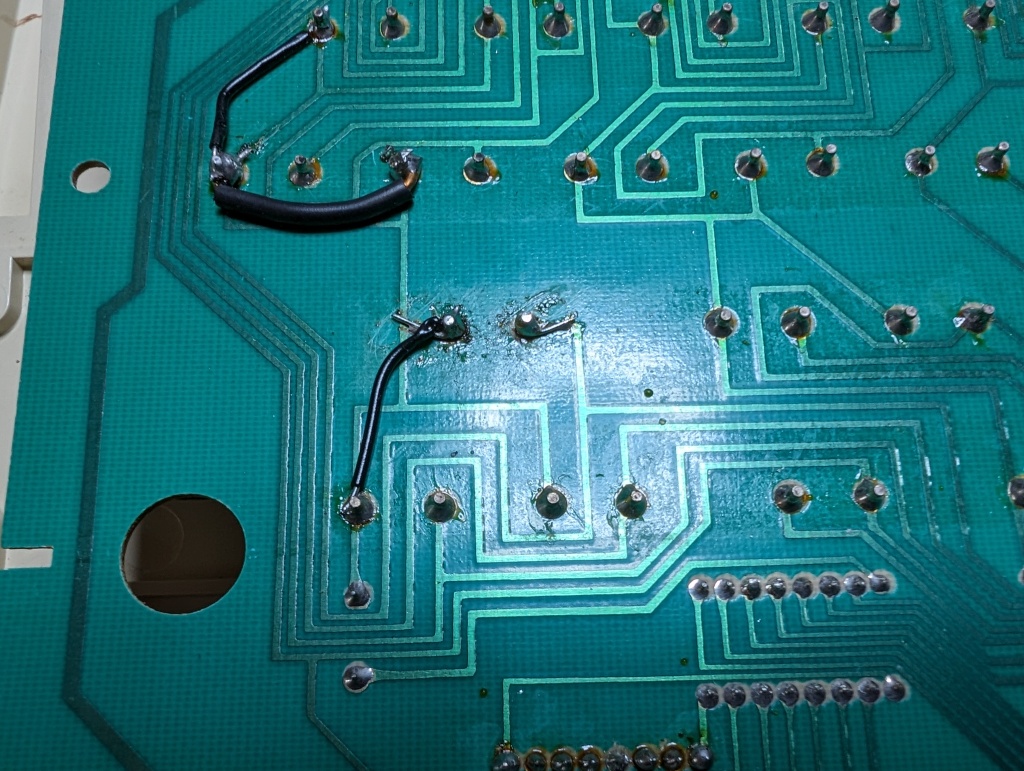
Something else happened in the middle of the above, the keyboard had a malfunction again. This time, just the “return” key. Flipping the board over, I found one of the patches someone had done to that key had failed. So, I added an additional patch to fix it.
This fixed it. Whilst I was at it, I installed a new rubber foot on the bottom of the case to replace the missing one, it is a lot more stable now.

Power supply
The BBC Micro / Master power supplies are of high quality, but a few capacitors always need changing. There are two Rifa capacitors which always turn into smoke generators, and the startup capacitor is usually under a lot of stress and fails. So, let’s see what we have.
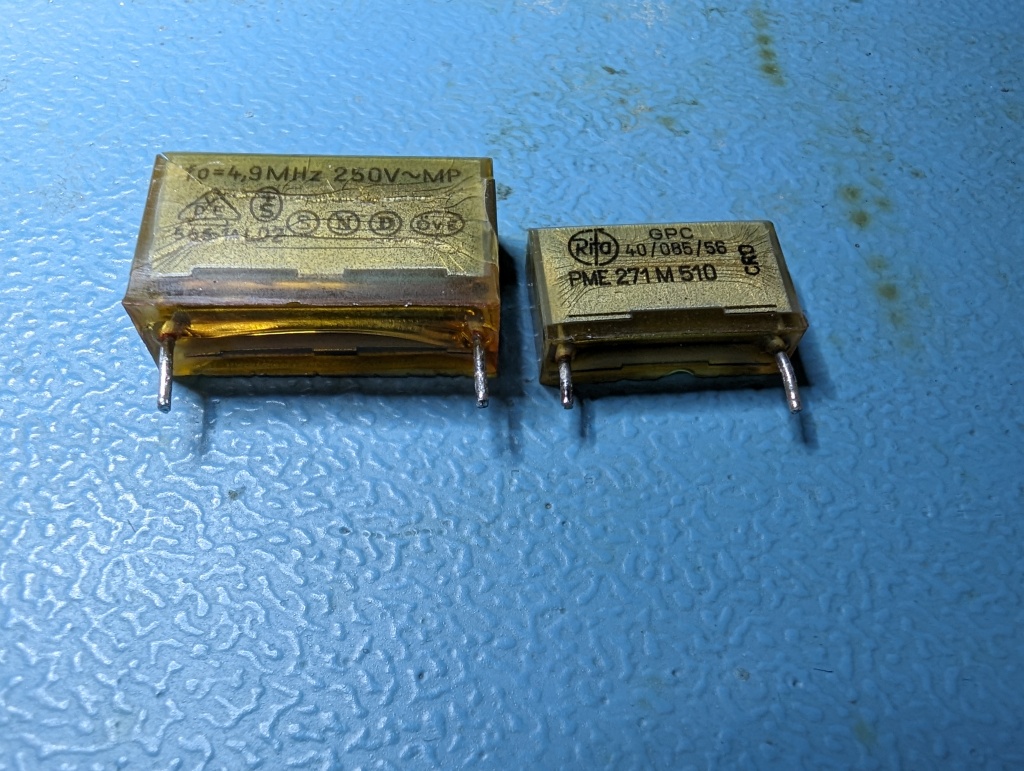
The two Rifa capacitors were both fractured all over, an early sign that they will fail. It might be 30 minutes, could be a few hours, but they won’t run for long like that.
Now let’s test the startup capacitor. This is a 220uF capacitor that sits in quite a hot place in the power supply, as well as having stress put on it. So it can dry out and fail.
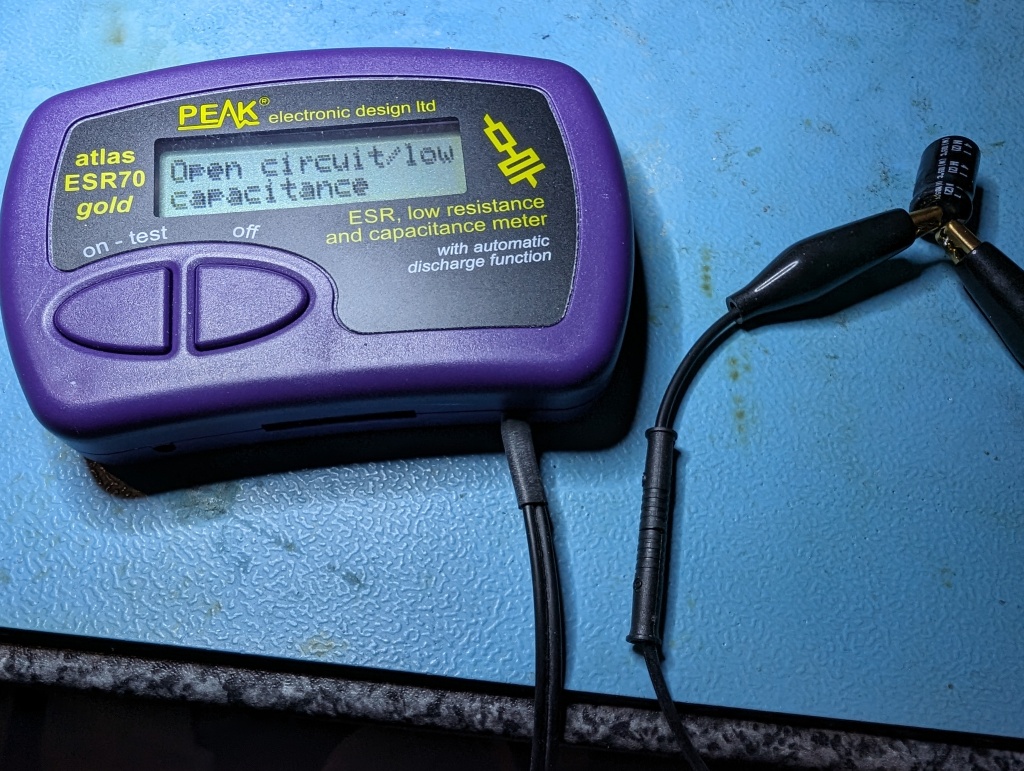
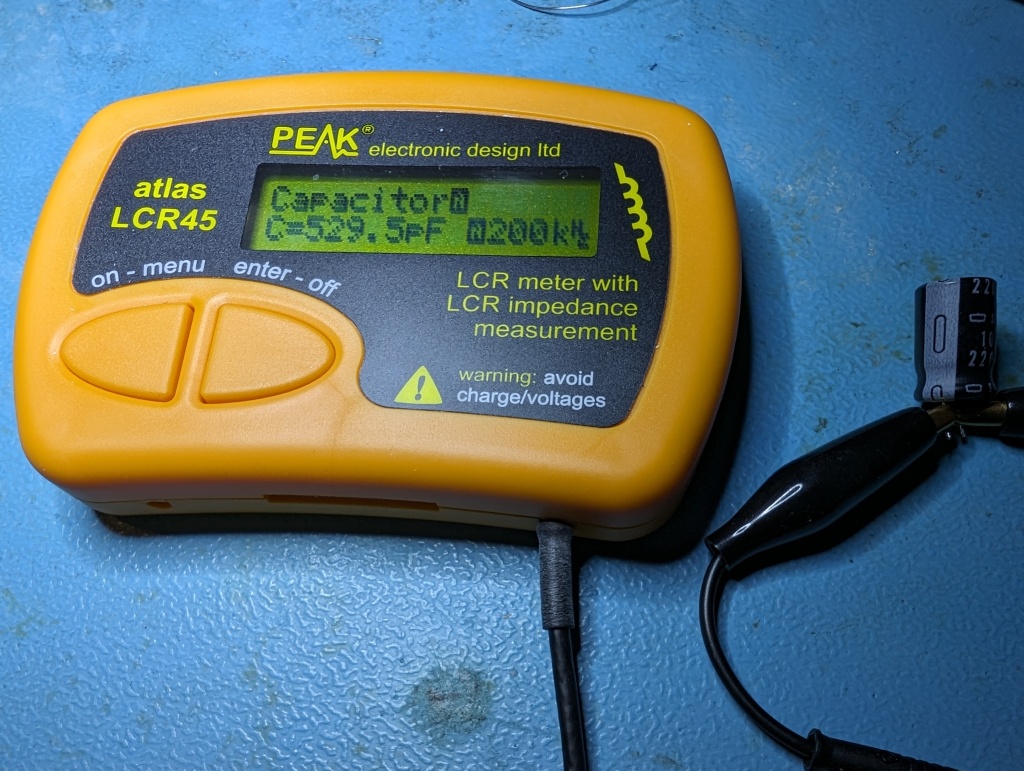
The ESR meter says that there isn’t a capacitor, and the LCR meter shows the capacitor having a capacity of less than 1uF. I’m glad I removed it.
These were all replaced with new shiny, reliable ones.

After a bit of load testing it appears the PSU was running great, it was put back in the BBC and the machine is running fine from this.
Cleaning
Now that all the hardware is working, I need to clean up the machine and put it back together. I popped all the keys off the keyboard to be washed. This was a little easier than normal for the space key, as the metal stabilisation bar had already been unclipped.
Once all the keys were off, this was underneath. Not the worst I have dealt with, but not the best either.

Using a CompuCleaner and a soft toothbrush, I managed to clean this off relatively quickly.

The keys themselves were washed and gently scrubbed in warm water and washing up liquid. They were then dried and popped back onto the keyboard.

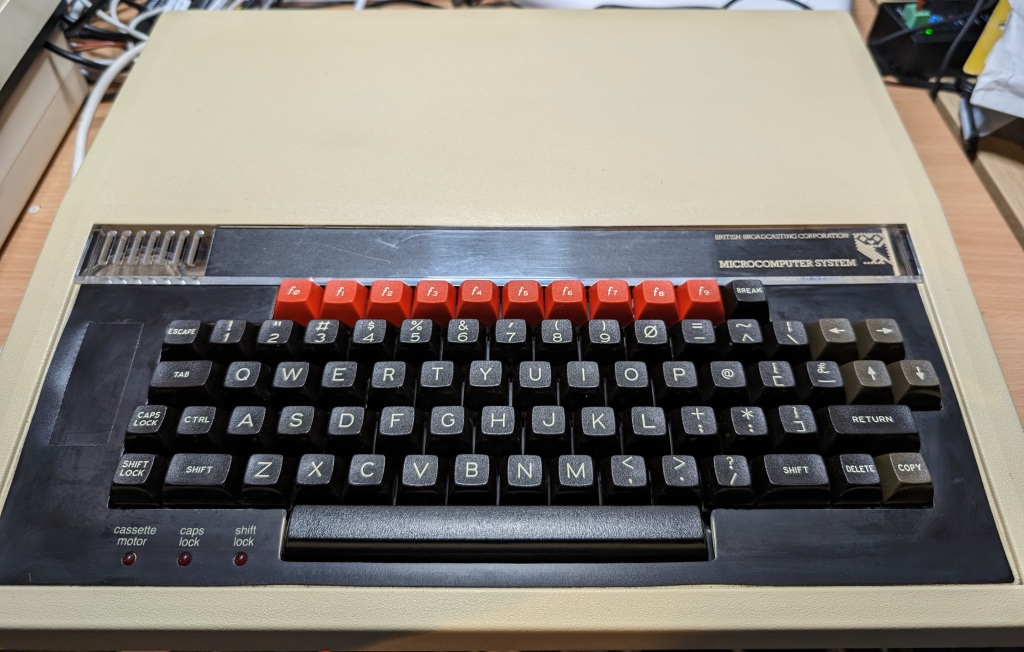
Looking almost as good as new! I noticed when reassembling that the F1 key was sticking down a bit, so I popped the keycap off again and sprayed some contact cleaner into the key switch. With several presses, it had loosened up nicely.
I cleaned up the case a bit using some plastic cleaner and reassembled the machine. The before and after looks like this.
Conclusion
And that is it! Both BBC Micros are fully running and are ready for the course I want to run using them.

Leave a comment