Into to Embroidery: Part Two with Video Demonstration

Intro to embroidery

Part One

Welcome to part two of my embroidery series, today I will discuss starting and finishing a project for beginners.

– Pick a pattern – For your first project it is best to pick a pattern that has limited small detail and you can finish in a timely manner like the one pictured below.

February embroidery

– Cut your pattern out and iron on – Give yourself enough of an edge to be able to hold it down while ironing while not infringing on the other patterns in the pack. Also making sure only the pattern you want is there, the picture below you can see the pattern number still there which I would first cut away before ironing on.

December embroidery pattern

– Start Stitching!

Really that is all that you need to do to prep once you have all your essentials I mentioned in post one!

As far as stitches go there are many out there and I recommend to pick one and practice it till it becomes second nature before trying a new one.

After the video I will link to two great tutorial for basic stitches.

Intro to Embroidery from Bailie Hemborg on Vimeo.

Sublime Stitching – Back Stitch

Sublime Stitching – Split Stitch

Thanks for watching and reading and please let me know any questions!

Embroidery Transfer How To: The Cheater Way

In my post yesterday I mentioned that I made a pattern myself for one of the embroidered bags. I am going to share how I did it as it was a bit unconventional but used the tools I had on hand.

step one

Once I came up with what I wanted to do I sketched it out on some plain white paper. I made hard and dark lines with a normal pencil so it could be seen from the other side.

step two

Once that was done I flipped the paper over and with a bright light behind me I took a transfer pencil and went over the lines. I also tried to make sure the lines were once again very dark and hard pressed.

Next I ironed the bag and while it was still warm I lined up the paper with the transfer pencil side down and ironed. I used the wool setting and was careful to keep the iron moving as to not burn the paper.

It would have been much easier if I would of had tracing paper but since I did not this method worked fine and will for you to in a pinch. One thing I think to keep in mind is that the paper I used was a good thick quality from a leather bound sketch book, I think if you used regular lined writing paper it might be a bit thin for the iron.

A Homemade Christmas – Sending Presents Home

Due to us being from different countries Mr. H and I have never had a Christmas, and never will, where we see both our families. Then last year and this year we have seen neither due to his schooling and our remote location. It is fine though as it was something we knew when we first started dating and seeing as this is our 6th Christmas together we are pretty used to it and like I said before have started some fun traditions for just the two of us.

One thing we have not been able to do though is send presents home, whichever home Sweden or the US, but this year I was determined to send at least something small. So I started thinking and planning way back in late September what would be good, low cost, and easy to ship. I also wanted the presents to be something that they could keep or use for awhile and I thought it would be fun to make them so they had more meaning seeing as they would be small.

While pondering all this I was working on embroidering a canvas bag I had bought in California and one day I was like this is totally what I should do! I then found a great site based in the UK that would ship to Sweden called The Clever Baggers and put in an order. They have great prices and got my order to me in less than a week which surprised me and was great as was worried about getting everything in the post in time.

I ordered some plain canvas bags with long handles as well as some plain canvas wine bags.

m wine bag a wine bag

I decided to go with a classic style for the wine bags and did the recipient’s last name initial as well as a simple design.  I also did two others but sadly it seems I did not get pictures of them.

For the bags I wanted them to be a bit more fitting to the recipients personality.

grass roots embroidery

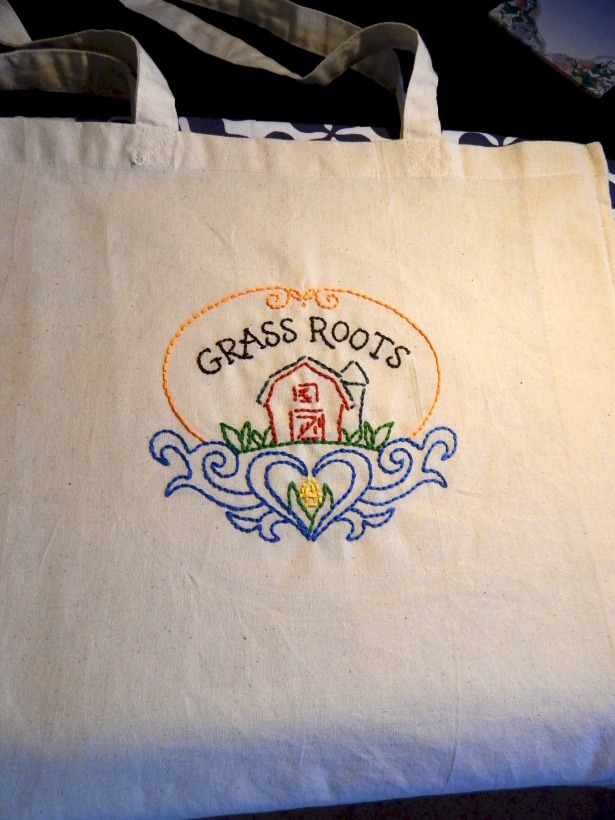
This bag was for my best friend and her husband and I used a pattern from Colonial Patterns.

bon appetit embroidered bagThis bag was for my in-laws, I let Mr. H pick out the pattern from the supply I have and he chose this kitchen themed one also from Colonial Patterns.

book crawl embroidered bag

For my grandparents I also wanted to do a bag but wanted it to be specific to their hobby of used book shopping or as they call it a book crawl. So I wrote out book crawl and made a transfer for it and then added a partial pattern of the coffee cup and cupcake as they tend to go for coffee when they are on their book crawls.

white tail embroidery

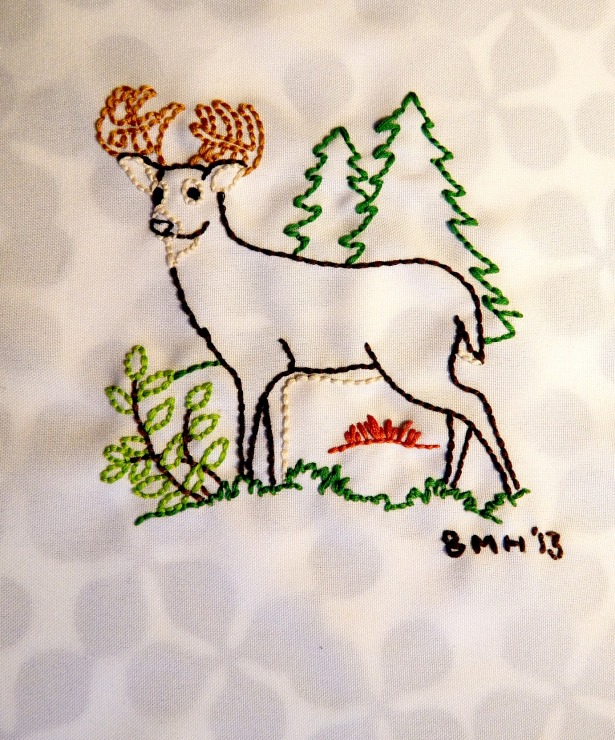
Lastly I took a piece of plain white fabric and did a white tail deer for my father. He can frame it and hang it in his garage with all his other hunting and fishing paraphernalia.

I loved working on these projects and they were so easy to pack up and ship was was great.

gift packingI wrapped up each family gift like this and put in a flat card I had stamped and wrote a little message on under the ribbon. Then put them in large manila envelopes I bought this summer in California.

What do you do for family member presents that are far away?

Crafty Time

Besides my mom and her sister the rest of the women on my mom’s side of the family are very crafty and creative, ok so that maybe sounded mean but I can assure they would both be quick to point this out!

I personally like to think I am somewhat crafty, even though I cannot bake like everyone else, and have really wanted to try my hand at cross stitch and embroidery in the past few years. So back in October I was lucky when my grandma sent me a box full of  supplies to get started!

As it happened my best friend was pregnant so included in the box were two bibs for me to personalize and send to her!

bibs

The top bib I embroidered along the pre-existing stitch lines and then went for a motif that reminded me of a kids shirt from the 80’s. The bottom bib I thought would be fun to add a Swedish touch since it was coming from over here and thought it would also be gender neutral since they did not find out what they were having ahead of time.

I was pretty pleased with how they turned out since they were my first projects.

sampler

Then one day in town I picked up this piece of cross stitch fabric (not sure of proper name) to practice on. Since I am teaching myself it has been helpful to have this to practice on for things like the checker pattern in the bottom right picture. Now that I feel so much more confident with cross stichting I want to get some more bibs and a piece to do a proper sampler on.

basta

After doing all that cross stitching I was ready to try my hand at embroidery and there is a shop in town that sells these pre printed pieces for a pretty reasonable price (49 kr / $7). I bought two and started this one on Monday, I used back stitch for the letters and split stitch for everything else. Once again as I am self teaching myself it is a bit hit or miss, like I tried to do stem stitch originally on the leaves but it was a mess!

When I finish these I am will be on the hunt for some plain dishtowels and what not so I can use the iron on transfers my grandmother sent me. Which if you live in Sweden/Europe I would love any recommendations on where to find them as so far my searches have come up with nothing!