Why the Game Boy Advance?
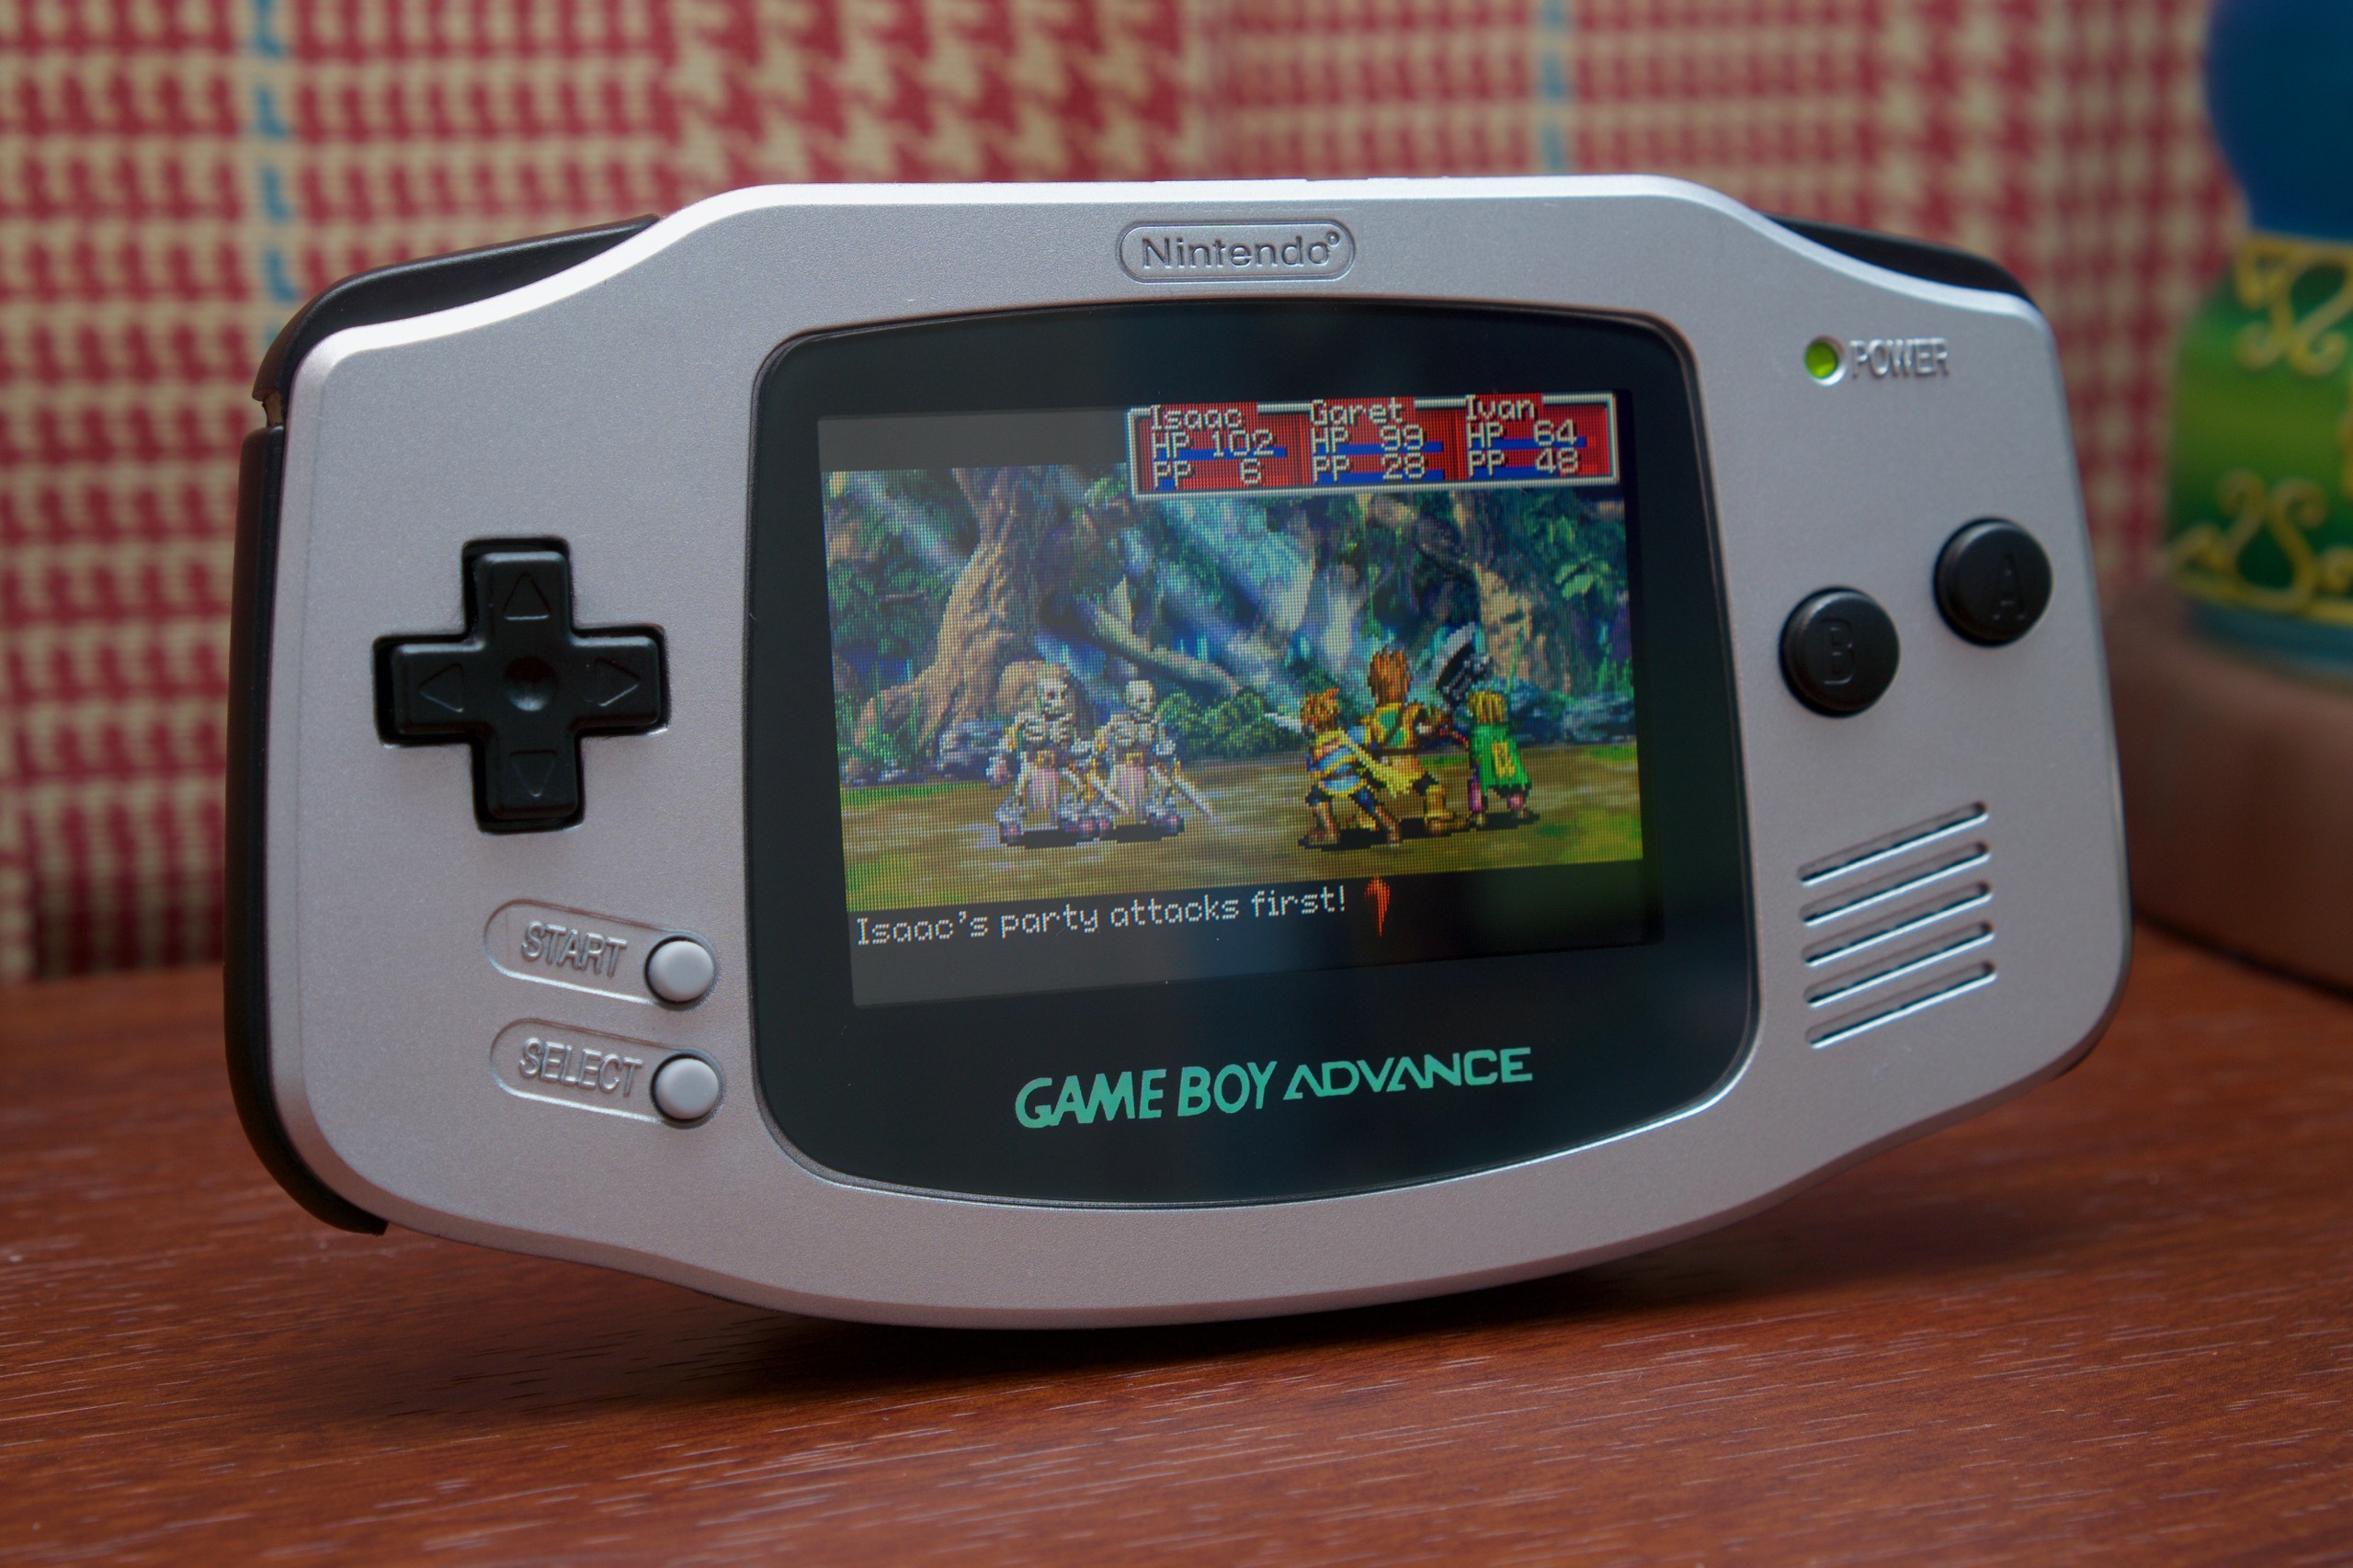
If it had come with any kind of front- or backlight, the original Game Boy Advance would inarguably be the best Game Boy that Nintendo ever made.
The console’s wide horizontal layout made its shoulder buttons more comfortable to press than those on the more cramped Game Boy Advance SP; it has a regular headphone jack where the GBA SP requires a (surprisingly forward-looking) adapter dongle; and it's also the only Game Boy or DS model that can play every single Game Boy, Game Boy Color, and Game Boy Advance game on the original hardware with no software emulation or screen scaling. The GBA’s processor had the original Game Boy and Game Boy Color’s processor built into it, after all. So even oddball games like Kirby Tilt ‘n’ Tumble will work. That game (and one or two others) included an accelerometer built into the system that only functions properly when the cartridge is facing up; the GBA SP and DS both pointed GBA cartridges down instead.
But the absence of a backlight is really hard to overlook. The Game Boy and Game Boy Color could both get away with this, since their more limited capabilities lent themselves to games with simple backgrounds and high contrast; the extra detail of the GBA’s superior SNES-caliber graphics gets completely obliterated even with direct light focused on the screen.
But technology marches on, and time (plus an active modding scene) has made it relatively easy to do what Ninten-didn’t or (Ninten-couldn’t) back in the day—to add an attractive, efficient backlit screen to the original Game Boy Advance, creating the best hardware on which to enjoy portable Nintendo games from 1989’s Super Mario Land all the way up to 2006’s Mother 3.
This guide will focus mostly on the original GBA, since it plays the widest range of games and is supported by a variety of retailers who sell a wide range of parts. But since many of these shops also sell parts for other Nintendo portables, and everyone has their own favorite systems, I’ll also include slightly less-detailed tips for fixing and modding the original Game Boy, the Game Boy Pocket, the Game Boy Color, and the Game Boy Advance SP.
Fixes: The casing, the buttons, and the screen
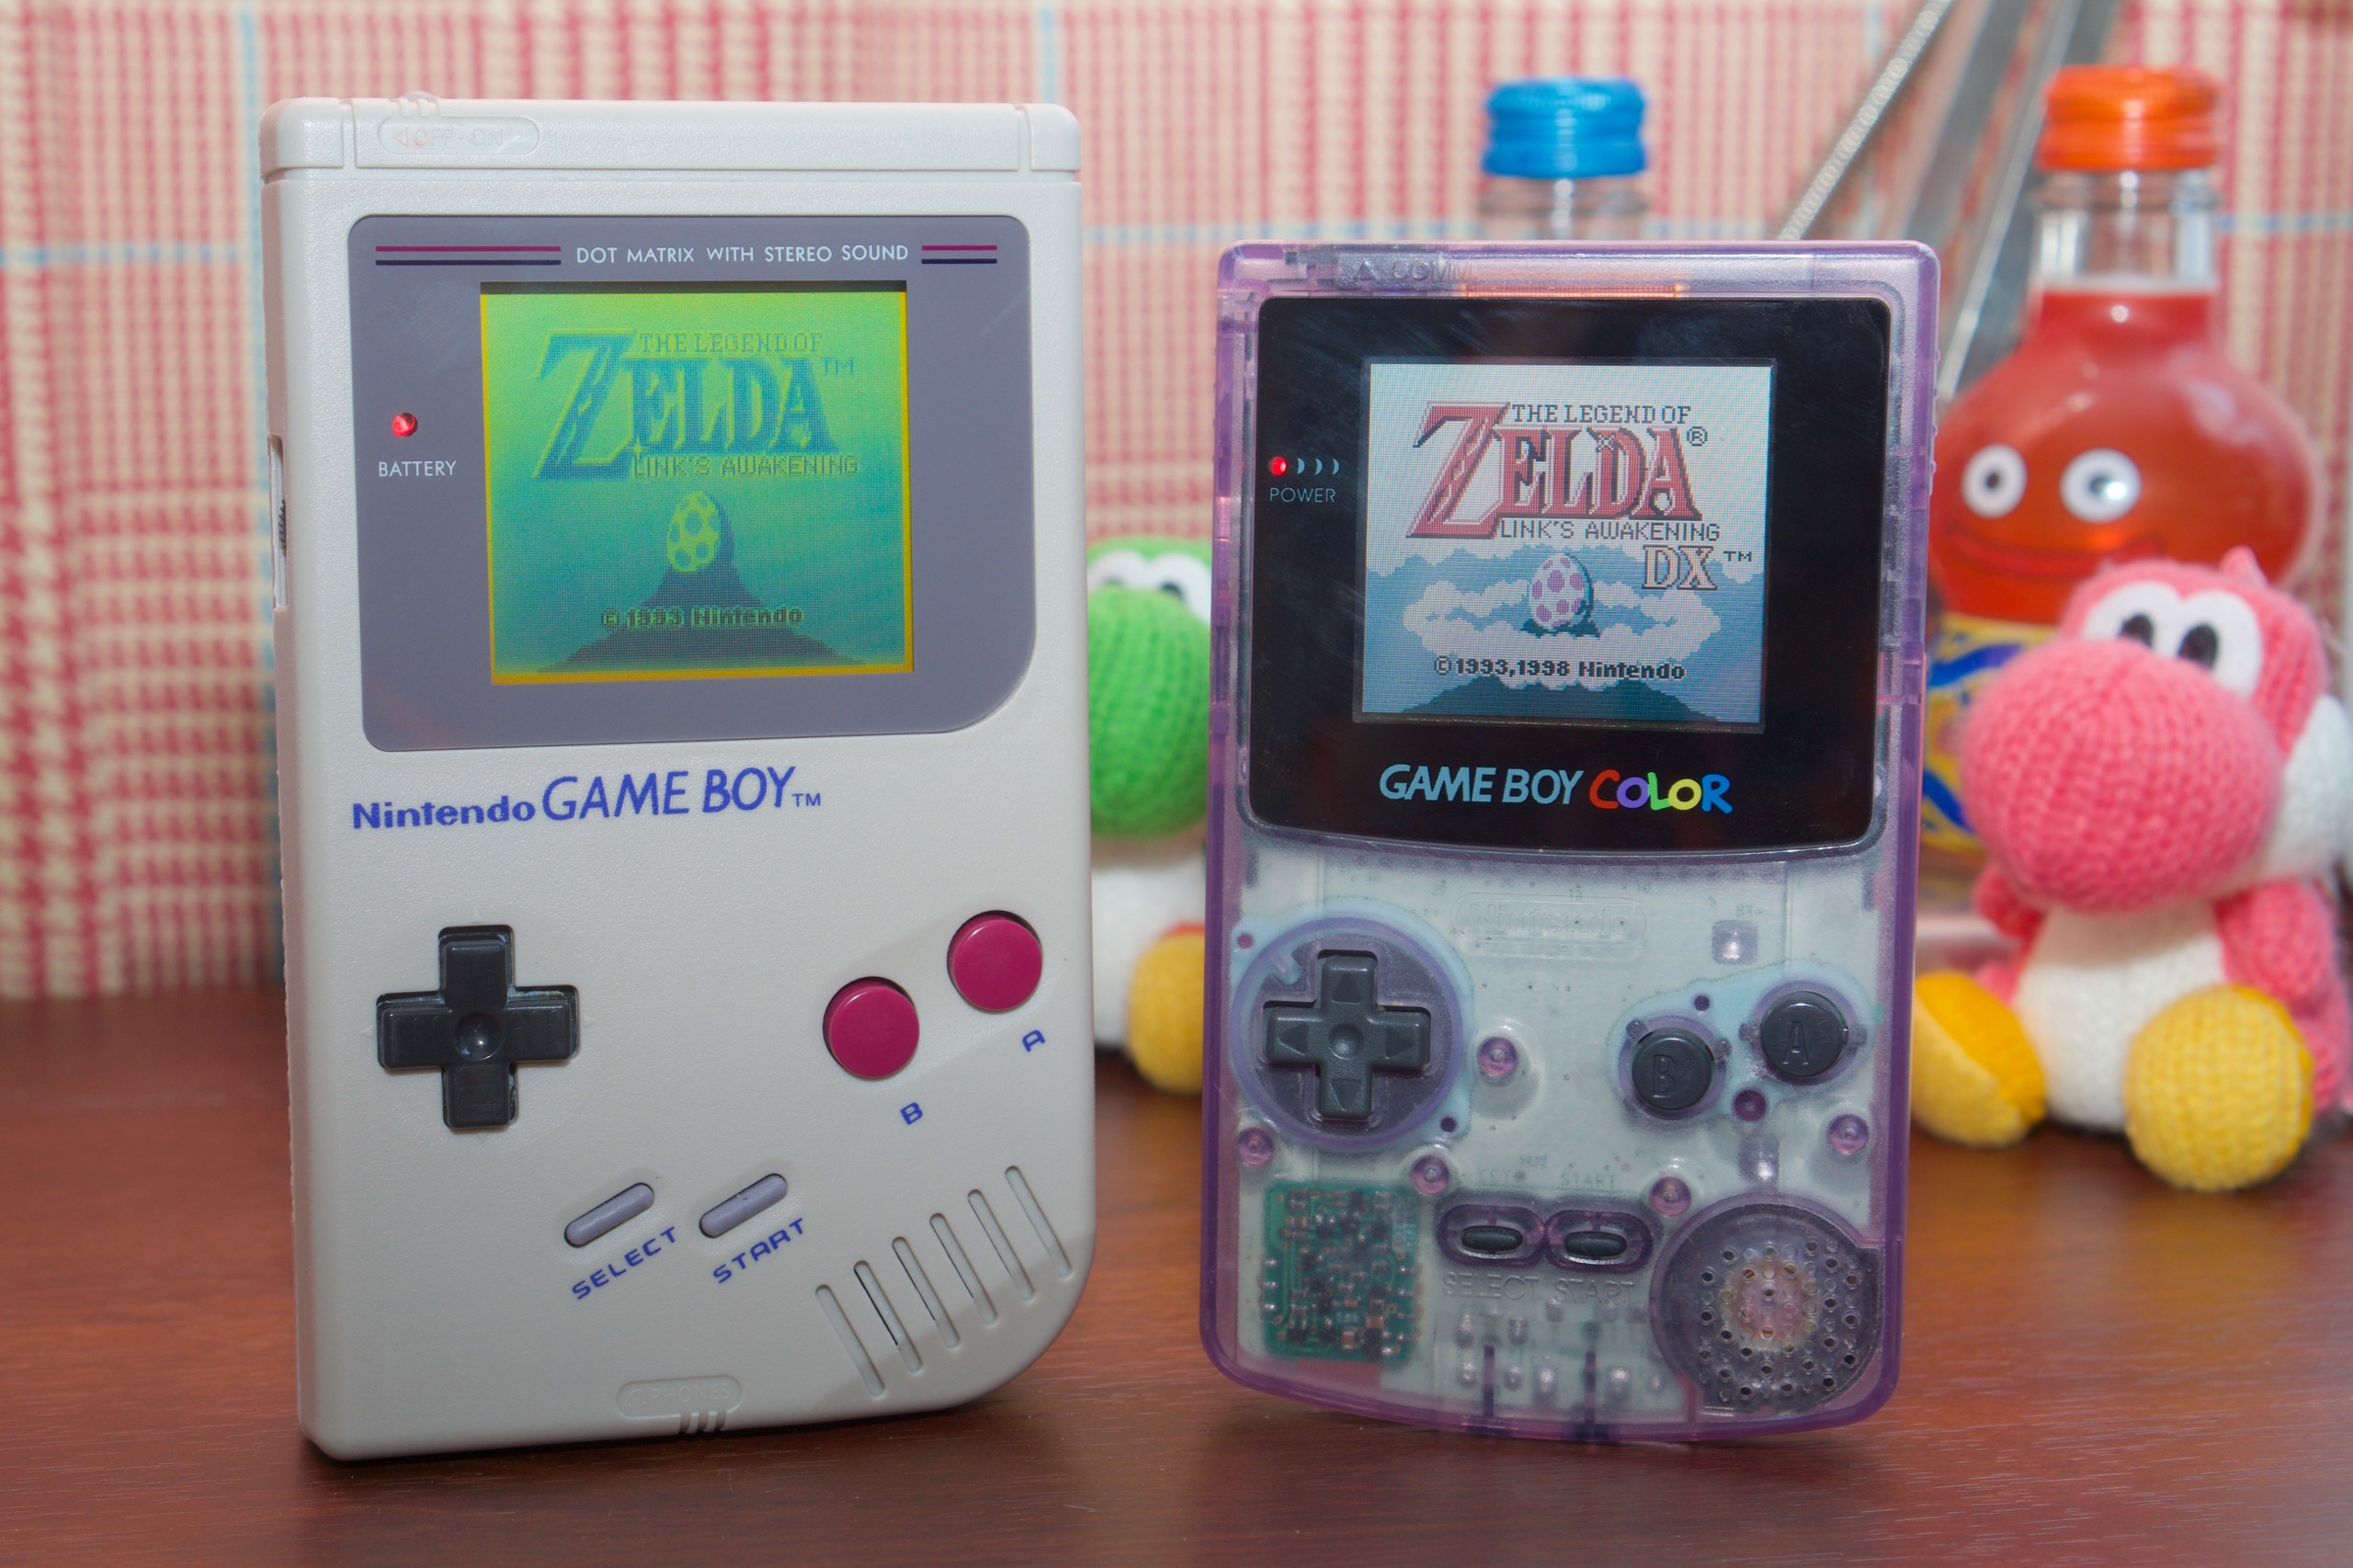
Again, I’ll mostly be focusing on the original Game Boy Advance. But there are plenty of parts you can use to repair and modify almost every major revision of the Game Boy hardware, with the exception of more obscure models like the Japan-only Game Boy Light or the short-lived, relatively unsuccessful Game Boy Micro. The best place to find most of these parts is eBay, but Etsy stores and specialty stores like Retro Modding or BennVenn are also good places to buy parts (or even custom-built, pre-modded units, though these are more expensive than doing it yourself).
If you have a Game Boy, Game Boy Pocket, Game Boy Color, Game Boy Advance, Game Boy Advance SP, or even a DS Lite or most 3DS models, it’s easy to find replacement shell and button kits for less than $15 or $20 if you just want to fix up a scuffed exterior. You can also easily replace the scratched plastic covering the LCD with a new plastic or glass lens. These shells are generally available in all the same “standard” colors as the original consoles as well as some custom colors that were never officially available; there are also a bunch of replicas of special or limited-run shells, like this NES Game Boy Advance SP or this Zelda-themed DS Lite. There’s even a whole rainbow of different button colors to choose for each console for people who want to make their own color combinations.
The downside of most of these shells is that the quality isn’t quite as good as the originals, but they’re pretty close once the whole thing is reassembled and screwed together. If you’re fixing or modding your own console, I’d also recommend keeping the original rubber button pads if they’re still in good shape. They feel just a bit better than the replicas that come with these aftermarket shells.
Getting supplies and taking things apart
All of the repair advice here will require you to take your Game Boys apart. It may seem intimidating, but unlike today’s electronics, Game Boys are all relatively easy to take apart and work with. For most repairs, you’ll just need a pair of screwdrivers—one Phillips head, one tri-wing, plus maybe a security bit if you want to replace the batteries in some games—and almost any replacement parts you buy on eBay will include a set of tools (order multiple parts and watch how quickly they stack up).
Follow these directions, keep track of where you put your screws, work slowly, and you’ll be fine. All of the advice below will apply to all the different Game Boy models (referred to, collectively, as “Game Boys”) unless otherwise stated.
Depending on what else needs fixing, you’ll also want a few other supplies, most of which you should be able to get from a pharmacy or home improvement store: isopropyl rubbing alcohol (90 percent or above, the higher the better), Q-tips, an (unused) toothbrush, fine-grain sandpaper (I use 400 grit), white vinegar, and a can of compressed air.
Cleaning buttons and contacts
-
The buttons, button pads, and power switch in your old Game Boys might be grungy, but they usually clean up OK. Using the original pads is the best way to recapture the feel of the original, even if you swap out the buttons themselves.Andrew Cunningham
-
Make sure the button contacts—the places where the rubber touches the motherboard—are clean and shiny so that every time you press a button, the game knows you pressed a button.Andrew Cunningham
-
Carefully remove the rubber pads from the shoulder buttons and clean out the metal contacts on the inside.Andrew Cunningham
Depending on what kind of shape your Game Boy is in, you might just need to clean it a bit. All kinds of stuff—dirt and grit, food, drinks, corrosion—can get inside these handhelds and make them work worse or not at all. If you buy any old Game Boys off of eBay in the hopes of fixing them up, you’ll run into all kinds of things.
Once you’ve taken the Game Boy apart, cleaning the plastic buttons themselves is easy—a soak and a scrub will get rid of a lot of the grime. But what you’ll really want to pay attention to are the gold button contacts on the motherboard and the rubber button pads sitting in between the buttons and the contacts. If your Game Boy’s buttons are unresponsive, one or both of these problems is usually to blame.
Scrubbing at dirty button contacts with a Q-tip soaked in isopropyl rubbing alcohol should get them clean enough to fix any problems you have with them. The rubber pads should be checked for tears—most commonly, the button nubs will begin to separate from the thin, flat base of the pads—and gently cleaned. And while I recommend re-using the original button pads if you can, new third-party replacement pads for all Game Boy versions are readily available for $5 or less.
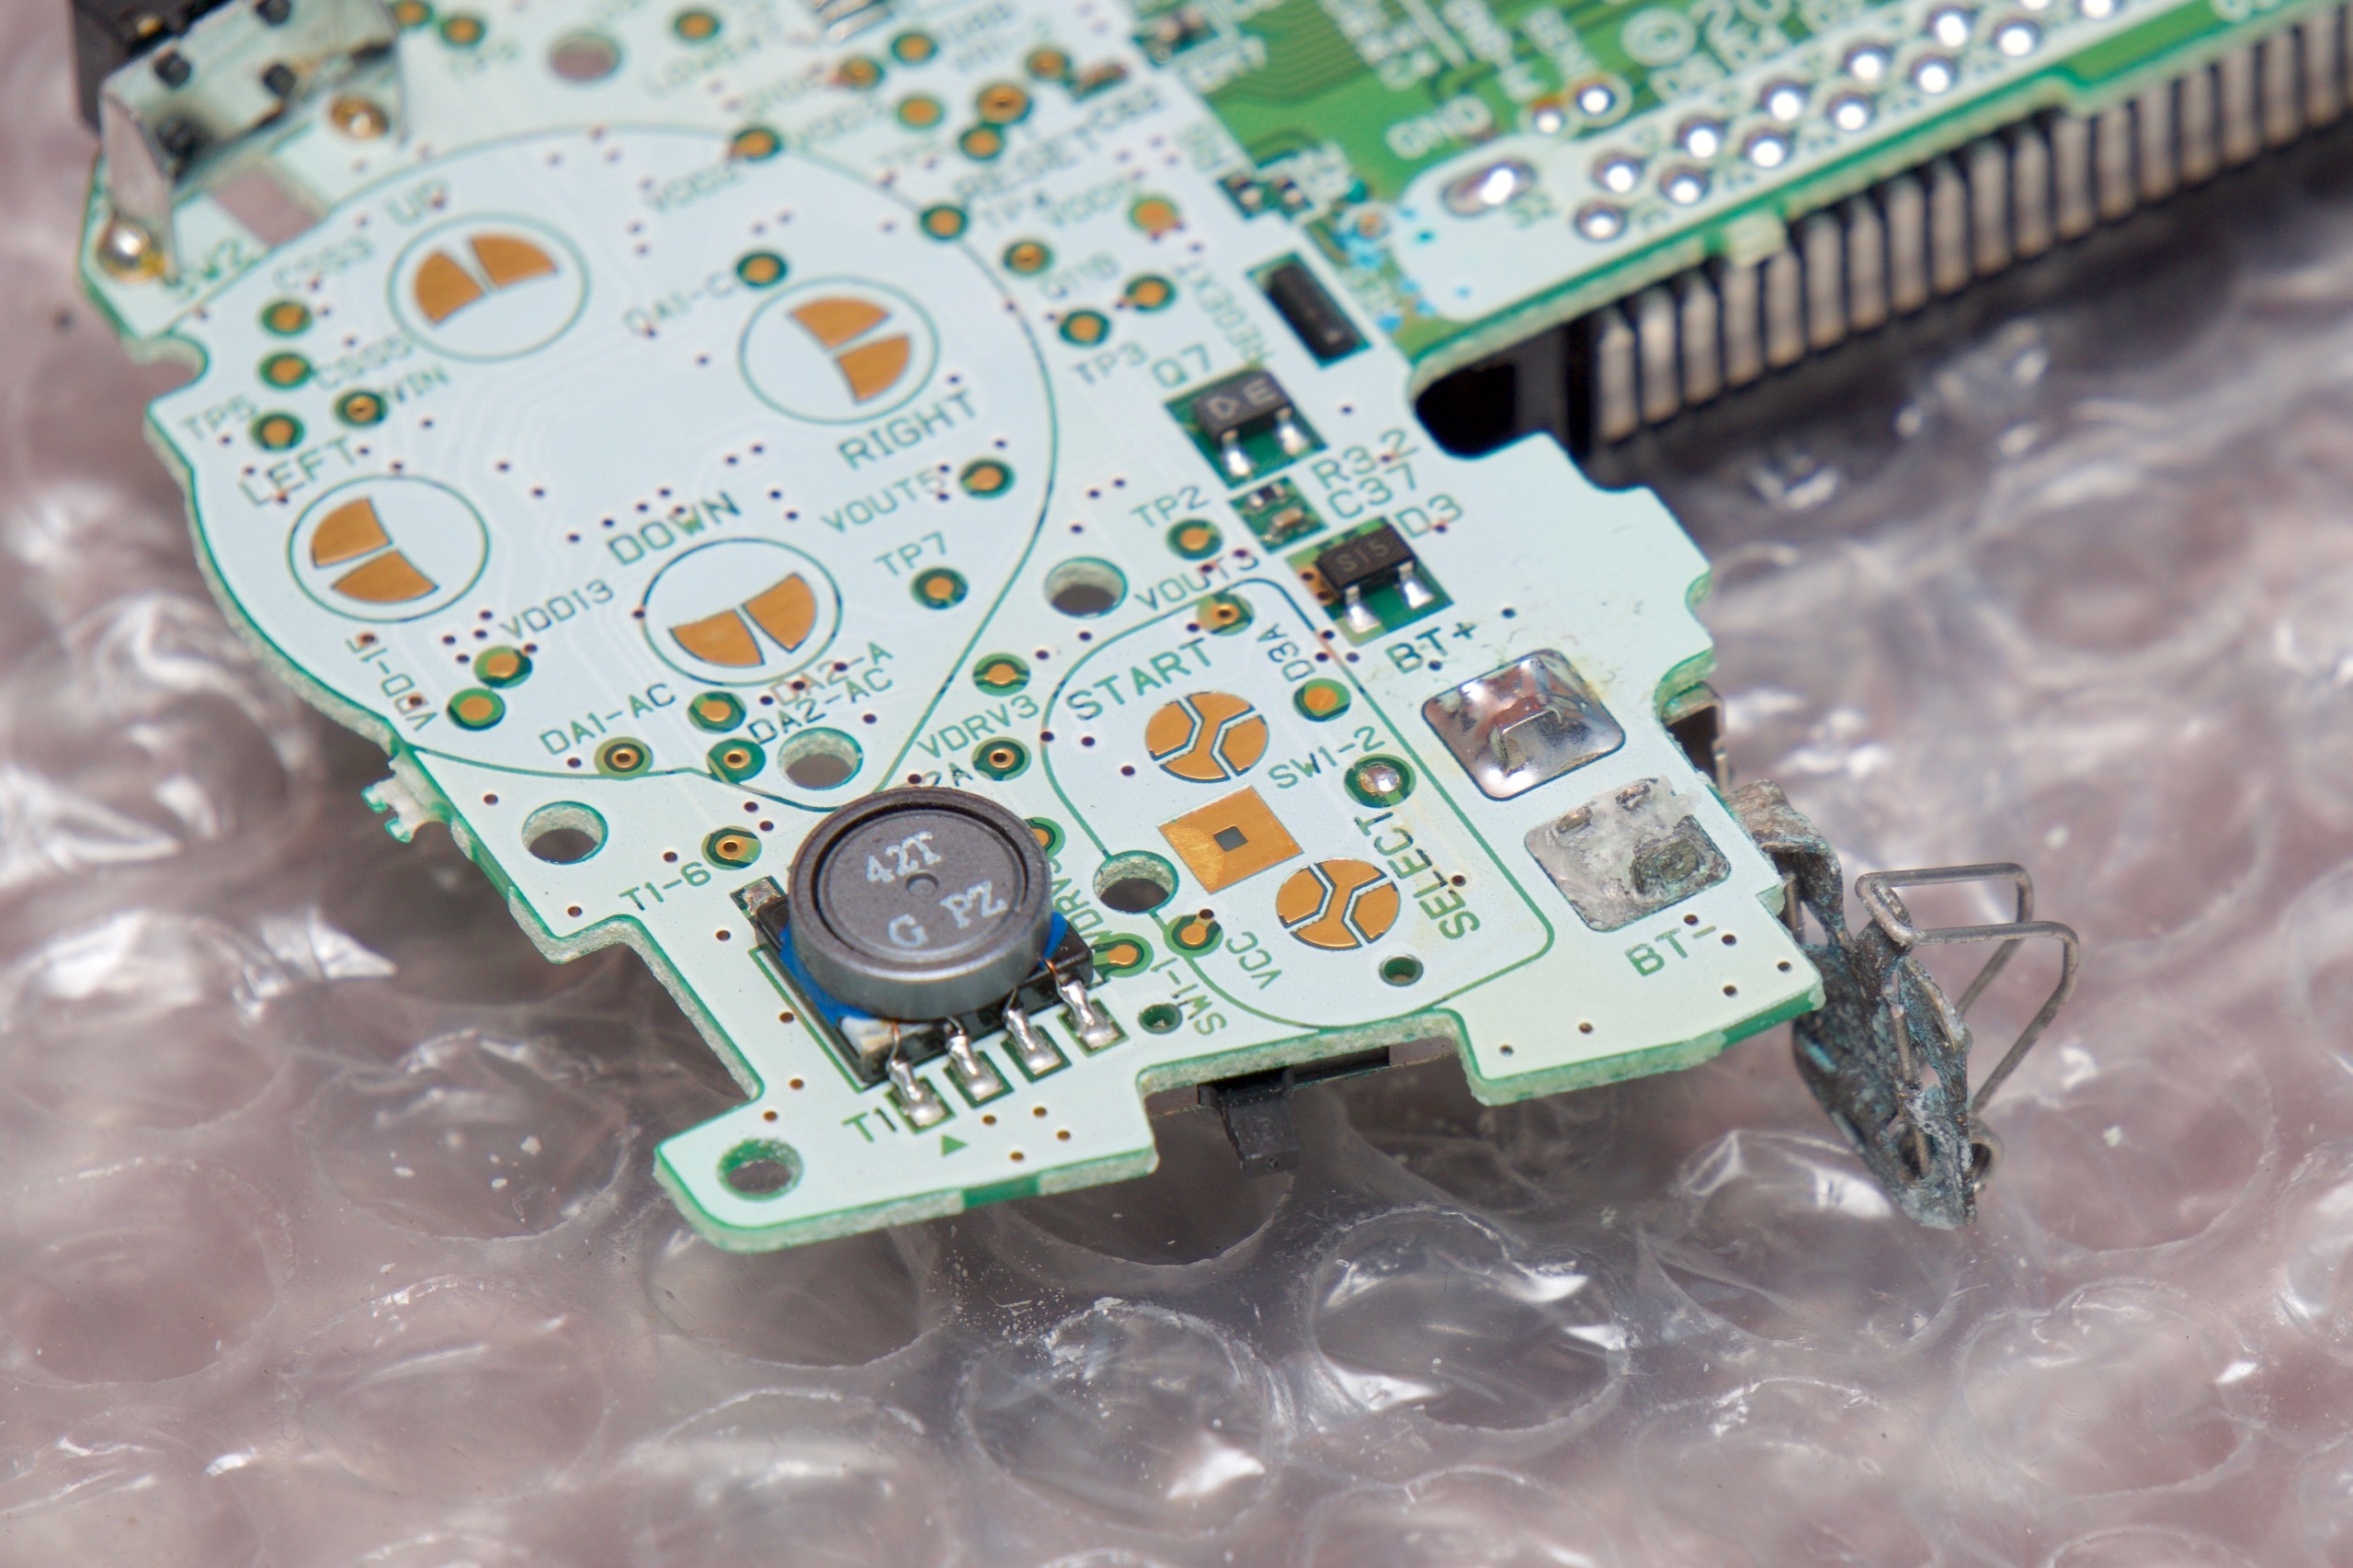
The Game Boy Advance and Advance SP also have shoulder buttons, which can be a little trickier. If you find that they aren’t working or are working inconsistently, very carefully use a pair of tweezers to remove the small black rubber nubs inside the shoulder buttons. Then, use a Q-tip to get a bit of rubbing alcohol inside the metal boxes, using the Q-tip to move the metal contact inside the box up and down as much as you can. Let it sit for a moment, and then use a can of compressed air to blow the metal boxes out. Wait a few minutes to make sure everything is completely dry, then use the tweezers to carefully squeeze the rubber nubs back where they belong.
I’ve repaired around a dozen GBA motherboards, and I’ve never run into one that I couldn’t fix with rubbing alcohol and compressed air, but if that doesn’t work, you have a bigger job on your hands. The buttons themselves aren’t too hard to replace—you can find sets on eBay for around $5—but you’ll need to have a soldering iron and other tools so you can desolder the old buttons, clean things up, and then solder new ones in place. This video can walk you through the process in more detail.
Cleaning battery corrosion
If your Game Boy won’t even turn on, the most common culprit is corrosion on the battery contacts—the little metal bits that conduct power from the batteries to the motherboard. This can happen when a Game Boy has been allowed to sit for an extended period of time with dead, leaking batteries in it, and it’s pretty easy to spot before you even take anything apart—it typically takes the form of a crusty whitish blue or green substance.
For the contacts built into the Game Boy’s plastic shell, you should remove them, soak them in white vinegar for a few minutes, scrub them with a toothbrush, rinse them off, and then clean them with isopropyl rubbing alcohol and let them dry.
For the contacts on the motherboard, open up the case to make sure that the solder joint connecting the battery contact to the motherboard isn’t also corroded. Scrubbing them with a toothbrush soaked in isopropyl alcohol will usually get things clean without endangering the rest of the motherboard, but if you have trouble getting things clean, a bit of (careful!) sanding with fine-grain sandpaper should rub off enough of the corroded metal that the batteries can make contact again.
Fixing the GBA’s (or GBA SP's) power switch
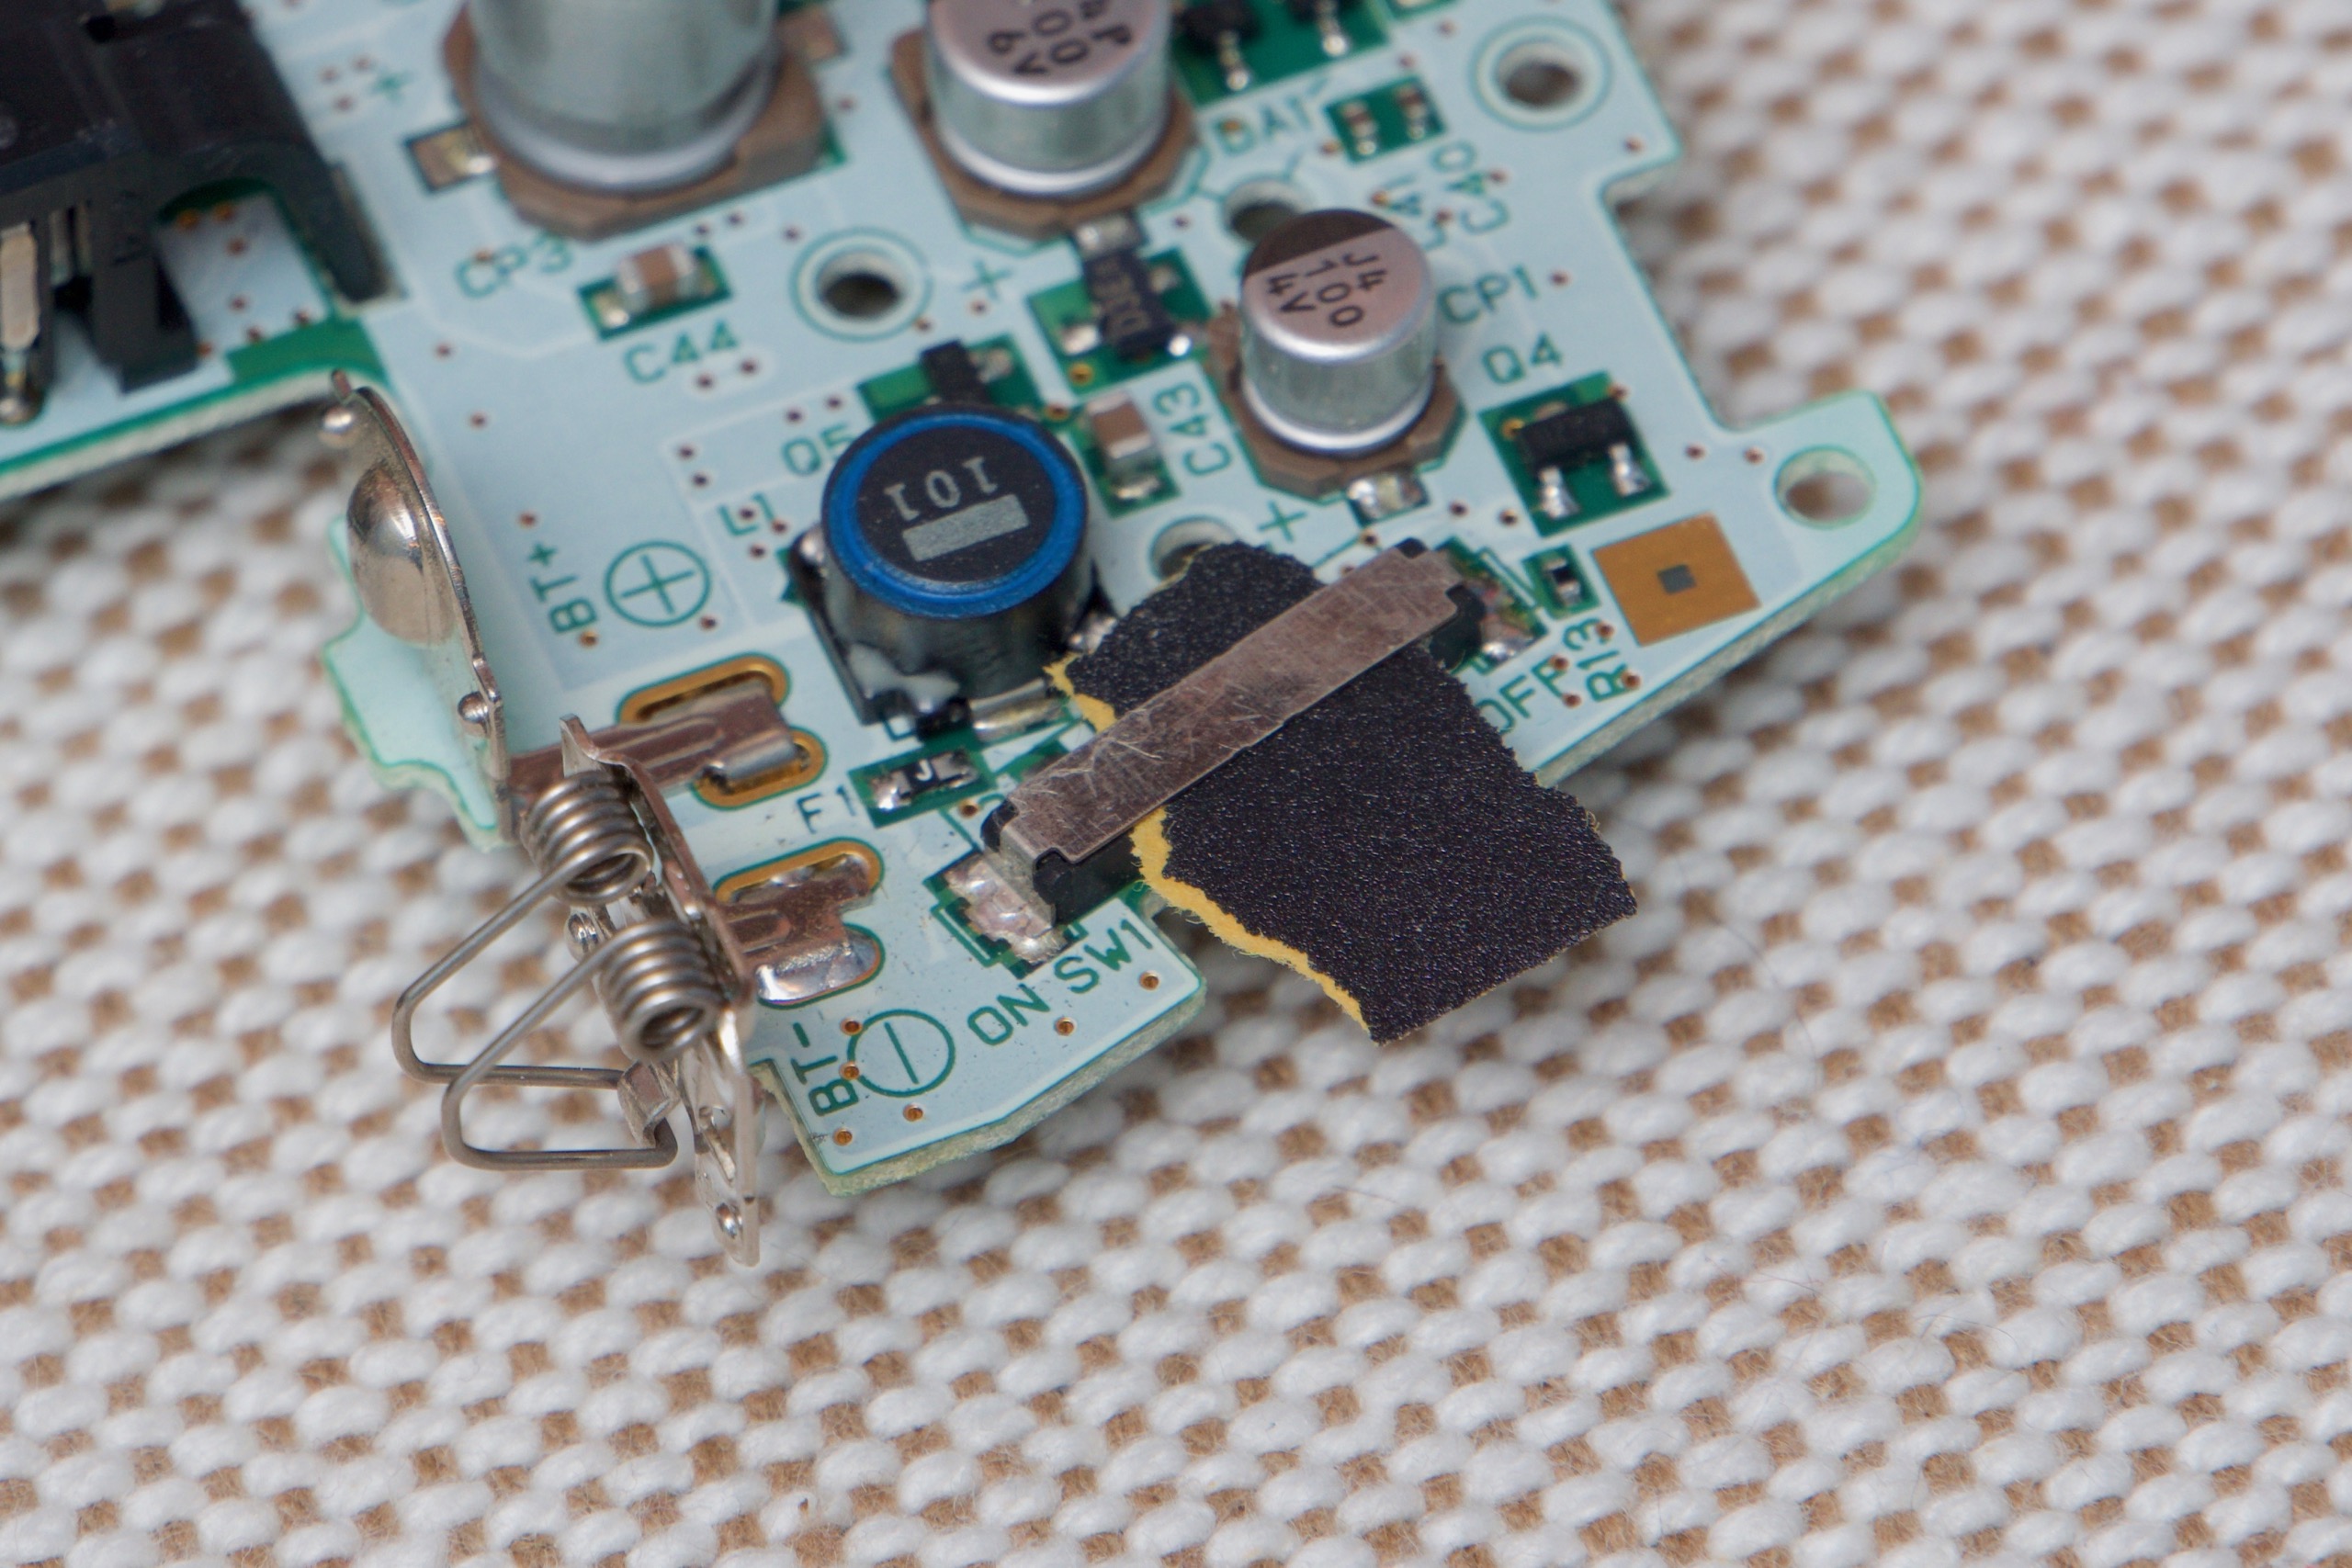
The other most common issue for Game Boy Advances that have trouble powering on (or staying on) is corrosion in the power switch itself. If the GBA won't turn on and the battery contacts seem fine, if it only turns on occasionally, if it will turn on if you jiggle the power switch a bit, or if you notice the battery LED flickering between green and red even with a fresh set of batteries, the power switch is almost certainly your problem.
All you'll need to fix this one is your trusty isopropyl alcohol and fine-grain sandpaper. Using a Q-tip, get a few drops of alcohol into the switch and gently move it back and forth. Then, take your sandpaper with the rough side down and very gently stick it in between the switch itself (the small black plastic bit that moves) and the silver top part of the switch housing. This may take a little bit of wiggling, since there's very little space in between the two, but be patient and work slowly and you'll be able to get it in there without breaking anything.
Once the sandpaper is inserted, move it back and forth a bit (or just continue moving the power switch back and forth, depending on how big a piece of sandpaper you used). Then, flip the sandpaper over and move it back and forth again. Remove the sandpaper, and then, just to help clean any debris out of the switch, put more alcohol in there and flick the switch back and forth a few more times. Use your canned air afterward if you'd like to help everything dry out a bit more quickly.
All of this should totally clean the contacts inside the switch that connect to power the Game Boy on. It will clear up a bunch of common GBA power problems, and this work can also help make the audio a bit less noisy—you're always going to get a bit of buzzing or whining out of the GBA's headphone jack, but stable power at least makes it so that the frequency is steady and consistent instead of jumping around.
Cleaning the cartridge slot
Cleaning the contacts on dirty cartridges with isopropyl alcohol and some Q-tips is easy, but if you do that and you find that you’re still having trouble getting games to work, you may need to clean the contacts in the Game Boy’s cartridge slot.
The easiest DIY solution to the problem is to take an old-but-clean shirt or piece of cloth and wrap it around a credit card. Put enough isopropyl alcohol on the cloth to get it damp (but not dripping wet), and then carefully insert it and remove it from the slot a few times.
For a more authentic retro cleaning experience, the official Game Boy cleaning kit (ESRB rating pending) is still pretty easy to find for $10 or $15, and it should be usable with all Game Boy models aside from the Micro.
reader comments
90