Siendo un blog dedicado a la moda y a la costura, le doy importancia a todas las herramientas de un buen costurero: tijeras, agujas, dedales ( mil, ni más ni menos) y acericos.
Una de mis primeras publicaciones fue sobre los acericos, su historia y sus curiosidades. En aquel artículo hace ya meses os contaba que la forma de acerico más popular que ha llegado hasta nuestros días desde la época victoriana, es el tomate con una fresa colgando. Según la tradición popular, la colocación de un tomate en la repisa de una nueva casa traía prosperidad y limpiaba los malos espíritus. Si los tomates estaban fuera de temporada, las familias confeccionaban con tejido rojo una bola llena de arena o serrín con adornos verdes como amuleto, que con el tiempo se convirtieron en alfileteros.
Hoy os traigo un acerico para que lo hagáis vosotros mismos con una forma nueva, un cactus.

An English translation below if you click ” Sigue leyendo”
El blog Deschdanja publicó un tutorial muy fácil de seguir. Se necesita:
- un fieltro de 20x30cm en color verde
- hilo de coser en blanco
- relleno de cojines
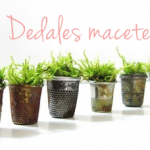
- una maceta pequeña
- papel de periódico
- arena o piedras
- aguja de coser, papel, lápiz, tijeras, alfileres, pinchos de madera
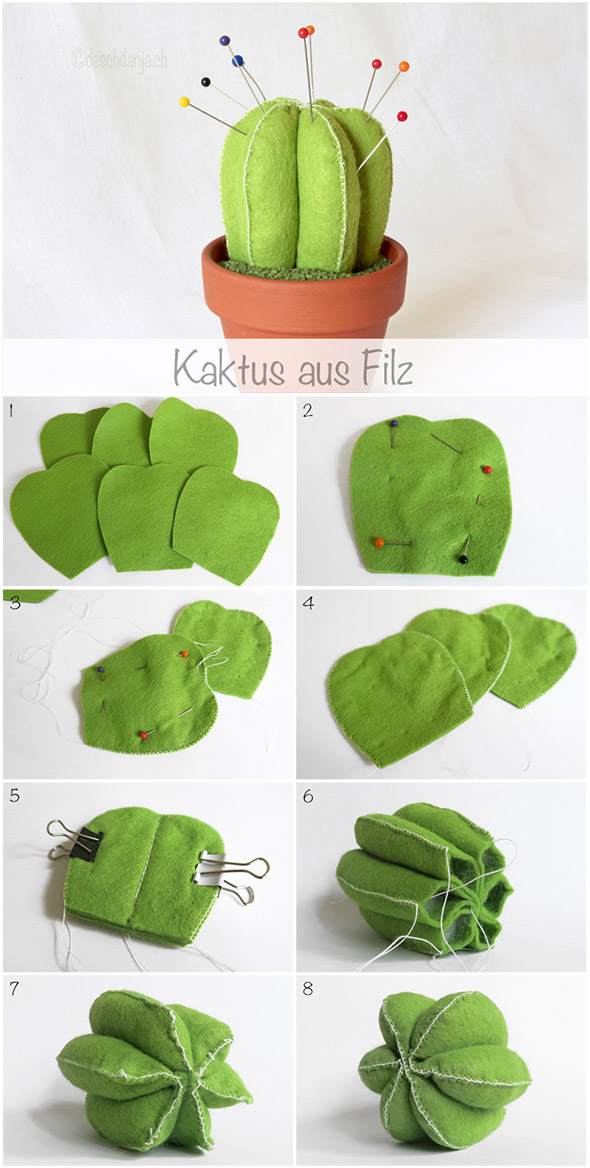
1. Dibujar y recortar la plantilla primero en papel. Con esta plantilla cortar 6 formas idénticas de fieltro.
2 . Unir los bordes de dos piezas y coserlas con el hilo blanco dejando la parte de abajo sin cerrar para rellenar. Repetir esto con las piezas restantes.
3 . Unir las tres piezas cosidas por el centro con un pespunte.
4 . Rellenar cada pieza con el relleno de cojines y apretarlo bien con pincho de madera.
5 . Unir el centro del cactus con una puntada.
6 . Rellenar la maceta con papel de periódico y fijar el cactus en él con alfileres. Recubrir luego con tierra para tapar el periódico y dar aspecto de plantado.
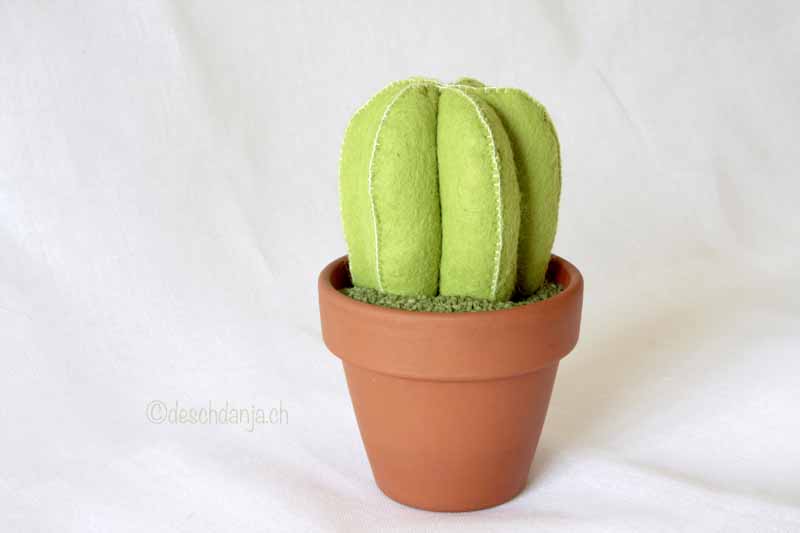
Una preciosidad lista para vuestros alfileres o simplemente como decoración. ¿ Os animáis a hacerlo y me mostráis fotos?
![]()
Being a blog dedicated to fashion and sewing, I give importance to all sewing tools: scissors, needles, tumbles (thousand, as my blog) and pincushions.
One of my first publications was on about pincushions, its history and curiosities. In that post months ago I talked about the most popular form of pincushion that has survived to this day since Victorian times: the tomato with a strawberry hanging. According to popular tradition, placing a tomato on the mantel of a new house brought prosperity and repelled evil spirits. If the tomatoes were out of season, families prepared with red cloths a ball filled with sand or sawdust with green ornaments as amulet, which eventually became pincushions. The tomato was filled with wool roving to prevent rust, and the strawberry with an abrasive (sand usually) to clean and sharpen the pins.
Today I bring you a pincushion to do it yourselves with a new shape, a cactus.
Deschdanja blog published an easy to follow tutorial. We will need:
- a mat of green felt 20x30cm
- sewing thread in white
- polyfill
- a small pot
- newspaper
- sand or stones
- sewing needle, paper, pencil, scissors, pins, wooden skewers
1. Draw and cut out the template on paper first. With this template cut six identical shapes of felt.
2 . Join the edges of two pieces and sew them with white thread leaving the bottom unclosed to be filled. Repeat this with the remaining pieces.
3 . Sewn the three pieces together in the center.
4 . Fill each piece with polyfill and tighten well with a wooden skewer.
5 . Stitch the top center of the cactus.
6. Fill the pot with newspapers and fix the cactus on it with pins. Then cover it with sand to conceal the newspaper.
A nice pincushion ready for your pins or simply as decoration.
![]()
Imagenes: deschdanja